Toyota Avensis, Alternator Replacement, T270 or T25, D4D, 2003 to 2015.
Автор: Car DIY Repair
Загружено: 2023-06-24
Просмотров: 37063
Описание:
Step 1: Prepare your vehicle
Ensure the car is parked on a level surface and turned off. Open the hood and disconnect the negative terminal of the battery to prevent any electrical mishaps during the process.
Step 2: Access the alternator
In the Avensis D4D from 2003 to 2015, the alternator is typically located at the rear of the engine, making it accessible from underneath the car. Raise the front of the car using a jack and securely support it with jack stands. Then, crawl under the vehicle to access the alternator.
Step3: disconnect the ball joint from the control arm as to disconnect the drive shaft to remove.
Step 4: Remove the drive shaft using a 30 mm multi socket on the axel lock nut, and 14mm rachet or spanner to remove the drive shaft holder.
Step5: Pull out the drive shaft from the wheel assemble, get a container to catch any oil that might escape from the gear box when removed from gear box.
Step 5: Remove the belt
Locate the belt routing diagram usually found on the hood or near the radiator. Study it to understand t6: path of the serpentine belt and its tensioner. Use a wrench or belt tensioner tool to relieve tension on the belt by rotating the tensioner in the appropriate direction. Slide the belt off the alternator pulley and carefully release the tensioner.
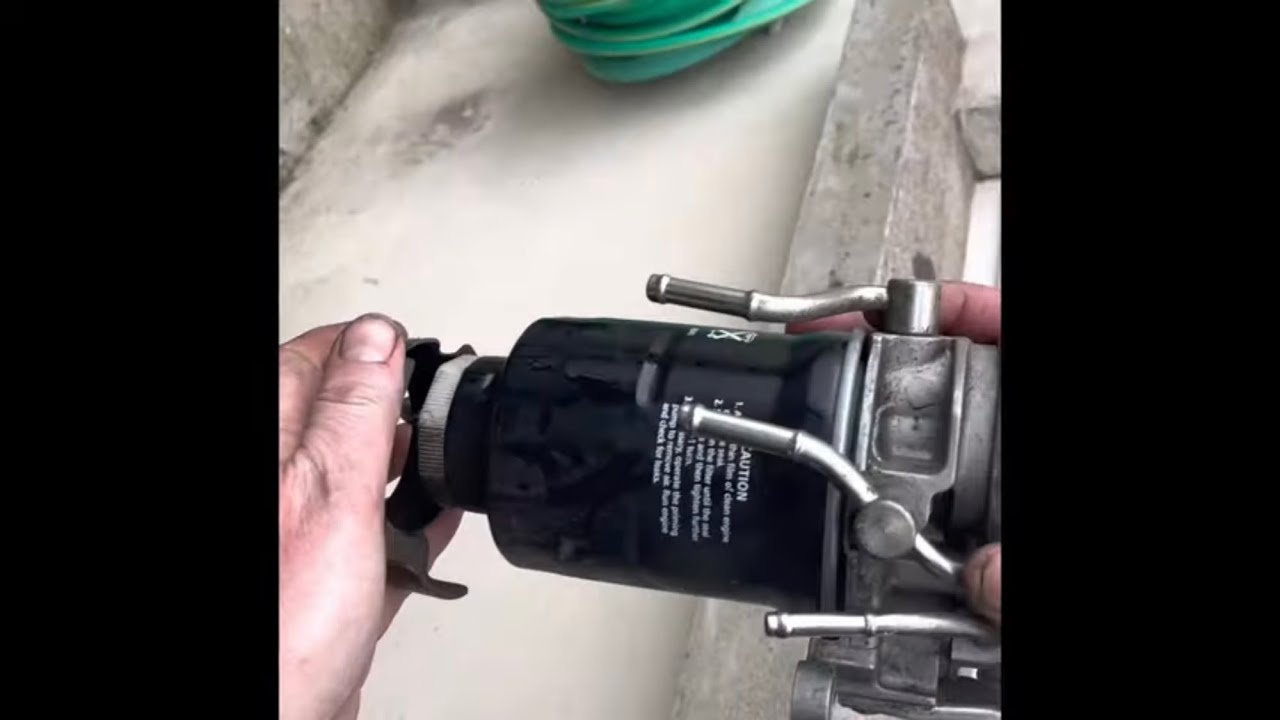
Step 6:Disconnect electrical connections
Identify the electrical connections attached to the alternator. These typically include a thick wire attached with a nut or bolt and one or more electrical connectors. Remove the nut or bolt securing the wire and disconnect the electrical connectors. If necessary, label or mark the connectors for easy reinstallation.
Step 7: Remove the mounting bolts
The alternator is held in place with one or more mounting bolts. Use a socket or wrench to loosen and remove these bolts. Keep track of the bolts and their location for reassembly.
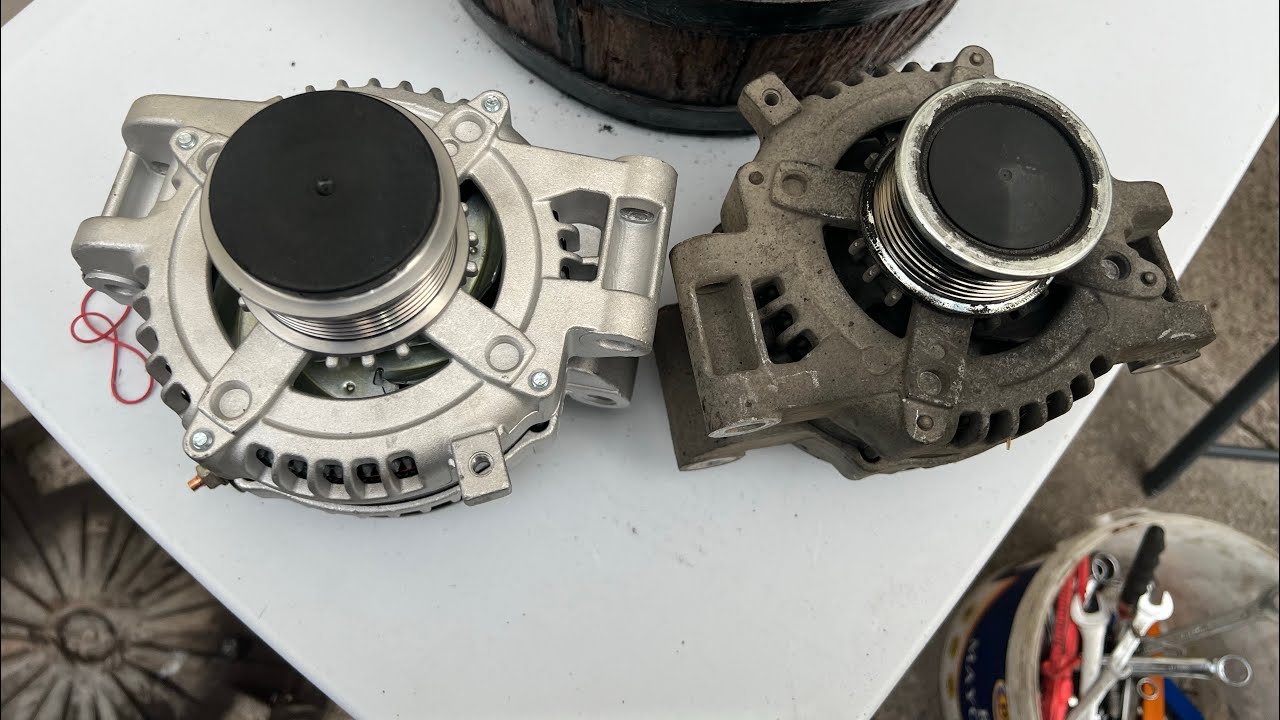
Step 8: Remove the alternator
With the mounting bolts removed, carefully slide the alternator out of its bracket. Be cautious of any remaining wires or connectors that may still be attached.
Step 9: Install the new alternator
Take the new alternator and position it in the bracket. Make sure it aligns properly with the mounting holes. Reinstall the mounting bolts and tighten them securely.
Step 10: Reconnect electrical connections
Reconnect the electrical connectors and the thick wire to the new alternator. Ensure they are properly secured.
Step 11: Install the serpentine belt
Refer to the belt routing diagram and install the serpentine belt back onto the alternator pulley. Use the belt tensioner tool or wrench to relieve tension and slide the belt over the pulley. Release the tensioner slowly, allowing it to apply proper tension to the belt.
Step 12: Double-check everything
Ensure all connections are securely tightened and properly routed. Confirm that the belt is properly aligned and tensioned. Verify that no tools or equipment are left in the engine bay.
Step 13: Lower the vehicle and reconnect the battery
Safely lower the vehicle off the jack stands using a jack. Reconnect the negative terminal of the battery.
Повторяем попытку...
Доступные форматы для скачивания:
Скачать видео
-
Информация по загрузке: