How to install a picture rail
Автор: Handyman Magazine
Загружено: 2015-12-21
Просмотров: 47799
Описание:
In this how-to video from Porta (http://www.porta.com.au), Ed explains how to install a picture rail.
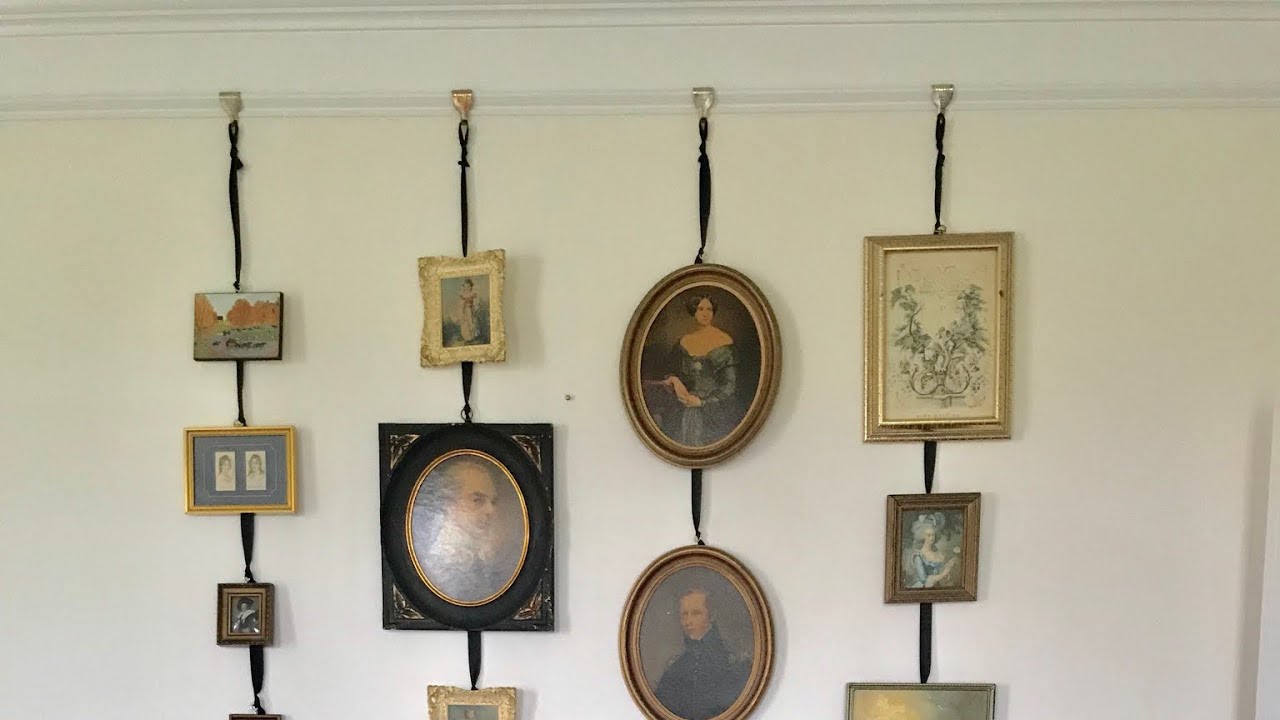
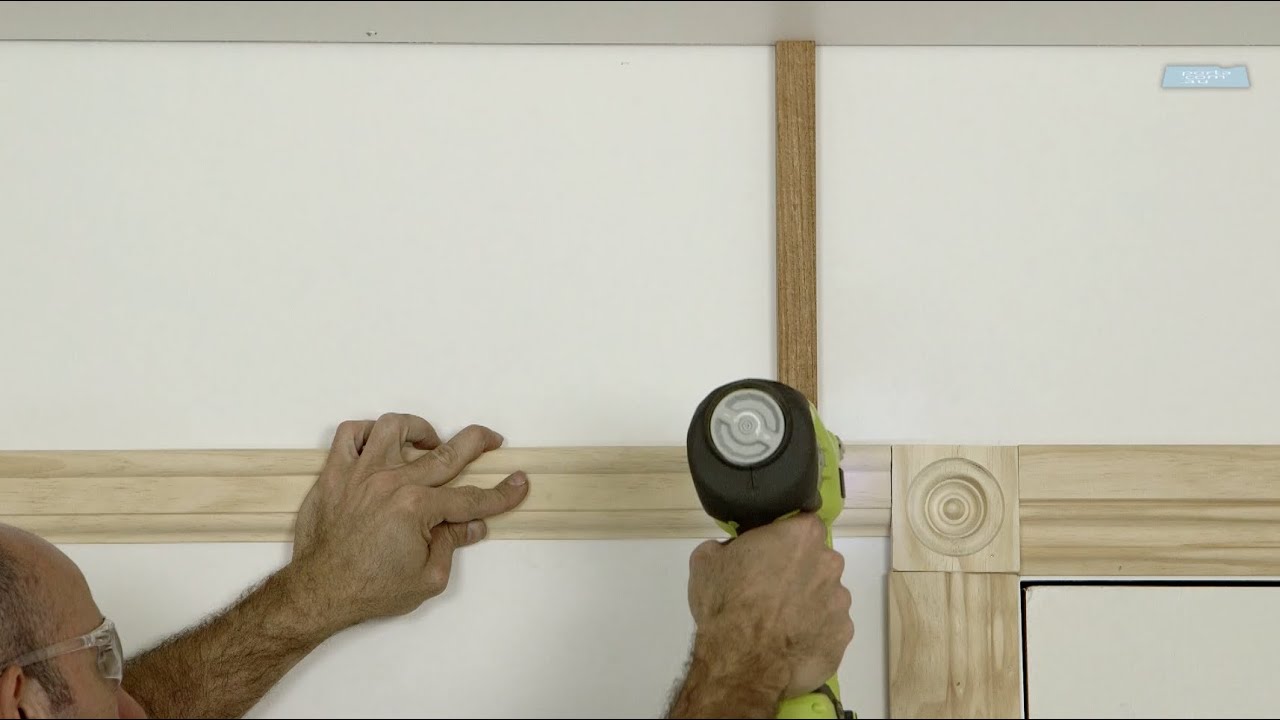
A picture rail not only provides another decorative element to the wall, but also gives you the option to position wall hangings anywhere on the wall without having to rely on the positions of studs.
In an older Victorian style home, picture rails should be 300-500mm from the ceiling, while in modern homes with 2400mm ceilings, the picture rail should be aligned with the top of the door architrave.
To ensure the picture rail is level, create a spacer equal to the height between the ceiling and the top of the door architrave. Use this as a guide when installing the picture rail, and secure the picture rail to the studs using nails.
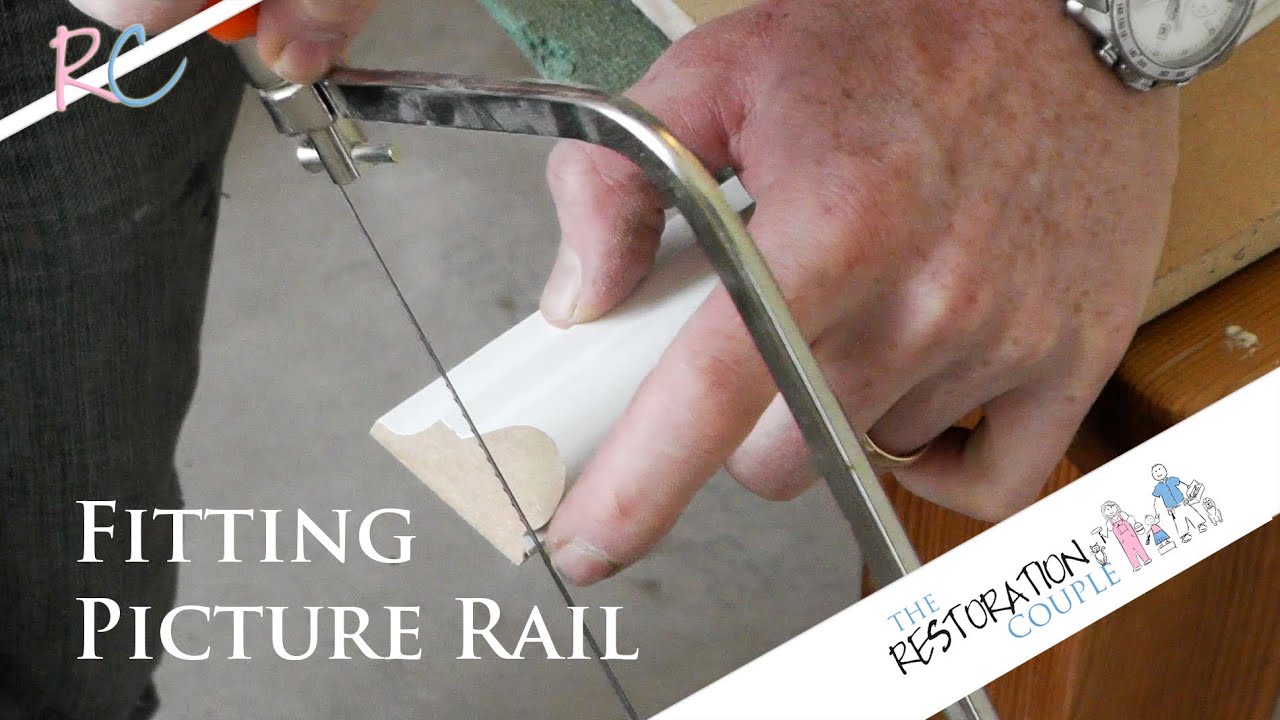
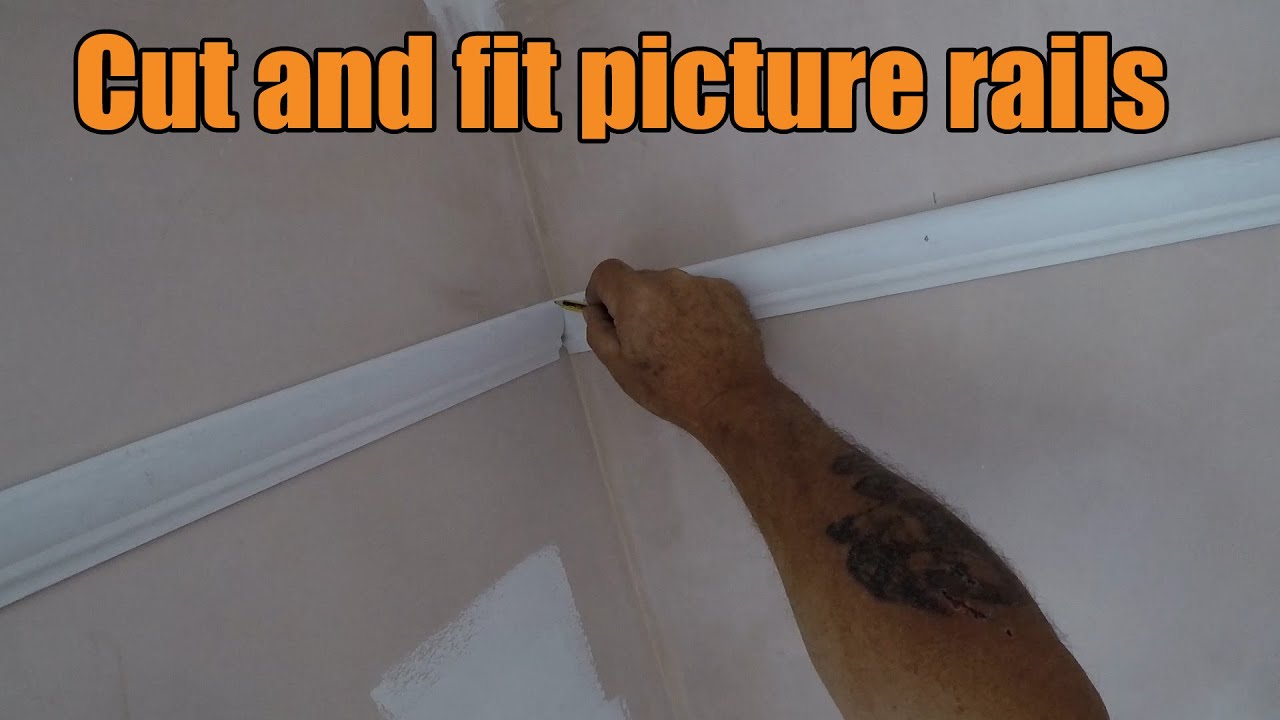
Use a mitre or scribe joint for internal corners, and join any long lengths using a splice joint.
Visit http://www.porta.com.au/ for more information.
How to make a mitre joint: • How to Mitre by Porta
How to make a scribe joint: • How to Scribe / cope by Porta
How to make a splice joint: • How to Splice by Porta
Повторяем попытку...
Доступные форматы для скачивания:
Скачать видео
-
Информация по загрузке: