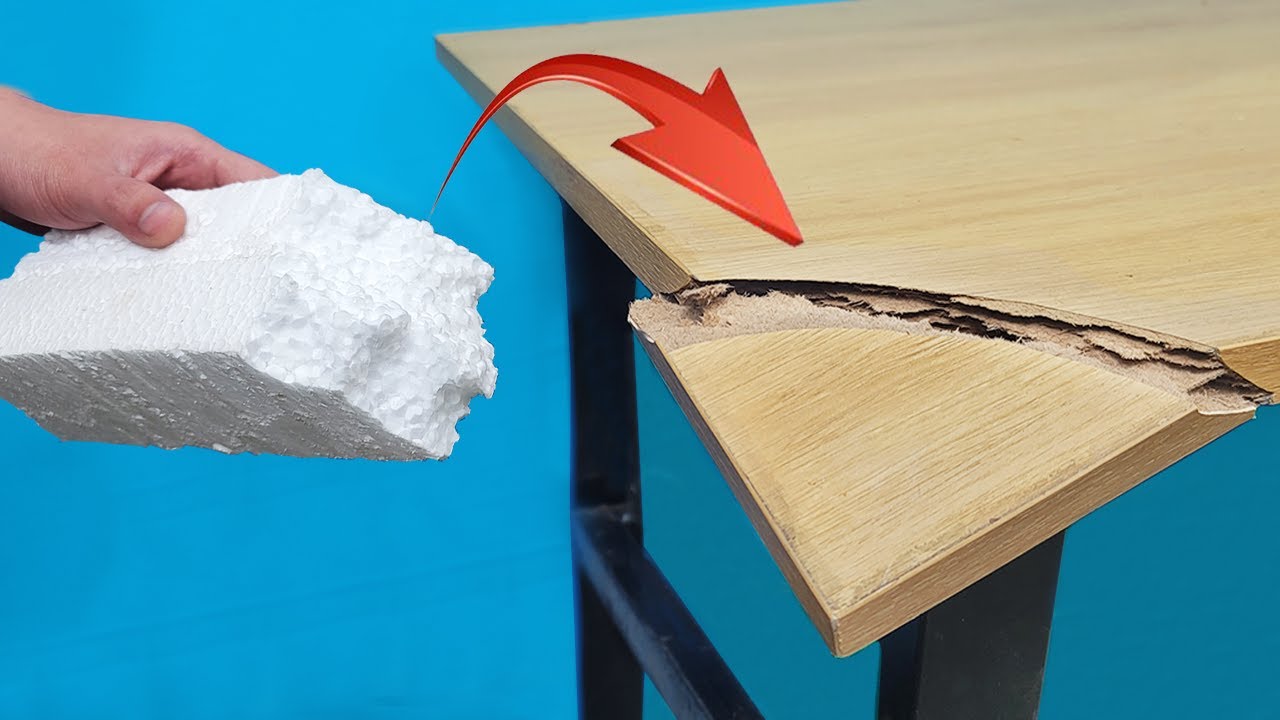
How to Patch Broken Wood | Woodworking Lesson
Автор: Fixing Furniture
Загружено: 2019-06-15
Просмотров: 21914
Описание:
How do you patch a broken piece of wood. We show you 3 examples of how to replace missing pieces of wood to restore the original woodwork.
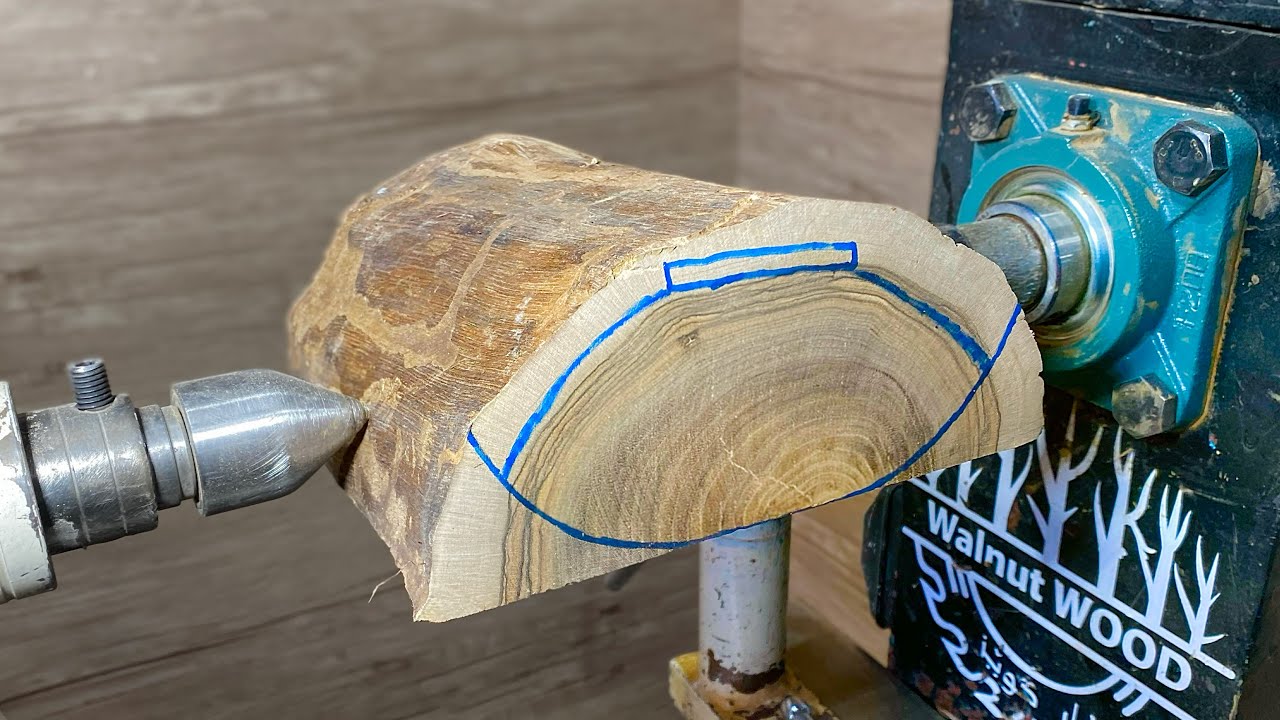
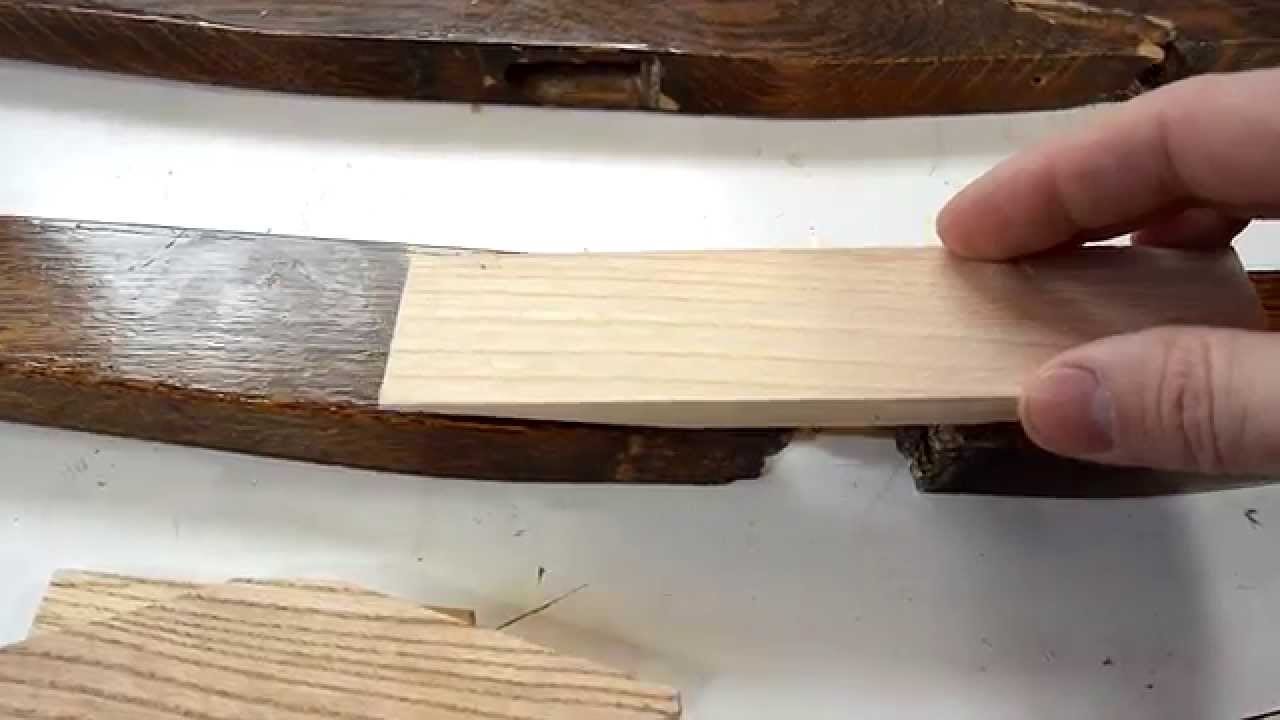
The first step is to find a matching piece of wood to use for the patch. This needs to be the same species of wood (e.g., use a piece of oak to patch the broken woodwork made of oak). This is important as the grain and color of the wood needs to be as close to the original part as possible.
The second step is to create a flat, smooth surface to glue in the wood patch. I typically use machines to do this as it’s a quick, constant way to cut into the parts. In one of these examples, I used a table saw and in the other two examples I used a router. The shape you cut out is also important. I like cutting wedge shapes because it allows me to clamp the part in to get a very tight seam between the new patch and the existing woodwork.
Make sure you spread enough glue on both parts to create glue squeeze out. That way you know you’ve got enough glue in the joint to do the job right! Clamp it all down and wait for the glue to dry.
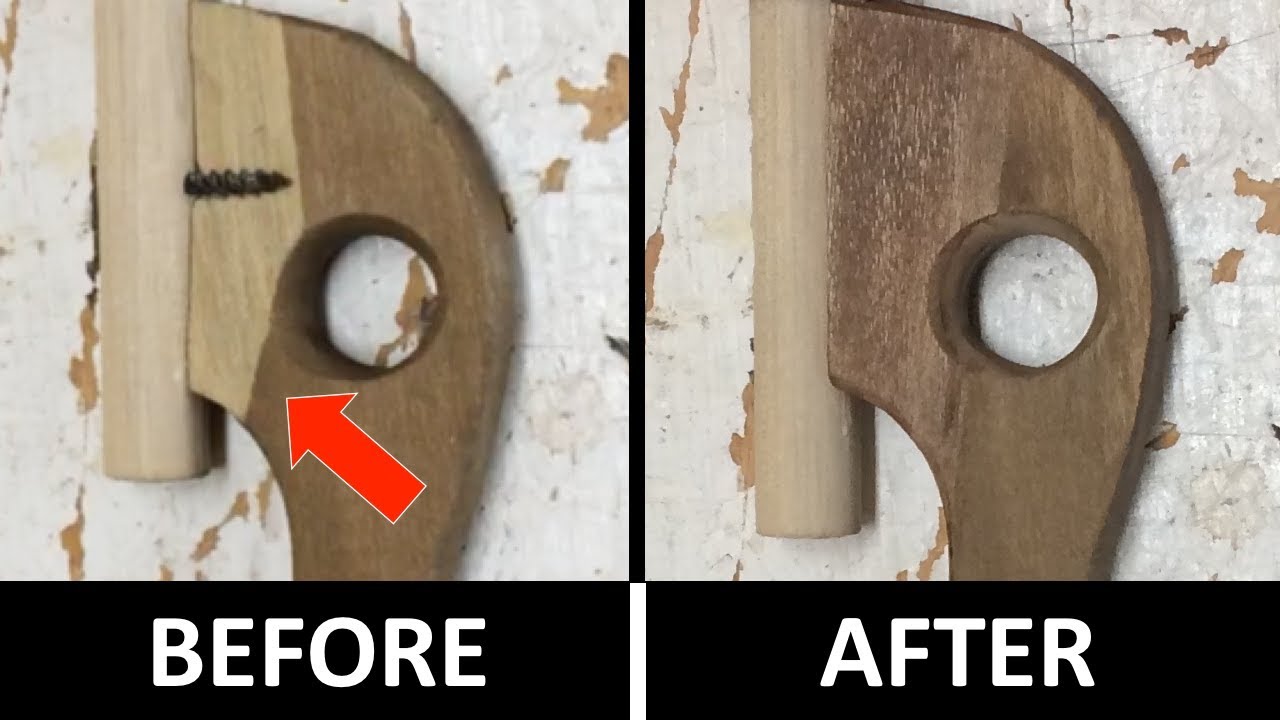
The next step is about shaping the patched wood to conceal the repair. I use a router where I can because it’s the fastest way for me to match the profile of the existing woodwork. In some cases, that’s not possible. That’s where I use hand tools to shape the parts to match. By using a standard chisel and a 1/4 radius gouge chisel, I’ve had success in cutting coves and outside curves (see Tool links below). Sanding is the last step, but it’s not a shaping step - the carving is only complete when the profile matches the existing part. Sanding is for smoothing any edges and prepare it for the finish.
I consider staining and finishing an art. There are craftsmen who have done this all their lives. I recognize I have limitations on my skills here, so when I have a tough challenge, I hire a professional. I work with a professional finishing business where I know I will get the best possible results. Try your stain and finishes on scraps and see how close you can get with the finish before tacking your completed wood patch.
We’re building a supportive community about furniture repairs. Please share his video with others who may enjoy it.
Tools used in this video:
Carving gouge
Flush trim router bit
Router template guide
Router table
Note: purchases made with these links help fund our video production work
Fixing Furniture is not only a YouTube channel but it's also a membership community. Get access to videos before they're published on YouTube, watch all the videos without ads, get downloadable reference sheets, and participate in Fixing Furniture Live every two weeks. Learn more about membership at https://www.fixingfurniture.com
OUR NEWSLETTER - Sign up at https://www.fixingfurniture.com
See the tools we use in our workshop and the tools we recommend: https://www.amazon.com/shop/homeimpro...
🇨🇦 Canadian link - https://www.amazon.ca/shop/homeimprov...
This video is hosted by Scott Bennett, Owner of Wooden It Be Nice - Furniture Repair in Brooklin, Ontario, Canada. https://WoodenItBeNice.ca
#brokenwood #woodworking #repair
Повторяем попытку...
Доступные форматы для скачивания:
Скачать видео
-
Информация по загрузке: