Samsung Galaxy A06 Display Replacement Full Disassembly & Reassembly Process
Автор: Trofim Viorel
Загружено: 2025-09-14
Просмотров: 300
Описание:
This video presents the full disassembly and reassembly process of the Samsung Galaxy A06,
focusing on the replacement of the display. The procedure is shown step by step,
highlighting the correct use of tools and safe handling of components.
Step 1: Removing the back cover
The back cover is glued with adhesive. We heat it slightly to soften the glue.
Using a custom tool (built from a utility knife) and a thin plastic piece,
we carefully separate the cover around the perimeter.
Alcohol is applied to weaken the adhesive and make removal safer.
Step 2: Removing the rear frame
Under the back cover we find a protective frame over the display module and internal components.
This rear frame is fixed with screws. We remove all screws and lift the frame carefully
using the custom tool (no alcohol needed since it is not glued).
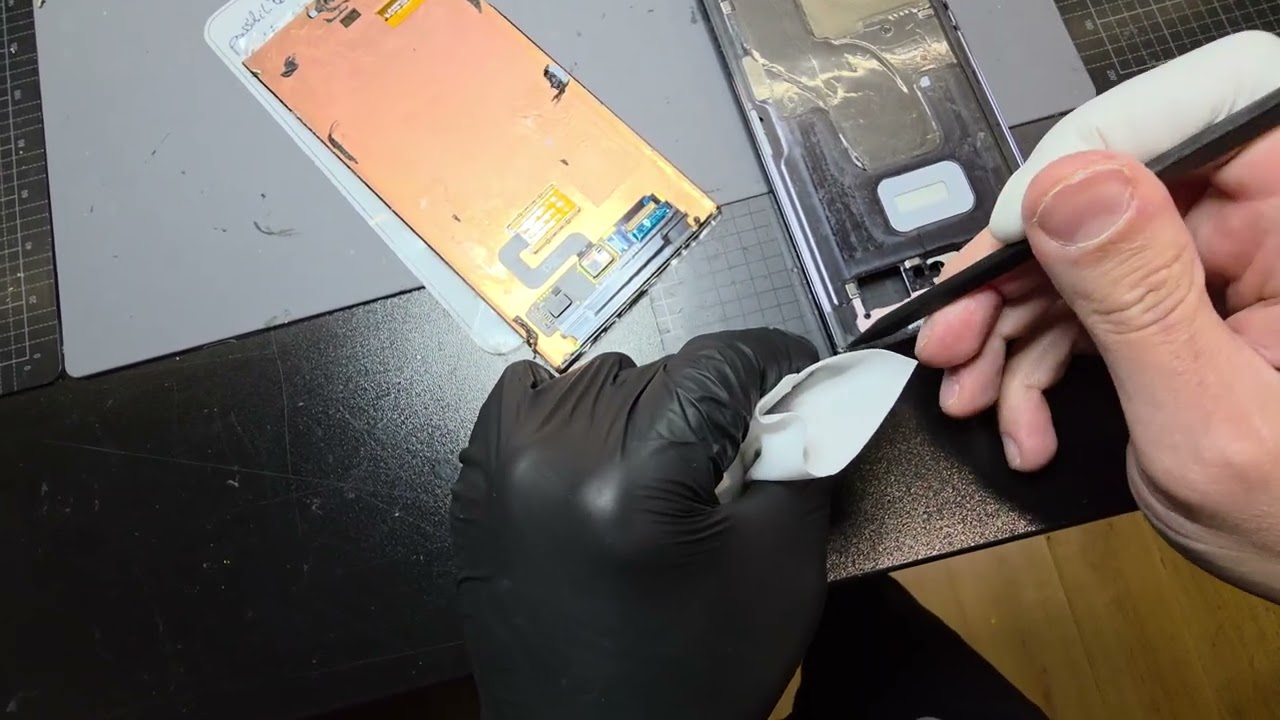
Step 3: Disconnecting and removing components
First, the battery connector is detached using a plastic tool.
Next, the motherboard and secondary board are removed with a special tool
in their designated extraction points.
The battery is then heated again, alcohol is applied to weaken the adhesive,
and the battery is safely removed.
Step 4: Installing the new display
After full disassembly, the process is reversed with the new display set.
All components are reinstalled step by step, ensuring proper alignment and connection.
⚠️ Important Safety Note: Handle connectors, flex cables, and the battery with care.
Do not puncture or bend the battery. Always use proper tools to avoid damage.
⚠️ Disclaimer: This video is for educational purposes only.
Attempting repairs on your own device is at your own risk.
If you found this repair showcase useful, don’t forget to:
👍 Like the video
🔔 Subscribe to the channel
💬 Share your feedback or questions in the comments
Повторяем попытку...
Доступные форматы для скачивания:
Скачать видео
-
Информация по загрузке: