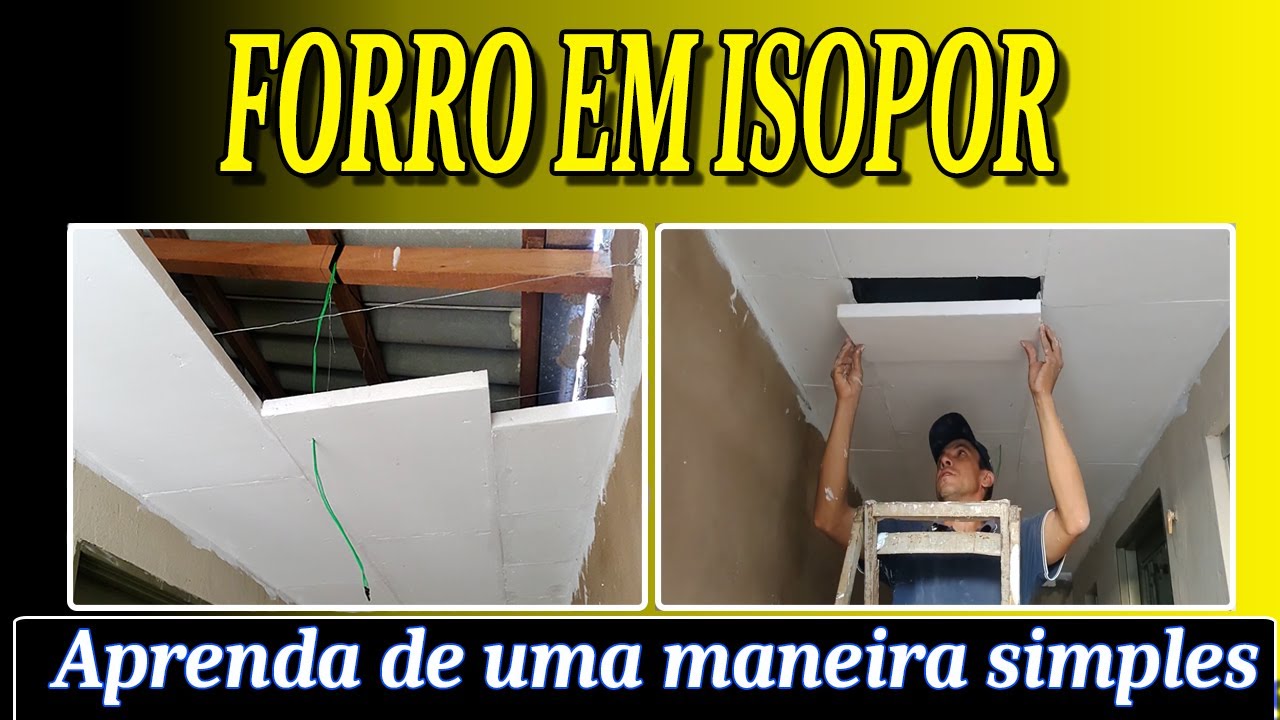
Como colocar Moldura de isopor roda teto passo a passo
Автор: fabio fachinelli
Загружено: 2021-01-09
Просмотров: 31410
Описание:
Olá pessoal hoje eu venho Agradecer aos inscritos no canal que chegou a 1600 inscritos fico muito feliz, e nesse vídeo sobre a Moldura, já venho colocando e gravando a 3 meses atrás e só levei um tombo e fraturei o punho e só agora consegui terminar de colocar e gravar , por isso estou com gesso no braço esquerdo.
Sobre a Moldura Roda Teto
Comprei pela internet, e na hora da compra tem que Avisar Antes o vendedor quantos cantos precisa, pra ele mandar já cortados, no meu caso foi usado 42 metros linear para 4 cômodos com 16 cantos (4 cantos por cômodo)
.As molduras vem em barras de 50 centímetros de comprimento e 6,5 centímetros de Largura.
Preparando Acabamento Inicial
.Com uma caixinha de leite cortada e com água coloque Massa Corrida e com uma espátula misturei até ficar bem molinha, com pincel pintei as barras de molduras, e tirar o excesso de massa que ficar nas pontas e laterais, esperei secar umas 3 horas pra aplicar, eu só fiz uma demão, (se quiser pode fazer 2 demão)
Preparação da Aplicação (bisnaga)
.Com saco plástico (não pode estar furado) colocar só Massa Corrida , eu usei garrafa pet cortada pra facilitar a colocar a Massa Corrida no saco plástico e fazer uma bisnaga e com a tesoura cortar a ponta da bisnaga.
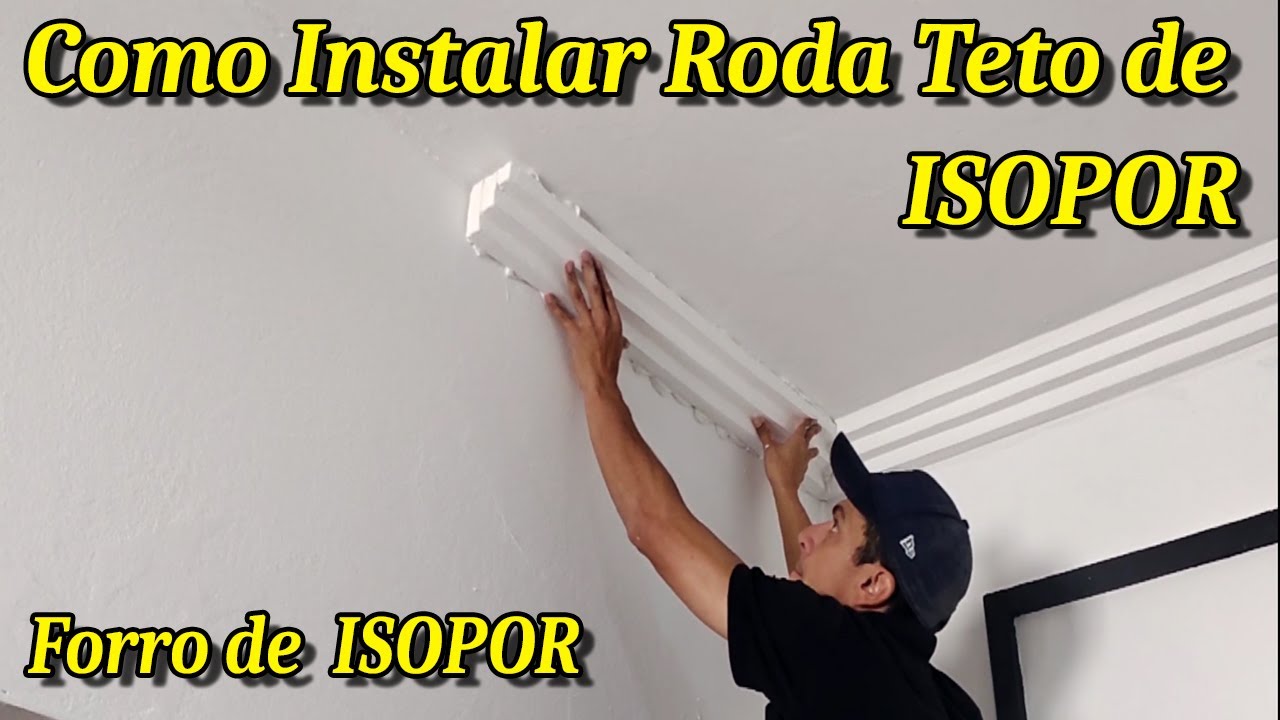
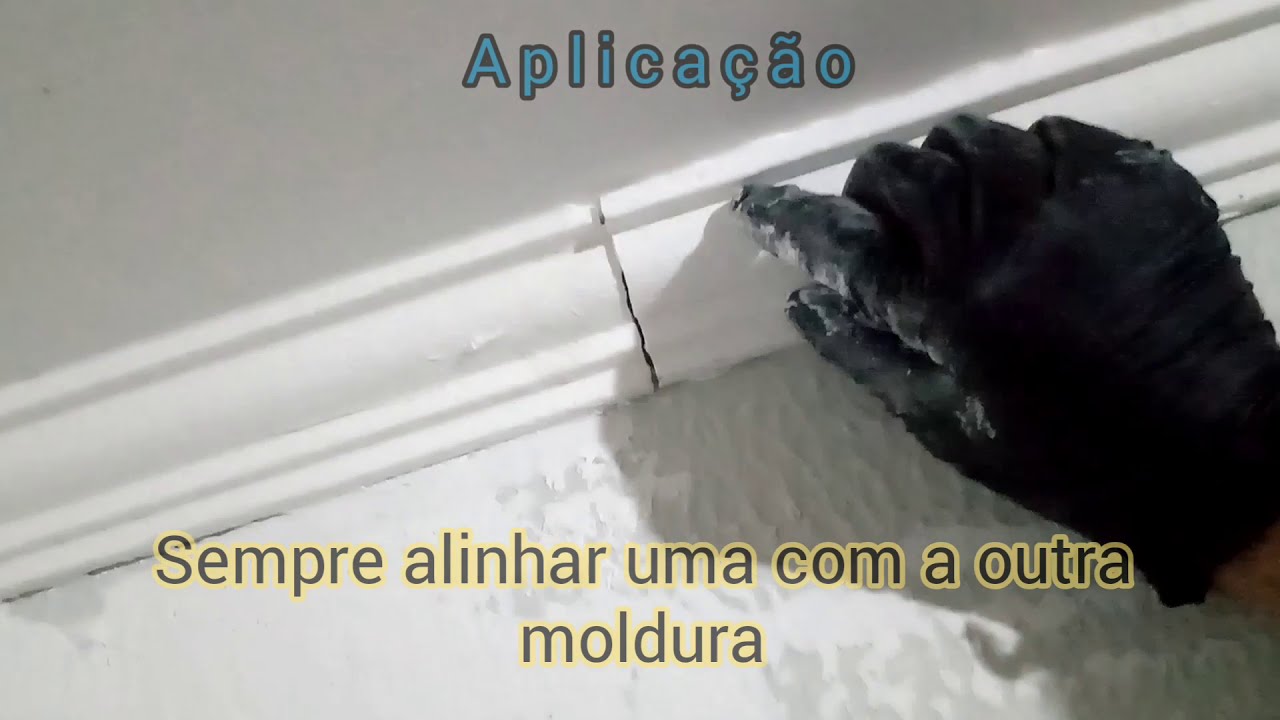
Aplicação da Molduras
. Começar pelo canto a aplicação e sempre verificar antes de como vai ficar a moldura no canto. Depois com a bisnaga aplicar a massa corrida atrás da moldura.
.A moldura ao ser colocada tem que ser entre o teto e a parede alinhar uma moldura com a outra e pressionar levemente a moldura pra a massa espalhar atrás e passar o dedo pra tirar o excesso de Massa.
.Se precisar cortar usar um estilete ou uma faquinha.
Acabamento Final ( nas emendas )
(Esperar secar umas 2 horas após a aplicação para fazer o acabamento)
.Para fazer o acabamento final passar um pincel ( a mesma mistura feita na caixinha de leite ) nas emendas das molduras também pode usar a bisnaga feita só com massa corrida se quiser pode pintar .
.Está feito uma moldura representa gesso e pouca sujeira , espero que gostem e pra a jurar o canal deixe seu Like, compartilha e se inscreva.
Materiais Usados
Massa Corrida
Moldura em isopor
Pincel
Caixinha leite cortada (com água)
Garrafa pet (caso precise)
Espátula
Estilete
✅ Moldura de isopor
👉 https://s.shopee.com.br/4fi9iYEr32
OUTROS VÍDEOS DO CANAL
Renovando parede do quarto com faixa
• Renovando a Parede do quarto - antes e dep...
Efeito madeira com argamassa
• Efeito Madeira com a Vassoura passo a passo
Hello guys today I come to thank the subscribers on the channel that reached 1600 subscribers I'm very happy, and in this video about the Frame, I've been putting and recording for 3 months ago and I only took a tumble and fractured my wrist and only now I was able to finish put on and record, so I have a cast on my left arm.
About the Wheel Frame
I bought it on the internet, and at the time of purchase, I have to tell the seller beforehand how many corners he needs, so he can send it already cut, in my case 42 meters linear was used for 4 rooms with 16 corners (4 corners per room)
The frames come in bars 50 cm long and 6.5 cm wide.
Preparing Initial Finish
.With a box of cut milk and water, put Massa Corrida and with a spatula I mixed until it was very soft, with a brush I painted the frame bars, and remove the excess mass that remains on the ends and sides, I waited to dry for about 3 hours to apply, I only did one coat, (if you want you can do 2 coat)
Application Preparation (tube)
.With plastic bag (it can't be punctured) put only Massa Corrida, I used a cut PET bottle to make it easier to put Massa Corrida in the plastic bag and make a tube and with scissors cut the tip of the tube.
Frame Application
. Start with the corner of the application and always check before the frame will be in the corner. Then with the tube apply the dough behind the frame.
The frame to be placed has to be between the ceiling and the wall, align one frame with the other and lightly press the frame so the dough will spread behind and pass your finger to remove the excess dough.
.If you need to cut, use a stylus or a knife.
Final Finishing (in amendments)
(Wait for 2 hours to dry to finish)
.To make the final finish use a brush (the same mixture made in the milk carton) in the seams of the frames, you can also use the tube made only with putty if you want you can paint.
It is done a frame represents plaster and little dirt, I hope you like it and to swear the channel leave your Like, share and subscribe.
Materials Used
Spackling
Styrofoam frame
Brush
Cut milk carton (with water)
Pet bottle (if needed)
Spatula
Stiletto
Renovating bedroom wall with sash
• Renovando a Parede do quarto - antes e dep...
Повторяем попытку...
Доступные форматы для скачивания:
Скачать видео
-
Информация по загрузке: