Variocage Single Original Assembly Guide
Автор: MIMsafe UK
Загружено: 2022-11-09
Просмотров: 13677
Описание:
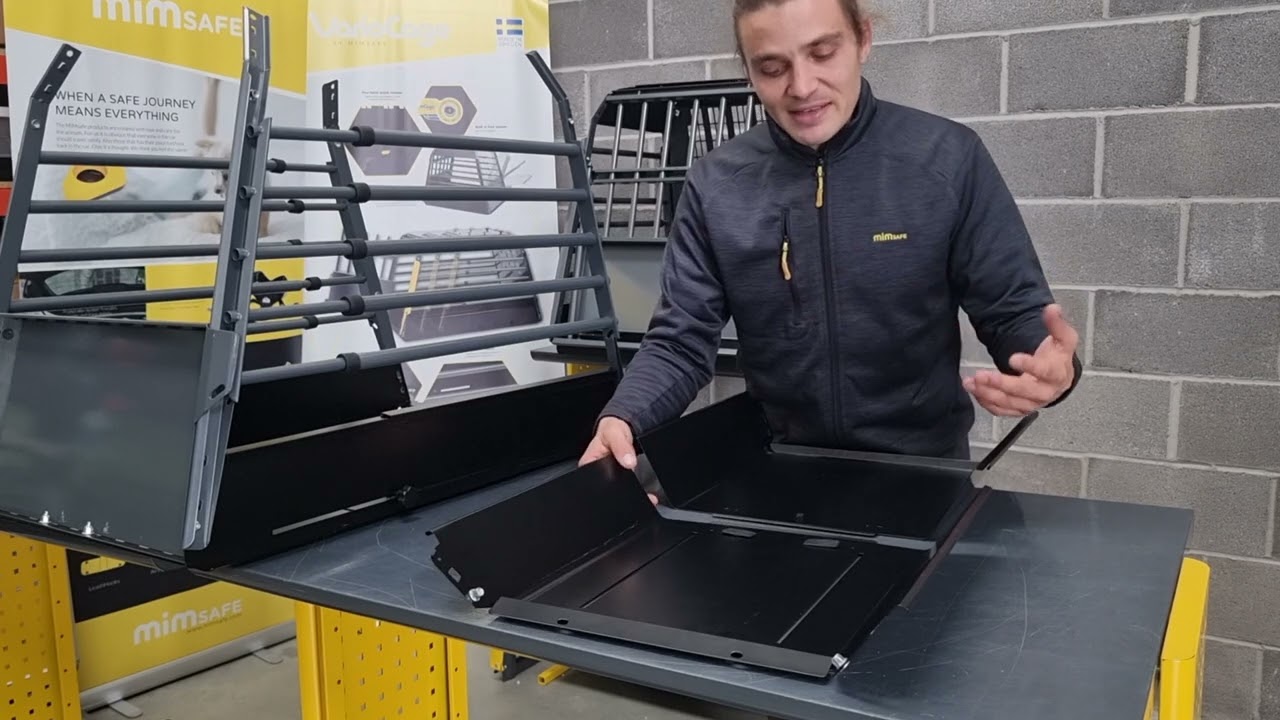
Angus from MIMsafe UK shows how to assemble any of the Variocage Original Single Models, each instruction step is highlighted for ease of use.
▬ Contents of this video ▬▬▬▬▬▬▬▬▬▬
0:00 - Introduction
0:41 - Step 1 (Putting in the adjustment bolts on the floor panel.)
02:00 - Step 2 (Getting the plastic stoppers and rubber gaskets onto the thinner sets of side bars.)
03:52 - Step 3 (Putting the side bars together - ready to go onto the cage floor.)
04:48 - Step 4 (Putting the sides onto the cage floor.)
06:16 - Step 5 (Putting on the rear panel)
06:36 - Step 6 (2 Black Bolts onto the inside of the rear panel.)
07:36 - Step 7 (Bolting on the rear panel, 4 stainless bolts.)
08:51 - Step 8 (Separating the roof and putting rubber stoppers into the roof panels to prevent noise while travelling.)
09:47 - Step 9 (Putting the roof panels back together, ready to go onto the cage.)
10:39 - Step 10 (Putting the roof onto the cage.)
12.20 - Step 11 (2 x Stainless bolts through the rear of the roof into the side panels.)
12:58 - Step 12 (Putting the adjustment bolts into the roof of the cage.)
14:11 - Step 13 (Putting the door onto the cage)
14:50 - Step 14 (Bolting the door onto the cage, 8 x Stainless bolts required)
16:33 - Step 15 (Adjusting the depth to suit your car.)
16:48 - Step 16 (Be careful shutting the boot when adjusting the depth)
18:02 - Step 17 (Tighten up the depth adjustment bolts.)
18:23 - Step 18 (Take it back out of the car to fit the rear escape hatch.)
18:34 - Step 19 (Putting in the rubber gaskets to the rear escape hatch.)
19:24 - Step 20 (Putting the escape hatch onto the cage.)
19:49 - Step 21 (Putting in the red "quick release" toggles for the escape hatch.)
20:37 - Step 22 (Load it into the boot space of the car.)
21:07 - Step 23 (Inserting straps, ready to travel.)
Повторяем попытку...
Доступные форматы для скачивания:
Скачать видео
-
Информация по загрузке: