Contemporary Gazebo Roof Panel Tin Install
Автор: T Knight Productions Ltd
Загружено: 2024-05-02
Просмотров: 817
Описание:
https://assemblyhub.us/assemble-hub-p...
https://assemblyhub.us/review/yardist...
https://assemblyhub.us/product/costco...
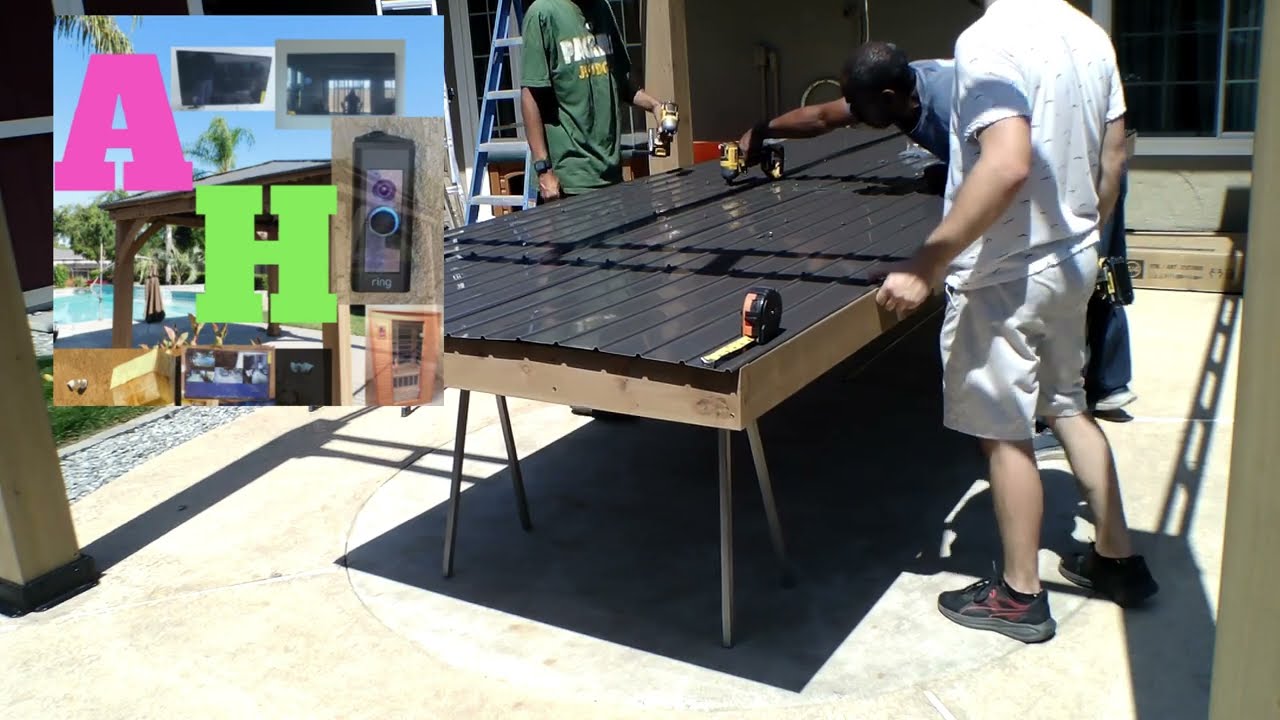
Hello everyone, hope all is well. In this video, I show you how to install your Contemporary Gazebo Roof Panel's Tin. I hope this video helps you understand how to put the tin on, if your a little confused.
Some important things to remember:
1. The bottom/end/back or whatever you want to call it, you need the "tin" hanging over the edge of wood, 1" (One inch)
2. The tin must fit, within the wood on all 3 sides, other than the bottom/end/back. (evenly, as possible)
3. The tin, has pre-drilled holes on both sides. You will need the one side with more holes, at the bottom/end/back.
So, the tin with the most holes, for the 1" side space, at bottom of Roof Panel, need to be in the direction of the bottom/end/back of roof panel.
All four panels, with the most holes, need to be in the direction of the bottom of panel.. (Example: B side and A side, panels with the most holes need to be towards or facing the bottom and the one side with the less holes, need to be facing or towards the top of Roof Panel.
4. "B Tin Panels", are on the right side, if you are facing the bottom up & "A Tin Panels", are on the left side. (same fashion as B Tin Panel.)
**Tip: I start off with Panel "B", to the right side and measure one inch from bottom of tin and the edge or end of the wood panel. I make sure that it fits, centimeters from the edge of wood and its 1" space at bottom of tin, hanging off wood.
I check it and then I add Panel "A", also making sure it is within the wood, centimeters from the edge.
*** I go back to Panel "B" and add two (2) screws, away from eachother, securing "Panel B" first.
I then add Panel "A" next to "B", checking the edge again, along with the other two panels, making sure that is within the wood and even, as possible.
I pull the TOP panels, A & B sides away and I add two (2) screws to Panel "A" BOTTOM PANEL SIDE, away from eachother. ** but NOT close to middle, because you will need to add silcone to the panels, by careful lifting or having someone pulling it UP, while someone, or you apply silcone
I repeat the process, for the remaining Roof Panels. (B Panel above B Panel and A above A Panel.) Adding a few screws to secure it to wood.
Once, your satisfied with it, add all of the roof tin screws, other than to the bottom and side(s), depending what section of the roof panel your working on. Please review Install Instructions, for the section your working on.
5. Remember to add, the silcone to the panels, be careful, that you have the panels in the right direction and orientation. One solid, full line, or back in forth, continuously, along the panel connecting sections.
Once your done with all of the sections of the roof panel, you can move on to the next panels, if not completed already.
It is important to have the 1" space on bottom, but if it's off, it's ok, you will just have to make your own holes and it will still work the same, but the goal is to line it up as best you can...
Thank you for watching, reading and looking for help. I hope this video or the text information can help you with your New Costco Contemporary Gazebo Install, for those "Do It Yourselfers" and for those who rather have someone else install it, Give https://assembly.us a try or call/text 1-559-803-1808 and ask for Tee Knight.
https://assemblyhub.us/assemble-hub-p...
https://assemblyhub.us/review/yardist...
https://assemblyhub.us/product/costco...
#costco #gazeboassembly #yardistry #backyardideas #diyprojects #patiodesign #patiocovers #diyinstallation #diy #Assemblyhub #share #like #fresno #clovis #california #californiarealestate
Повторяем попытку...
Доступные форматы для скачивания:
Скачать видео
-
Информация по загрузке:


