How to Use ANY Pocket Notary Seal Embosser with Handle (Trodat Acorn Shiny Maxlight MaxSeal Assemble
Автор: Helping Hermit
Загружено: 2025-06-20
Просмотров: 505
Описание:
Operating a pocket notary embosser like a Trodat, Shiny, or Acorn is straightforward once you understand the parts and pressure technique. Here’s a step-by-step guide that works for most compact notary embossers:
Parts of a Pocket Notary Embosser
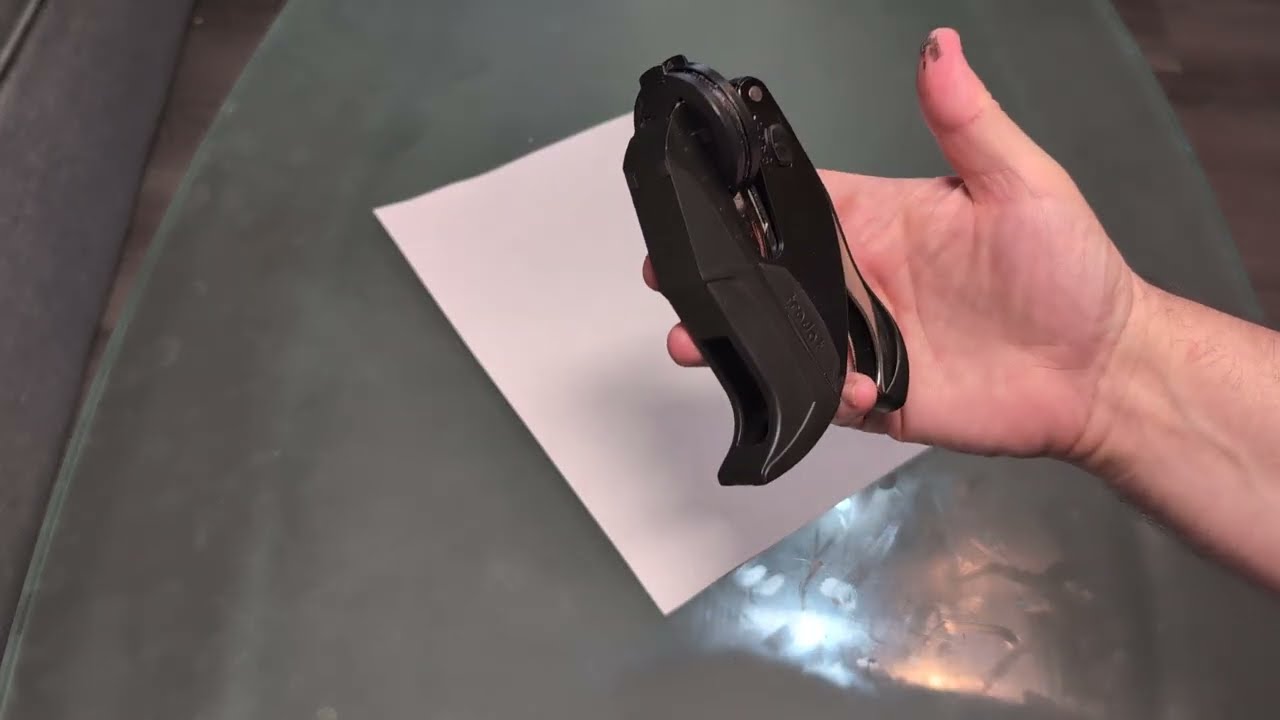
Handle: The lever arms you squeeze together.
Die Plates: The metal inserts that emboss your notary seal.
Base Slot: Where you insert the paper.
Locking Mechanism (optional): Keeps it closed when not in use.
How to Use a Pocket Notary Embosser
1. Unlock the Embosser (if needed)
Some pocket models have a small latch or slide lock to keep it shut during storage.
Slide or unclip it to open the jaws.
2. Insert the Paper
Insert the edge of the document into the embosser slot.
Position it where you want the seal — typically the lower left or right corner.
Align it so the paper is fully between the upper and lower die plates.
3. Squeeze Firmly
Grip the handle with your thumb on top and fingers below (like a stapler).
Squeeze evenly and firmly until you feel full pressure.
Hold for a second or two, then release.
TIP: If your embosser is weak or doesn’t fully imprint, try placing the paper on a firm surface like a table and using two hands.
4. Check the Seal
The impression should be clear and deep, but not tear the paper.
If faint, you may need to realign the insert or apply more pressure.
Maintenance Tips:
Keep the embosser clean and dry.
Don’t store it clamped shut for long periods — it weakens the spring.
If the impression weakens over time, replace the die insert.
Storage:
Lock it shut if your model supports it.
Store in a protective pouch or case to avoid damage to the die. #notarystamp
Disclaimer: As an Amazon Associate I earn from qualified purchases.
Повторяем попытку...
Доступные форматы для скачивания:
Скачать видео
-
Информация по загрузке: