How to Create Topography | REVIT
Автор: 1 Minute Revit Tips
Загружено: 2025-04-01
Просмотров: 83
Описание:
WATCH MORE REVIT SHORTS Here :
• REVIT | Shorts
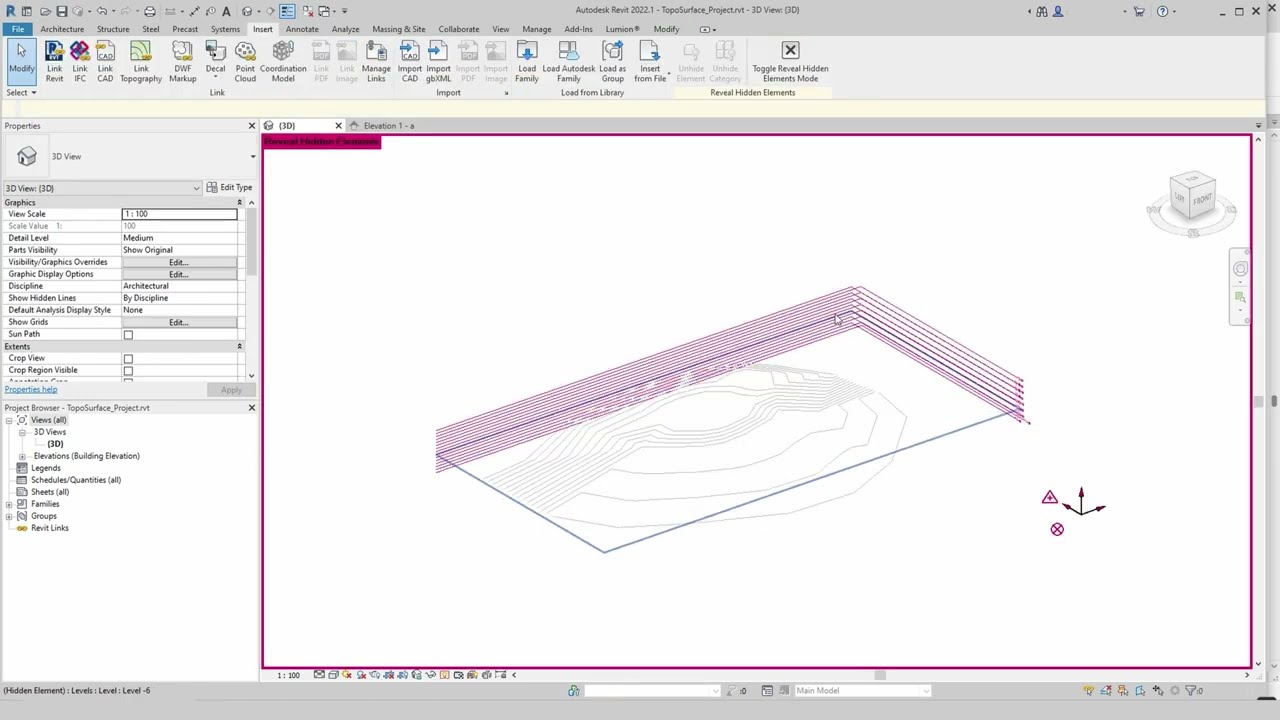
TLDR:
Import then Explode flat CAD.
Chain-select and associate with WORKPLAIN LEVELS.
Step by Step:
In Revit:
1. In any elevation view \ Set up the height levels you need
2. In Plan View\ Insert \ Import CAD\
3. Select imported CAD \ Explode CAD
4. Chain Select (TAB) first contour line
5. Edit work plain \ specify a new work plain \ By Name \
6. Repeat steps 4 and 5 until all lines have heights via specified workplanes/levels.
7. Export lines [FILE \ EXPORT \ CAD FORMATS \ DWG]
8. Delete Lines in the viewport
9. Import DWG created in step 7.
8. [Ribbon] Go to Massing & Site \ Toposurface\Create from import \ Select Import Instance
DONE
#topography #topography #site #modeling #terrain #contours #site #modeling #terrain #contours #topodurface #tutorial
Song: Slow Life
Artist: Benjamin Lazzarus
License code: BI8FZFOVOT3XP9BC
Royalty Free Music:
https://www.bensound.com
Повторяем попытку...
Доступные форматы для скачивания:
Скачать видео
-
Информация по загрузке:


