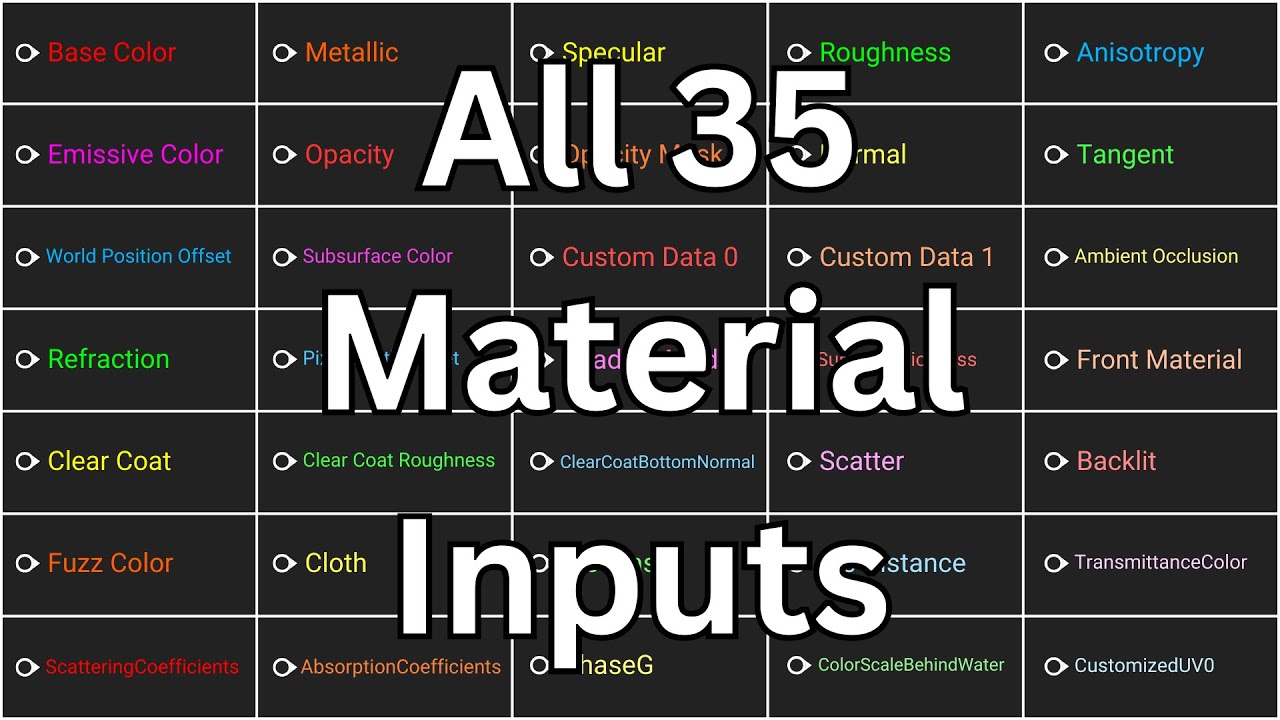
All 35 Material Inputs in Unreal Engine Explained in Under 12 Minutes
Автор: Unreal Engine 5 Tutorials
Загружено: 2024-01-23
Просмотров: 10383
Описание:
Want to learn Unreal Engine? Use the following link for a huge discount on a 10-hour Unreal Engine 5 Beginner's course: https://www.udemy.com/course/unreal-e...
Or, use the following link for a huge discount on a 19-hour Unreal Engine 5 Intermediate course: https://www.udemy.com/course/unreal-e...
In Unreal Engine, Materials are the skins of the objects in the game. When you first open a new Material asset, you will see the Main Material node. This node contains several Material Inputs. Each input defines one of the attributes, or characteristics, of the Material. These are the inputs that appear on the node by default, but which inputs are available at any given time depends on the settings of the Material’s properties.
For each input, you can either supply a single value which will apply to the entire Material, or you can use an image to supply a value for each pixel of the Material. When using an image in this manner, it is referred to as a Texture.
The Base Color input defines the color of the Material as it appears before it is affected by any of the other attributes. It uses three float values, known as a Vector, between 0 and 1 to define the red, green, and blue components of the color. Like any other Material input that accepts Vector values, you can supply it with either a single Vector value to define the attribute for the entire Material, or with a color image to define the attribute for each pixel.
The Metallic input defines whether or not the Material is made of metal. It is defined with a single float value between 0 and 1, with 0 meaning the Material is not metal and 1 meaning the Material is metal. Values between 0 and 1 can be used to create a dirty or rusty metal Material.
Like other Material inputs that accept float values, you can supply it with either a single float value to define the attribute for the entire Material, or with a grayscale image to define the attribute for each pixel. The closer a pixel is to pure black, the closer its value is to 0 and the closer it is to pure white, the closer its value is to 1.
The Specular input uses single float values to define how reflective a Material is, with 0 being completely non-reflective and 1 being fully reflective. However, most objects in the real world actually reflect light the same amount - the amount represented by the input’s default value of 0.5. So the difference between, for example, a rock and a mirror, isn’t the amount of light they reflect back, but how evenly they reflect light back.
And that depends on the object’s roughness, which can be defined using the Roughness input. The closer this input is to 0, the smoother the Material will be and the closer it is to 1, the rougher the Material will be.
The Anisotropy input is used to create anisotropic surfaces, which look different based on the direction that light hits them. Brushed metal, optical discs, and suede are some examples of anisotropic surfaces. These characteristics occur because of a repetitive pattern of roughness on the surface, such as the grooves of the CD, or the fibers of the suede. These patterns are defined within Unreal using the Tangent input, while the Anisotropy input defines the strength of the effect. The Tangent input accepts Vector values, where each Vector defines an actual vector in 3D space which specifies the direction light should reflect at that point. The Anisotropy input accepts float values between negative 1 and positive 1, where 0 will cause there to be no anisotropic effect, 1 will cause the strongest effect, and negative 1 will cause the strongest effect in the exact opposite direction.
00:00 Intro
00:48 Base Color
01:17 Metallic
01:59 Specular
02:28 Roughness
02:42 Anisotropy & Tangent
03:41 Emissive Color
04:01 Opacity
04:21 Opacity Mask
04:41 Normal
05:25 World Position Offset
06:03 Subsurface Color
06:33 Custom Data 0 & 1
06:57 Ambient Occlusion
07:16 Refraction
07:38 Pixel Depth Offset
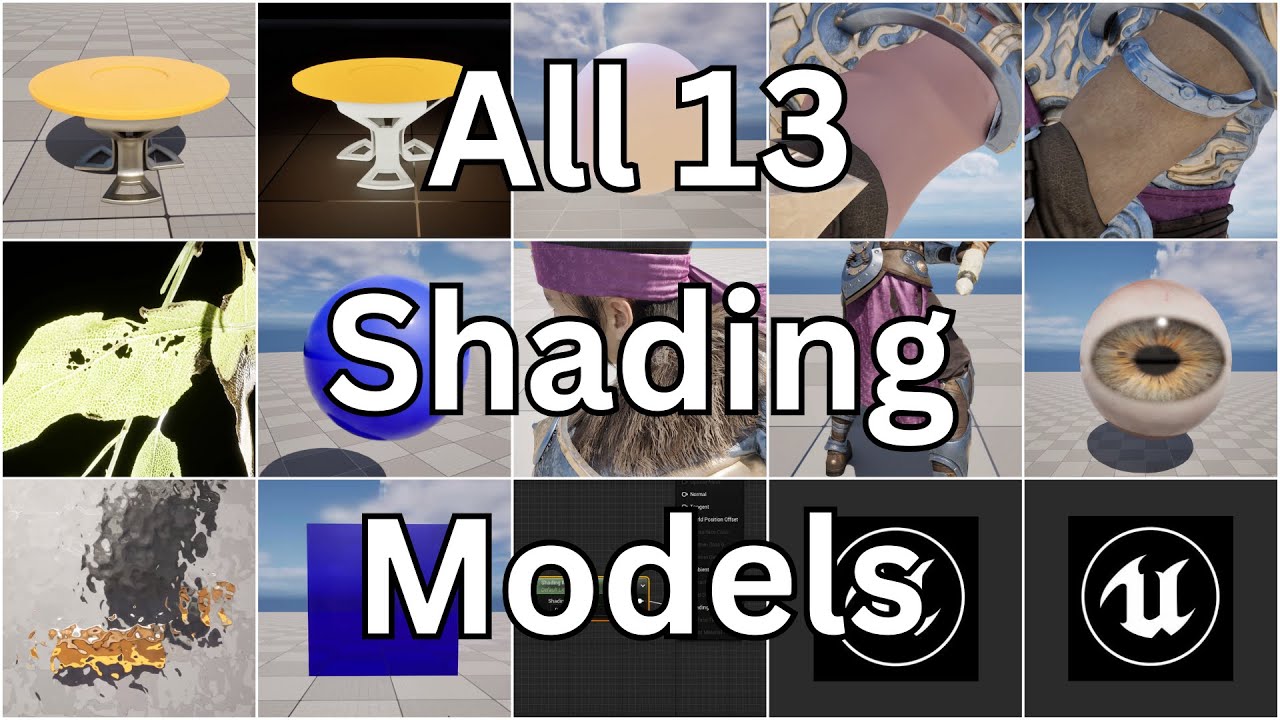
07:57 Shading Model
08:12 Surface Thickness & Front Material
08:40 Clear Coat & Clear Coat Roughness
09:00 ClearCoatBottomNormal
09:29 Scatter
09:42 Backlit
09:52 Fuzz Color
10:06 Cloth
10:21 Iris Mask
10:35 Iris Distance
10:45 TransmittanceColor
11:02 ScatteringCoefficients
11:24 AbsorptionCoefficients
11:39 PhaseG
12:04 ColorScaleBehindWater
12:22 CustomizedUV0
12:43 Outro
Повторяем попытку...
Доступные форматы для скачивания:
Скачать видео
-
Информация по загрузке: