Destiny| Rusted Lands Control Spawn Guide
Автор: IgKnight
Загружено: 2015-04-29
Просмотров: 633
Описание:
Please: Share, Like/Dislike, Leave a Comment, and Subscribe!
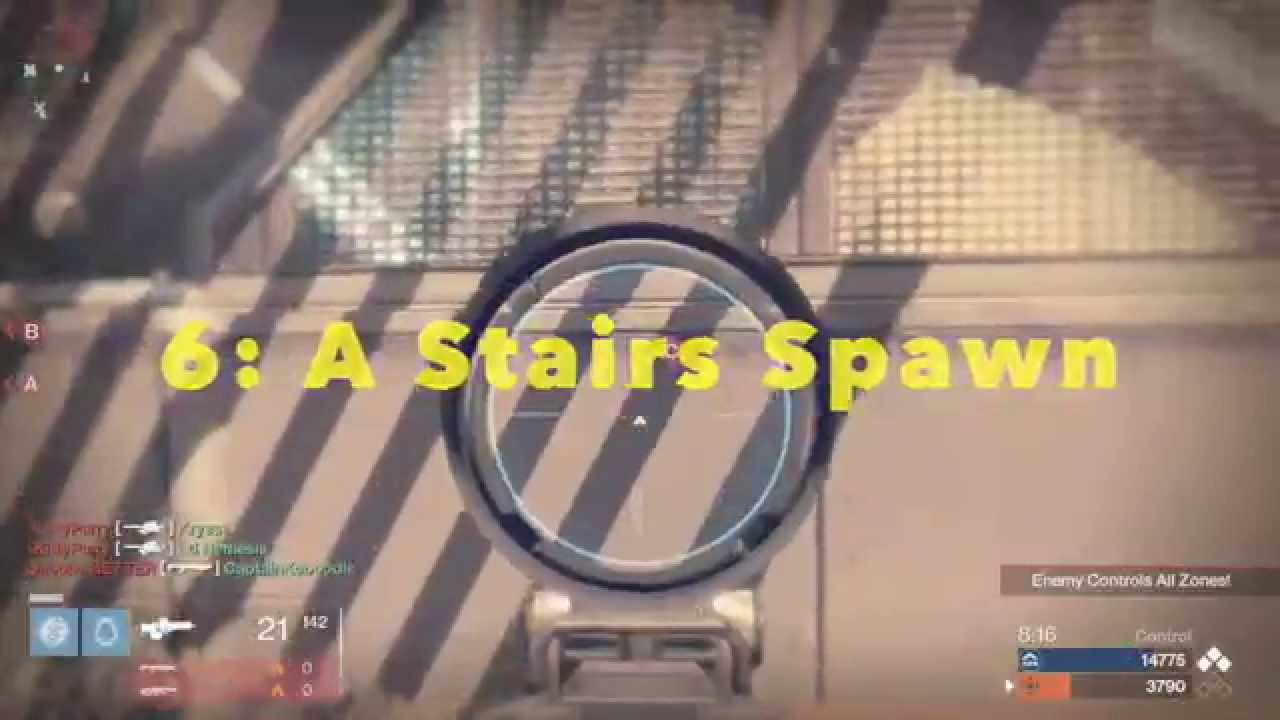
In this video I go over the 7 major spawn areas and their influencing factors.
Spawn 1 (Back A): This spawn is behind the A control point and occurs when enemies are aggressive in the C Control lane area, control C, and are in the A-B Lane.
Spawn 2 (B Lane): This spawn area occurs when the enemy team has less influence in the A-B lane, not blocking this spawn, and is overextending the C Lane.
Spawn 3 (Back B): This spawn area occurs when the enemy team controls the A spawn area and is more concentrated at the A control point, near the water tower, and near the C control point.
Spawn 4 (C Heavy): This spawn area is around and behind the C heavy spawn area and occurs when the enemy team is blocking the C back spawn while either neutralizing the C control point or overlooking it from the water tower. Furthermore, the enemy team can have an adequate influence in the B pathway.
Spawn 5 (Back C): This spawn area is where Bravo team starts. It occurs when the enemy team is more concentrated in B pathway and has not overextended into the C control area.
Spawn 6 (Front Water tower): This spawn occurs when the enemy team is lightly concentrated in the C control area, and is predominantly invested in the B control area and B pathway.
Spawn 7 (Back Water Tower): This spawn area is the starting spawn area for Alpha team and occurs when the enemy team does not overextend the C alcove and ledge area, as well as when they are more concentrated in the B Control area.
Повторяем попытку...

Доступные форматы для скачивания:
Скачать видео
-
Информация по загрузке: