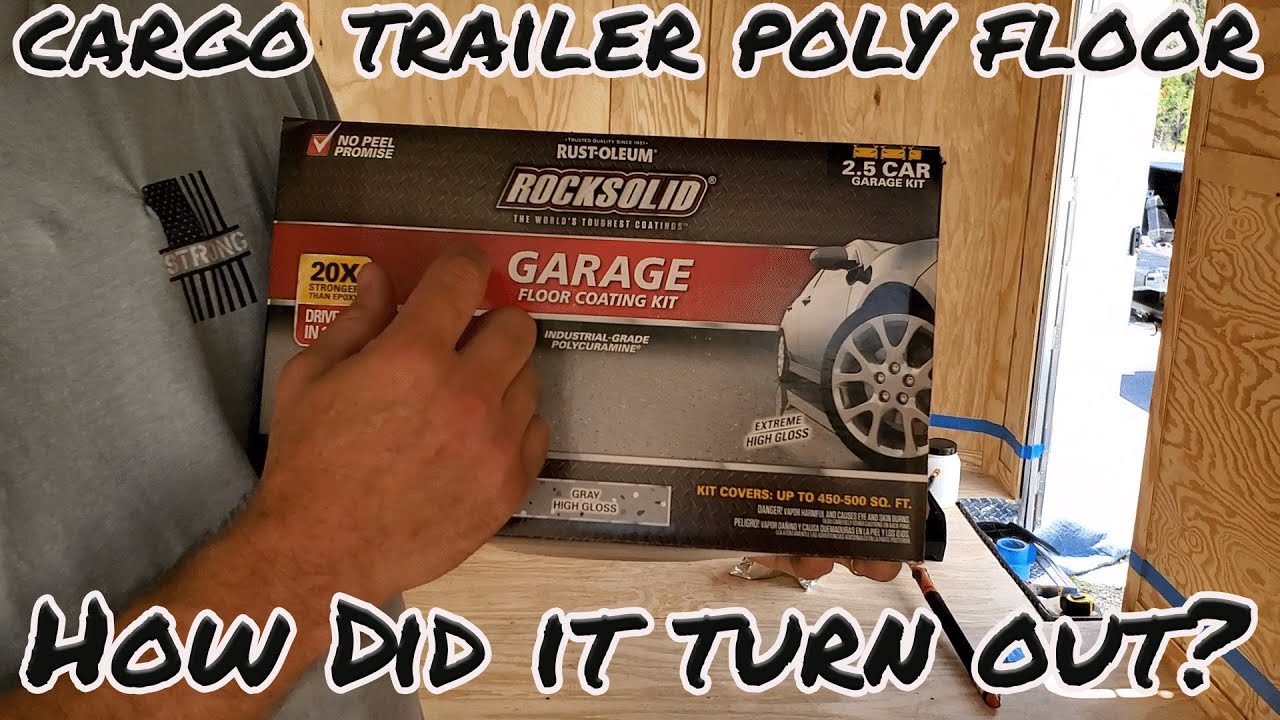
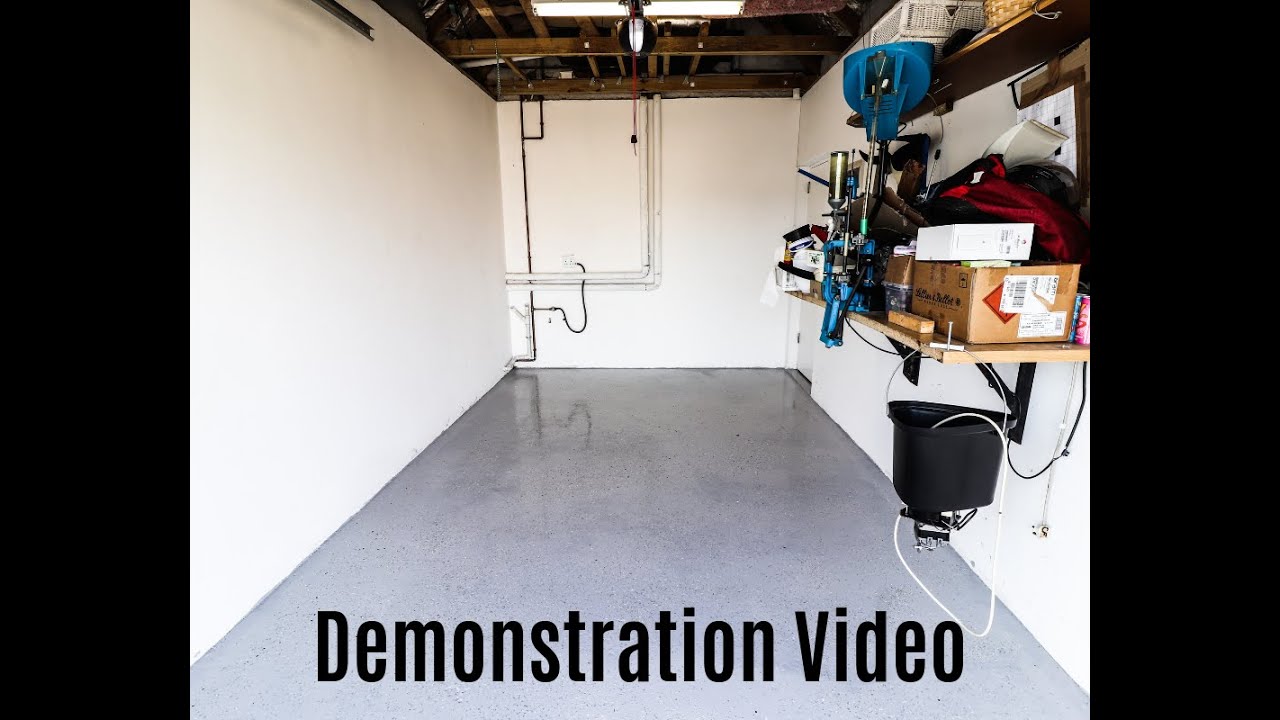
ROCK SOLID FLOORS DEMO VIDEO
Автор: Hendrik Van Aswegen
Загружено: 2019-08-15
Просмотров: 20969
Описание:
Step 1: Make Sure Your Floor Is Smooth & Clean
Oil/Grease Stains & Self Levelling Screed
Should you have any grease stains, you need to get a degreasing agent from your local hardware store to prevent the DIY Kit from chipping over time.
1. Apply degreaser to the oily/greasy parts and let it penetrate for 2-3 minutes.
2. Use a thick brush broom or scrub to wash the dirty spots.
3. Rinse with fresh water until all the grease as well as the degreasing agent is completely removed.
4. Leave the floor overnight to dry.
5. Once dry simply sweep any excess dust that might have accumulated overnight and your floor is ready for step 2.
If your floor is not 100% smooth or as smooth as you would like it, then please order a self-levelling screed to make the floor super smooth.
Step 2: Fill Any Cracks Or Holes In The Floor
Should you have any cracks on your floor now would be a good time to patch those up so you can get that smooth, seamless floor finish.
1. Take the crack filler and place it into a small container, add a little bit of water and stir until it is a porridge consistency.
2. Use a scraper to apply the crack filler in the cracks.
3. After 2-3 hours when the crack filler has dried, use 100grit sandpaper to smooth the join.
TOP TIP: You can always add more water so instead, pour the water in increments as to avoid making the crack filler watery.
Step 3: Applying The Base Coat
Now for the fun part!
1. Open the 5L light grey base, as well as the 1L hardener. Then pour the 1L hardener into the 5L light grey tin. Stir it with a paddle stick, it is important to do this for about for 2-3 minutes so that the hardener and the base can mix properly.
2. Take one of the 75mm brushes provided in the kit and cut a 10cm line all around the edges of the room.
3. Assemble the mohair roller to the roller handle provided in the kit.
4. Once that is done, pour a generous line of the light grey about 2 meters long and 1 meter from the parallel wall. Take the mohair roller provided in the kit and spread the grey base.
5. Once the 2 square meters are completely covered, then you can apply your Epoxy flakes. Make sure you do this while the base is still wet so that the flakes can stick to the floor.
6. Repeat this process until the whole garage is completely covered.
7. Allow the product to dry for 8-12 hours before moving to the next step.
Step 4: Applying The Pure Resin
The finishing touches
1. Take a hard fibre broom and sweep off any flakes that did not stick.
2. Open the 2L Pure Resin as well as the 500ml Resin Hardener. Pour the 500ml Hardener into the 2L pure resin tin
3. It is important to stir the mix with a paddle stick for 2-3 minutes.
4. Allow for 2 mins to let most of the bubbles escape.
5. You will see that the Resin has the same constancy as honey.
6. Spread and seal the entire floor with the second mohair roller provided.
7. Allow drying for 24 hours.
*IMPORTANT* If the temperature drops below 15 degrees celsius the Resin will stop curing. This is not a problem, it will simply prolong the drying period.
Повторяем попытку...
Доступные форматы для скачивания:
Скачать видео
-
Информация по загрузке: