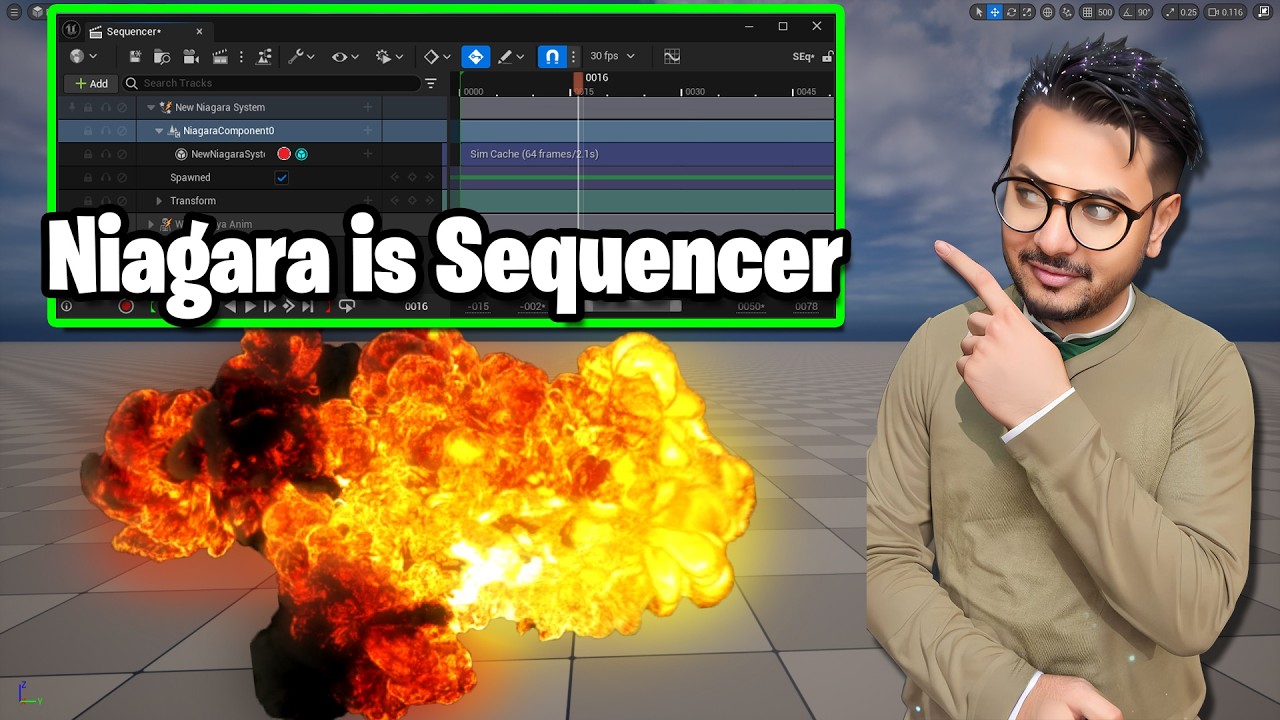
How to Use Niagara in Sequencer: Unreal Engine 5.4 Guide
Автор: CGHOW
Загружено: 2024-09-10
Просмотров: 9107
Описание:
Want to take your visual effects from real-time to cinematic? In this essential UE5.4 guide, your host, Ashif Ali, a RealtimeVFX artist from India, will teach you to seamlessly integrate and animate Niagara particle systems directly within Unreal Engine's Sequencer. You'll learn the key to creating stunning, pre-scripted VFX sequences for cinematics, cutscenes, and trailers.
This video is a must-watch for game developers and VFX artists who want to master the powerful combination of Niagara and Sequencer. I will walk you through the entire process, from adding your effect to controlling every parameter over time.
What You'll Learn:
✅ Adding Niagara to Sequencer: Understand the proper workflow for placing and managing your Niagara systems in a cinematic timeline.
✅ Keyframe Parameters: Master the art of keyframing to control the size, color, velocity, and other properties of your VFX over a specific duration.
✅ Timeline Control: Learn how to use Sequencer's timeline to precisely time your effects with other events, such as camera movements or sound cues.
✅ Cinematic Application: Discover how this technique is used in professional game development to create visually compelling story moments.
Unreal Engine 5.4 Niagara sequencer tutorial
UE5 Niagara life cycle tracks guide
how to scrub Niagara particles in sequencer
Niagara fluid cache recording UE5
Unreal Engine cinematic VFX workflow
Niagara system desired age property
how to sync Niagara particles with animation
fix Niagara particles not scrubbing in UE5
animating Niagara spawn rate in level sequencer
record Niagara simulation for cinematic rendering
UE5 Niagara desired age not working fix
controlling Niagara color through sequencer parameters
UE5 level sequencer particle attachment
Niagara user parameters animation sequencer
attach Niagara system to skeletal mesh bone
Unreal Engine 5 VFX for cinematics
Niagara spawnable vs possessable sequencer
UE5 Niagara component property tracks
#UE5Niagara #RealtimeVFX #vfxtutorials
0:00 Intro & The Old Forum Question: Frame-Locking Niagara for Scrubbing
0:36 Part 1: Basic Sequencer Setup & Niagara Integration
0:36 Creating a Cinematic Level Sequencer asset
1:07 Adding Niagara: Dragging the Niagara System into the viewport or directly into the Sequencer
1:43 Accessing Parameters (Niagara Component): Selecting the Niagara System and adding the Niagara Component track for full parameter control
2:34 Controlling Life Cycle with Spawn Keys
2:46 Setting the Niagara System to Spawnable
2:52 Using the Spawn Track (Red/Green Keys) to activate/deactivate the effect on specific frames (causes instant particle death)
3:35 Controlling Life Cycle with the Life Cycle Track
3:35 Using the Life Cycle Track (Yellow Bar) to define the duration (particles fade out naturally)
4:29 Part 2: The Answer! Frame-Locking for Scrubbing
4:32 Selecting the Niagara Component
4:43 Adding the Life Track (Desired Age) option
4:47 Result: The particles now follow the timeline precisely, allowing you to scrub backward and forward while particles snap to the correct state
5:05 Note: Checking the Desired Age property (for older UE versions)
5:26 Part 3: Attaching Niagara to Animation/Bones
5:32 Adding a Skeletal Mesh (Character Walk) to the Sequencer
6:30 Attachment Setup: Going to the start frame and using the Attach track
7:01 Selecting the Target Bone (e.g., LeftToesBase) for attachment
7:09 Attachment Range: Ensuring the Attachment Track bar covers the entire section of the animation
7:38 Local Space Offset: Adjusting the particle system's position relative to the bone while attached
8:17 Part 4: Keying Effects to Steps (Dust Example)
8:26 Creating a basic Dust Burst effect (Burst Instantaneous)
9:31 Syncing: Animating the Dust effect's Spawn Track (Spawn/Deactivate) to precisely match the character's footfalls
11:22 Part 5: Animating User Parameters
11:39 Spawn Rate: Creating a Spawn Rate User Parameter in Niagara
12:09 Keying Spawn Rate: Adding the Spawn Rate User Parameter to the Sequencer and keying it from 0 to 200 (Burst Start) and back to 0 (Burst End) to control particle count
13:26 Color/Shade: Creating a Shade (Float) User Parameter to control brightness
13:53 Keying Shade: Keying the Shade Parameter to spike the brightness (e.g., to 500) for a few frames for a strong flash
14:49 Part 6: Caching Niagara Fluids (Optimization)
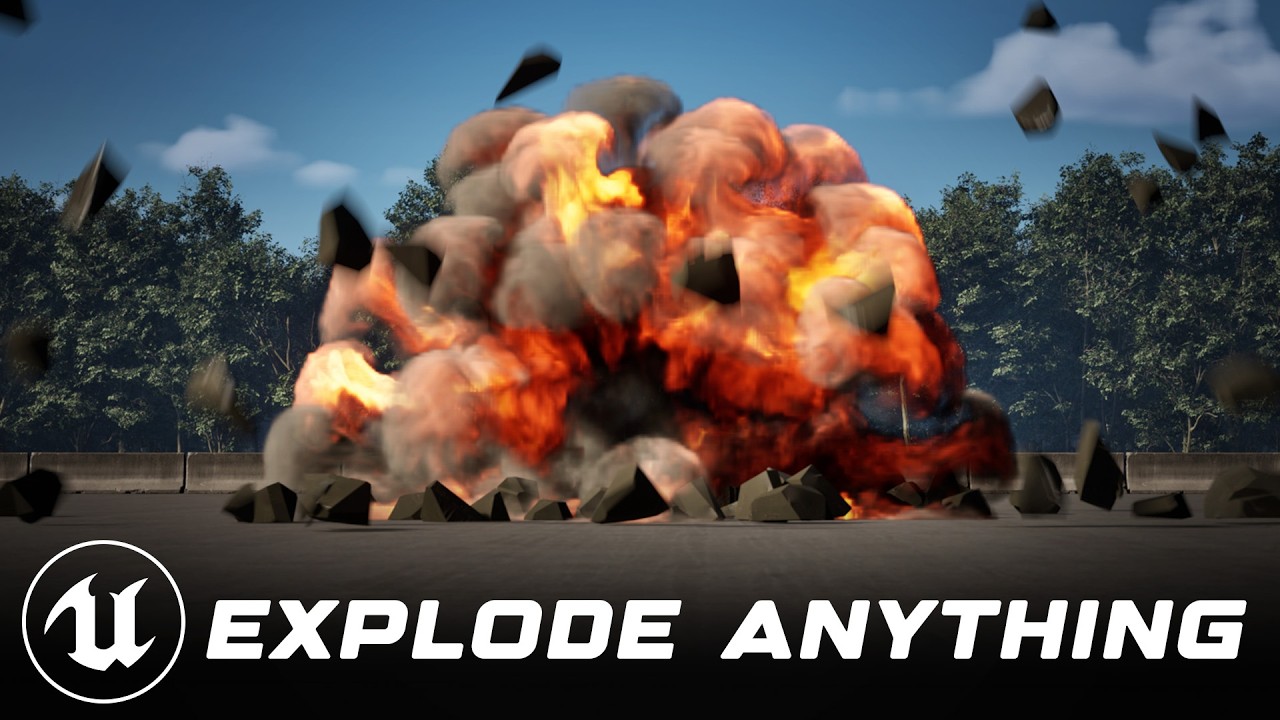
14:55 The Problem: Heavy fluid effects (like an Explosion) often stutter during playback
16:10 The Solution (Niagara Cache): Adding the Niagara Cache Track
16:19 Hitting the Record Button to pre-simulate and Cache the heavy fluid simulation
16:40 Result: Smooth, high-resolution playback and scrubbing of the fluid simulation
17:44 Conclusion
Повторяем попытку...
Доступные форматы для скачивания:
Скачать видео
-
Информация по загрузке:


![Niagara Collisions | Niagara [UE5]](https://imager.clipsaver.ru/vVuHxl7w2bA/max.jpg)