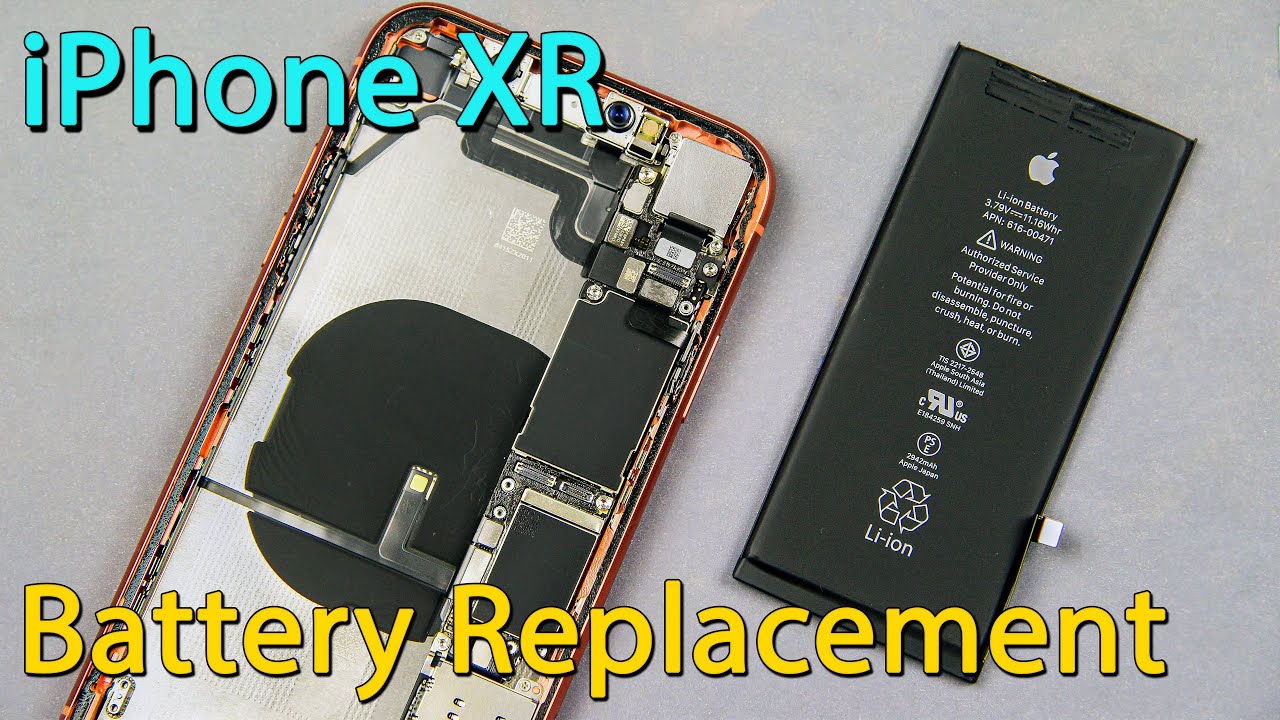
Complete Guide to iPhone XR Disassembly and Battery Replacement
Автор: How-FixIT
Загружено: 2018-12-29
Просмотров: 37690
Описание:
Learn how to disassemble the iPhone XR and replace its worn out or dead battery with this easy step-by-step guide.
Buy battery and tools on Amazon:
Screwdriver Set: https://hfixt.com/spro
Pro Toolkit: https://hfixt.com/tool
Tweezers: https://hfixt.com/tzrs
Magnetic Mat: https://hfixt.com/mat
Adhesive Tape: https://amzn.to/4g3e7zv
Battery: https://amzn.to/3OOVhzS
Global AliExpress:
Battery: https://hfixt.com/ipxsb
Adhesive Tape: https://hfixt.com/ip11a
Screwdriver Set: https://hfixt.com/alis
Opening Tool Kit: https://hfixt.com/alit
Magnetic Mat: https://hfixt.com/amat
Tweezers set: https://hfixt.com/altz
📌*Useful links*
iPhone Battery Calibration: • iPhone Battery Calibration Guide: Fix Unkn...
More DIY repair guides: https://how-fixit.com
📱Follow us for more tech tips and guides!
Instagram: / howfixit
Facebook: / howfixit
X: https://x.com/HowFixit
Description
Disassemble your iPhone XR and replace worn out or dead battery like a pro with this detailed step-by-step guide! In this video, we’ll show you how to safely open the iPhone XR, remove its components, and replace the battery using commonly available tools. Whether you’re dealing with a weak battery or just want to save on repair costs, this DIY guide is perfect for beginners and experts alike. Don’t forget to subscribe to HowFixit for more repair guides!
🔧Tools you'll need:
Screwdriver set
Tweezers
Opening plastic tool
Plastic mediator
Suction cup
Hairdryer
Steps covered in the video:
1. Removing the SIM card tray and unscrewing lightning port screws.
2. Heating the display to loosen the adhesive and carefully prying it open.
3. Disconnecting display cables and the battery cable.
4. Removing the Taptic Engine, speaker, and adhesive tapes to replace the battery.
5. Testing the new battery and reassembling the iPhone XR with waterproof adhesive.
Key Takeaways:
✅Safely disassemble the iPhone XR using simple tools.
✅Remove and replace the battery with minimal risk.
✅Properly reapply waterproof adhesive to maintain protection.
✅Follow detailed steps to avoid common mistakes during repair.
✅Test the phone before final assembly to ensure functionality.
✅Restoring water resistance
🎬Time Code
0:00 Intro to Battery Replacement Tutorial
0:15 Tools Needed
0:30 Preparing the iPhone for Disassembly
0:40 Removing the Display Safely
1:52 Disconnecting Battery and Display Cables
2:32 Removing the Taptic Engine and Speaker
4:40 Removing the Old Battery Adhesive
5:45 Installing the New Battery
6:30 Reassembling
8:24 Testing the iPhone Before Gluing
8:46 Restoring water resistance
🌟FAQ
Q1: What tools do I need to replace the iPhone XR battery?
A1: You’ll need a screwdriver set, tweezers, a suction cup, a plastic opening tool, a plastic mediator, and a hairdryer.
Q2: How do I maintain waterproofing after battery replacement?
A2: Use a new adhesive tape to seal the case properly. Links to buy adhesive tape are in the video description.
Q3: Can I replace the battery without removing the Taptic Engine?
A3: It’s possible but more challenging. Removing the Taptic Engine makes it easier to remove adhesive tapes.
Q4: Why is testing the iPhone before reassembly important?
A4: Testing ensures all components work properly before sealing the case.
Q5: Where can I find replacement parts?
A5: Links to tools and replacement parts are provided in the video description.
AFFILIATE PROGRAM
We are a participant in the Amazon Services LLC Associates Program, an affiliate advertising program designed to provide a means for us to earn fees by linking to Amazon.com and affiliated sites.
#iphonexr #howfixit #iphonerepair #diy #techrepair
Повторяем попытку...
Доступные форматы для скачивания:
Скачать видео
-
Информация по загрузке:
![iPhone XR – замена разъема Lightning [включая повторную сборку]](https://image.4k-video.ru/id-video/TRN2RSa7Sns)


![iPhone XR – Battery replacement [repair guide including reassembly]](https://image.4k-video.ru/id-video/av0AtkmxBAw)


