Making a latte mug part 2: Trimming
Автор: Catherine Laroche
Загружено: 2021-01-18
Просмотров: 839
Описание:
Hi there!
Here is how my latte mugs are made, part 2!
Now that the thrown piece has had a little bit of time to dry (timing depends on the size of the piece as well as ambient humidity in the studio), the firmed clay will become like leather: flexible but strong. It is at this stage that it can be trimmed, carved, pierced, cut.
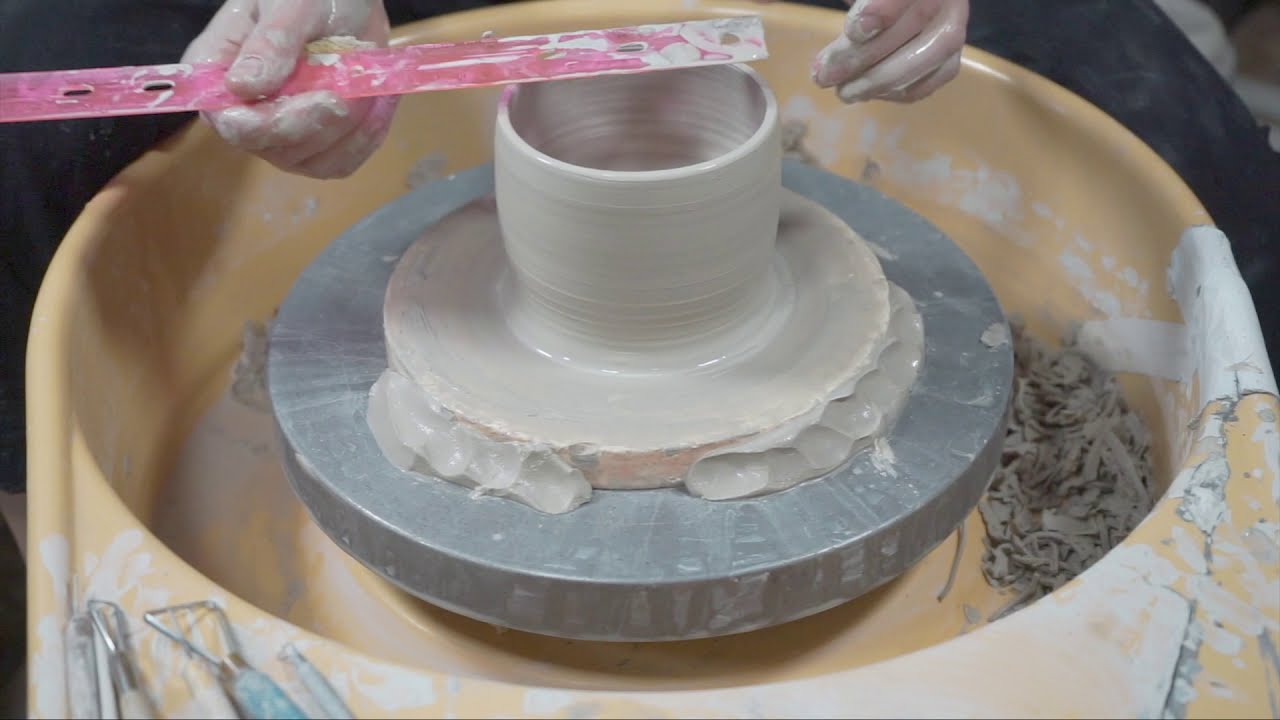
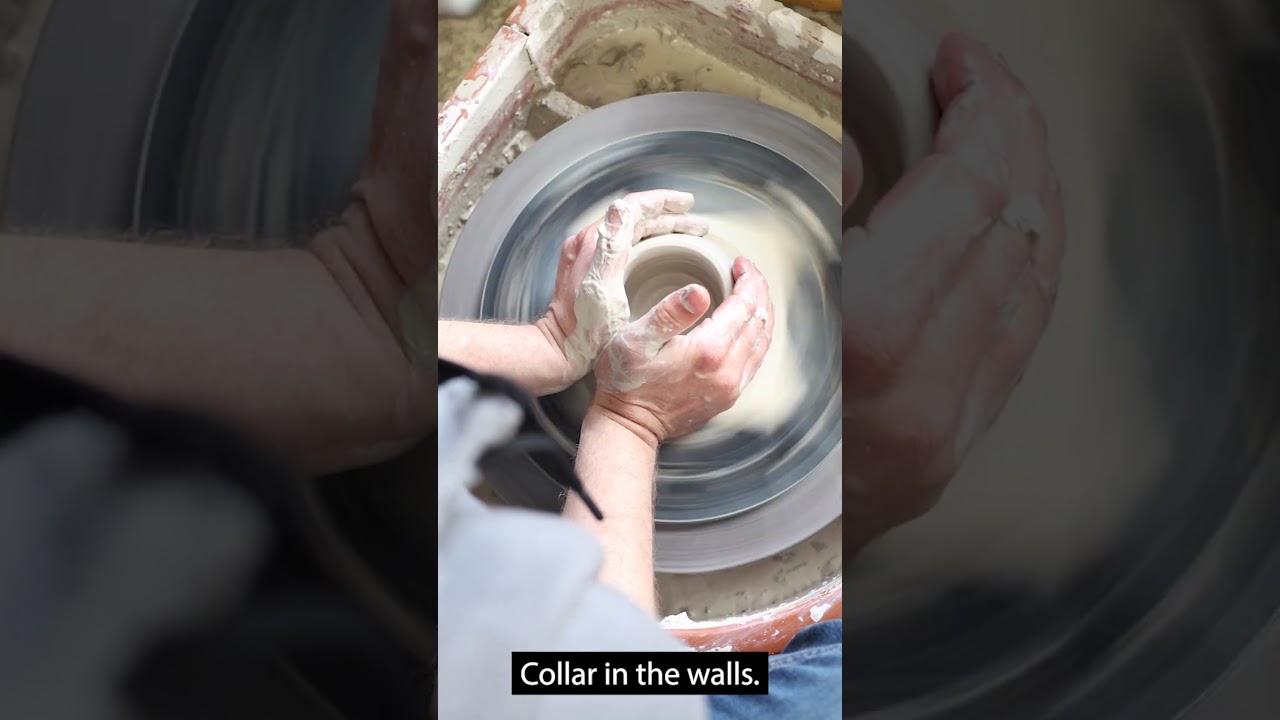
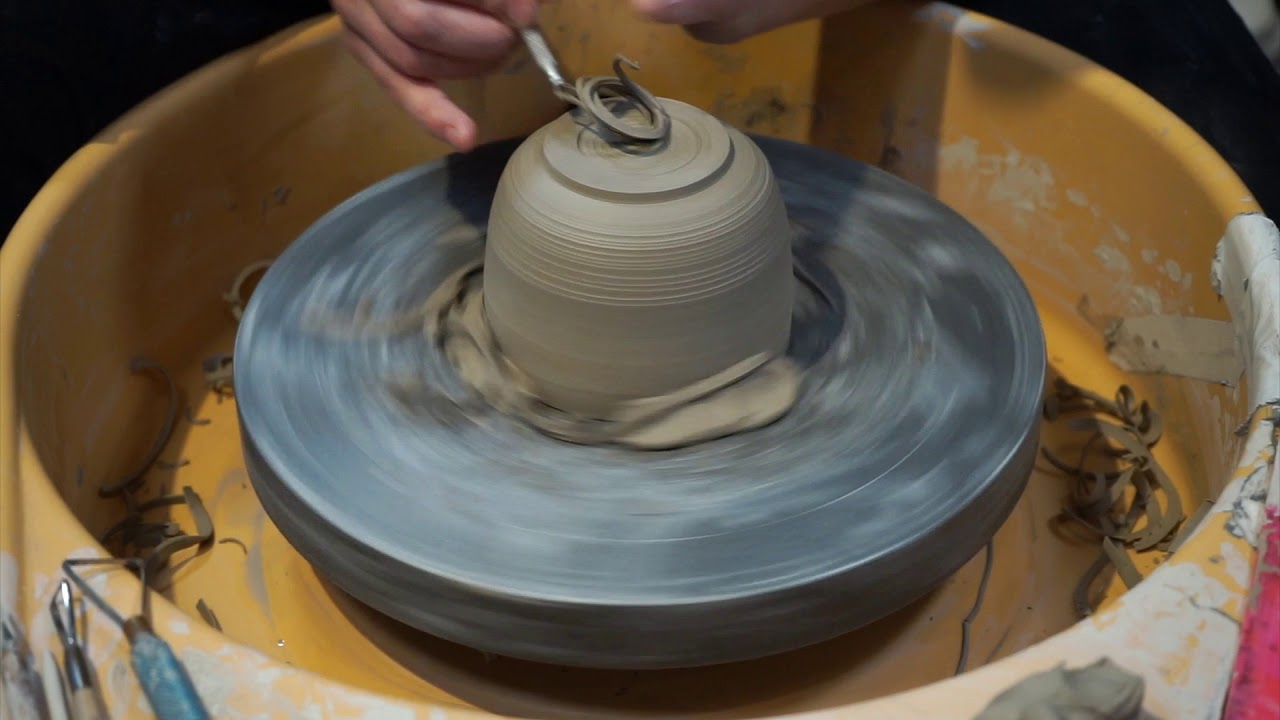
A thrown piece will be flipped over and brought back to the wheel, where, with the help of a few metal edge trimming tools, a foot will be created.
Carving a foot removes any excess clay and makes the piece lighter. Only a thin rim is left where the vessel will be in contact with the surface of a tabletop or shelf.
A narrow foot also creates a visual lift, shifting the perceived weight higher up on the form.
As a final touch, a chamfer is trimmed off the outside edge of the foot, enabling a crisp glaze line later on.
The piece is then set aside again, covered by plastic and cloth. Moisture is slowly allowed to escape, as evenly as possible. As water particles evaporate, the form shrinks and its bold colour begins to fade. If it does not uniformly dry, shrinkage will be uneven, which will strain the fragile form and a crack is certain to appear.
Clay must be bone dry before it is brought to the kiln. If it is cool to the touch, it still harbours moisture. Only once it warms to the ambient temperature can it be fired.
Stay tuned for Part 3: Attaching a handle!
To order these mugs or any other Studio Laroche pieces, visit: www.studiolaroche.com
Follow me on Instagram at @studiolaroche and Facebook at @studiolarochestudio 🤍
Повторяем попытку...
Доступные форматы для скачивания:
Скачать видео
-
Информация по загрузке: