Frontline Medic Basic Workflow Tutorial
Автор: MC2
Загружено: 2026-01-07
Просмотров: 32
Описание:
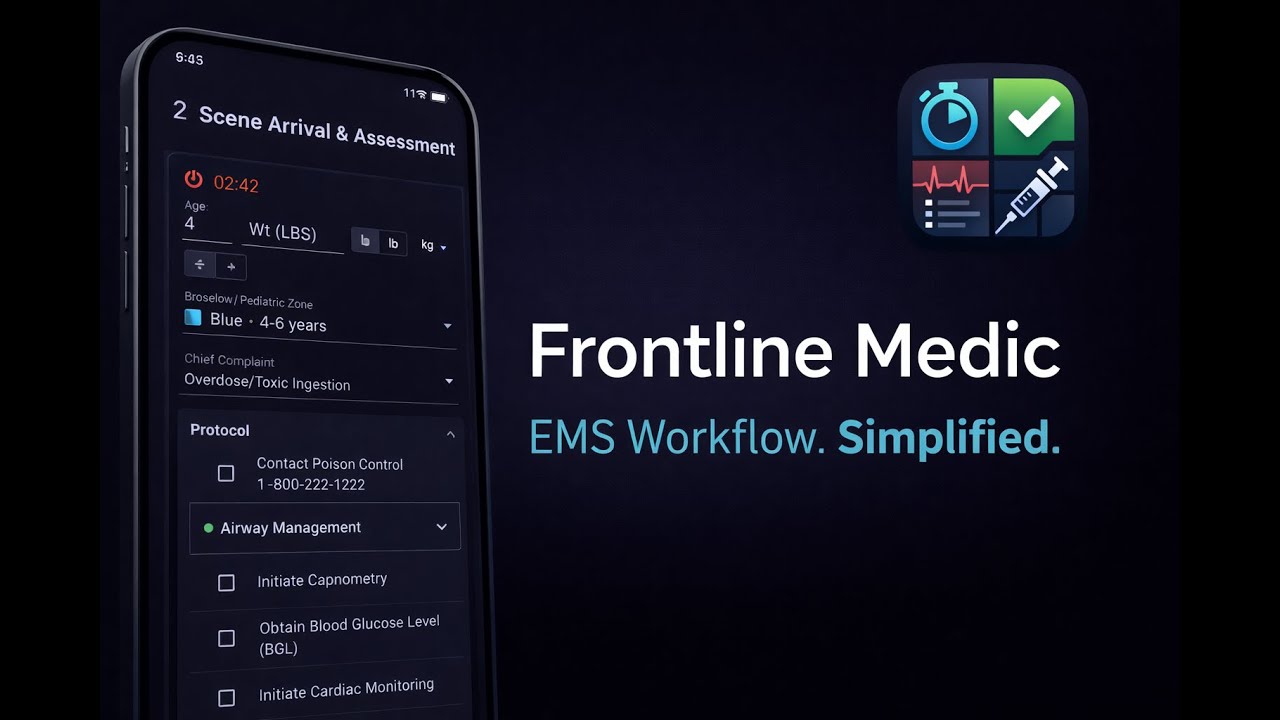
Hello. My name is MC2, I am a paramedic and developer of the app "Frontline Medic".
The main workflow of the app is laid out in 4 main screens: Dispatch, Scene, Transport, Conclusion. Simply opening the app puts you on the dispatch screen. They can easily be navigated with left and right swipes or buttons at the top.
At the top, you hit "Start Call". This time is meant to be as soon as you get dispatch info, you pull out this app, and hit start call. Notice that a timer will start and persist through out all the other screens.
Moving on, there's a handful of fields that have what I will call patient information: Age, Gender/sex, weight, chief complaint, and broselow band. You just tap the field and enter the info like you'd expect. The chief complaint and broselow band fields are dropdowns, so you select those. The broselow band won't even show up unless your entered age is a pediatric age, or less than 12.
Once a chief complaint is selected, on the dispatch screen it will show you "Differentials". This is meant to be a talking point between you and your partner or team before you get to the scene.
Then, tapping the arrived on scene creates a timestamp.
Moving on, swiping screens to the scene screen, with the selected chief complaint, it displays a checklist of items that are loaded to that protocol. These are meant to be actionable things that you as the lead medic need to be thinking about. Not all items generate timestamps. Some items here are collapsible boxes that point to other protocols. Simply tapping it expands it and shows it's contents.
You can see some of the items here are buttons with medication names. For that protocol, medication interventions are loaded and show up like that. Pressing a med button brings up a new screen.
You enter the value in the units selected and hit administer. Another prompt will open asking "Are you sure you want to do this?" This is meant as a final safety check that is pretty common in modern medicine.
Now, you notice that the button is grayed out with a timer cooldown. Since you can give a medication multiple times, but not immediately, the button won't even be clickable until a specified amount of time has passed.
Scrolling down on the screen, it will show you even more helpful information about the selected chief complaint. Seeing the acronym OPQRST/SAMPLE for example, most EMS workers will understand what that means. The info here is meant as key information pieces for you as the lead medic need to think about and obtain.
So, for this tutorial call, we tapped a couple protocol items, gave a medication, and now the team is packaging the patient for transport.
You notice that the patient summary at the top changes now, it's not editable anymore and is smaller. You also notice that the protocol items here are almost identical. The idea is that we've now moved from the scene of a call to transporting a patient to the hospital and you, the lead medic, are now in the back of the rig.
Let's say that this patient goes unresponsive, pulseless, apneic. I'm going to show you what happens when we hit the "Start CPR" button.
This is what the CPR screen looks like. On the left is a visual timeline Epoch of where we're at in the CPR timeline with a timer at the top. Notice the call timer is still running here as well. Then we have our protocol items and med buttons, not unlike the other screens.
At the bottom of this screen is 2 unique buttons, Terminate CPR and ROSC. The idea is that, eventually, you'll hit one of those.
So, let's say we get a ROSC.
The screen here shows the loaded ROSC protocol with easy enough to follow checklist items and protocols.
At the bottom of this screen is a "Return to Call flow" button. This ends the screen and takes us back to the "Scene" screen.
Alright, so after all of that excitement of the call, let's say we finally arrive at the hospital.
This screen is the conclusion screen. You can still see the patient summary at the top, but the important feature of this screen is the timestamp summary. It's scrollable and displays all of the timestamps generated through out the call in the order they were received.
Below that is the end encounter button. That button will stop the call timer and also create a timestamp. It is meant to be a "return to service" time.
Next to that is a "Generate Report" button. This app will compile all of the timestamps and info and make an easily readable PDF file on the device for viewing and charting. You have to tap the button to make the report as closing the app will not save any info pertaining to the call. The app is HIPAA compliant in that it can make this report fully encrypted, toggleable in the settings. Only the user of the device or someone with special access privileges can re-open the encrypted report.
That about wraps up this showcase demonstration and tutorial on my app Frontline Medic.
It will be available on Android and IOS soon.
Повторяем попытку...
Доступные форматы для скачивания:
Скачать видео
-
Информация по загрузке:


![Почему реактивный двигатель не плавится? [Veritasium]](https://imager.clipsaver.ru/F6UB0V2Fct4/max.jpg)
