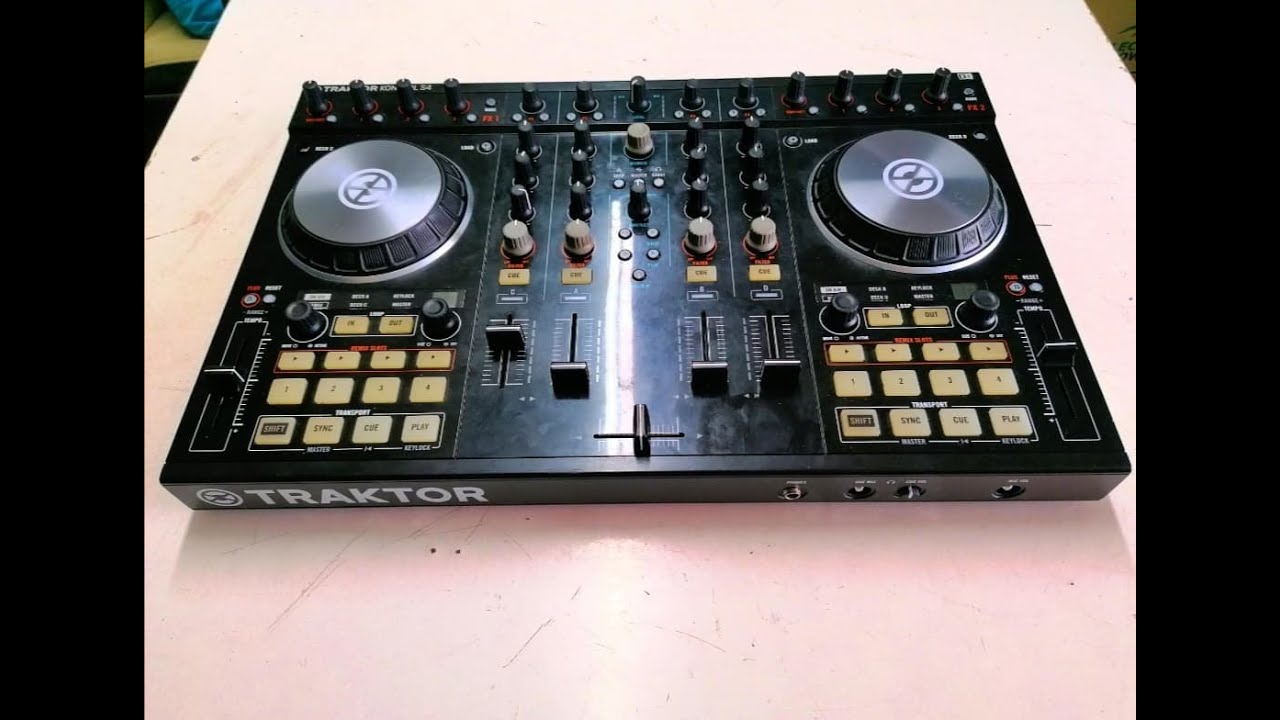
Repair DJ Gear | Traktor S4 Disassemble Procedure
Автор: Repair DJ Gear
Загружено: 2015-01-27
Просмотров: 60866
Описание:
Please subscribe!
*Update: Just noticed the typo! :)
How to disassemble the Traktor S4!
Note: Take pictures of connector routing before disconnecting for reference.
Replacement Faders, USB Ports, Rebuild Kits, RCA Caps, and Innofader Upgrades!
www.repairdjgear.com
Tools Needed:
Philip Screw Driver
-9mm and 10mm socket
-Plastic edge pry tool
-Razor blade
-Solvent(plastic safe)
-Warm soapy water
-Soldering tool
-Remove knobs of POTS and faders
-Remove the fascia plates
Note: Use a plastic safe solvent to loosen the adhesive material from bottom.
-Once the fascia plates are removed, clean them with warm soapy water. They will still be tacky enough to reinstall later.
-If you need adhesive strips. We have them available for purchase.
-The center fascia is plastic which can bend more than the deck plates.
-The deck plates are aluminum. Avoid severe bending when removing.
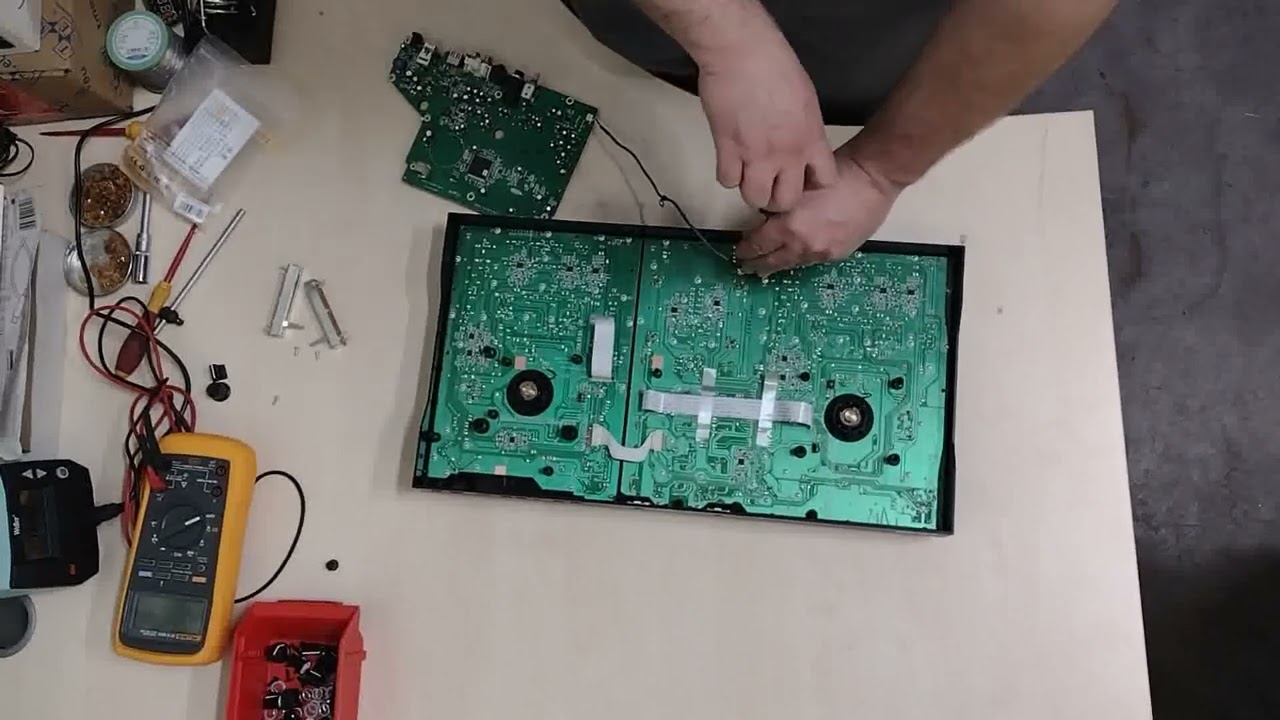
-Remove 22 with a 9mm and 10mm socket.
-Place a mat, towel, or foam pad on top of the controller and flip it over carefully to catch hardware.
-Tap the bottom to shake off the hardware and LED inserts.
-Remove 22 screws from bottom. One is under the NI sticker.
-Remove two screws from soundcard and two pot knobs from front of controller.
-Label and remove 12 connectors from the Soundcard PCB.
-Remove POT knobs from the headphone PCB.
-Remove the connectors.
-Remove 22 black screws from the PCBs.
-Disconnect job wheel and deck PCB connectors.
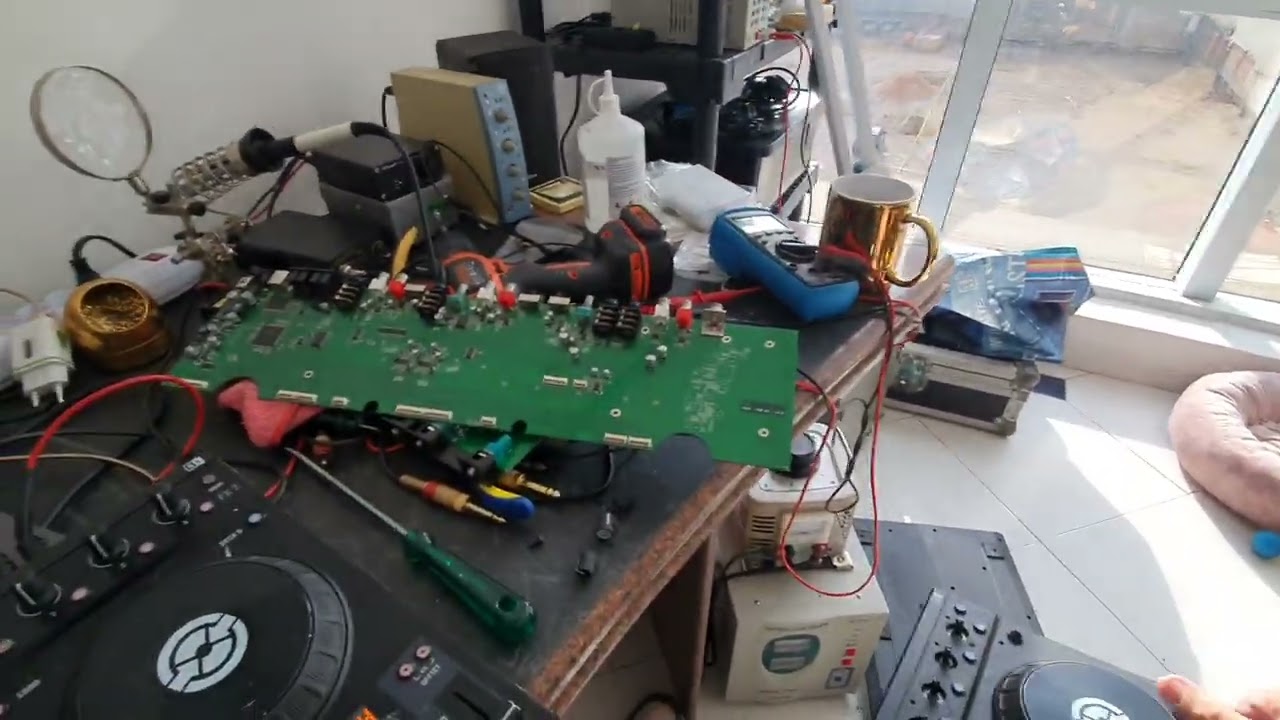
-PCBS can now be removed and serviced.
These are through our Amazon Associates program - We get a small kick back from Jeff B.
Traktor S4 MK2 - https://amzn.to/3q8TAkL
Traktor S4 MK3 - https://amzn.to/3BcRFlh
Hard Case - https://amzn.to/3RwJvJU
Повторяем попытку...

Доступные форматы для скачивания:
Скачать видео
-
Информация по загрузке: