Switching to NINA How did I get on?
Автор: Simon’s Astro
Загружено: 2023-12-31
Просмотров: 5685
Описание:
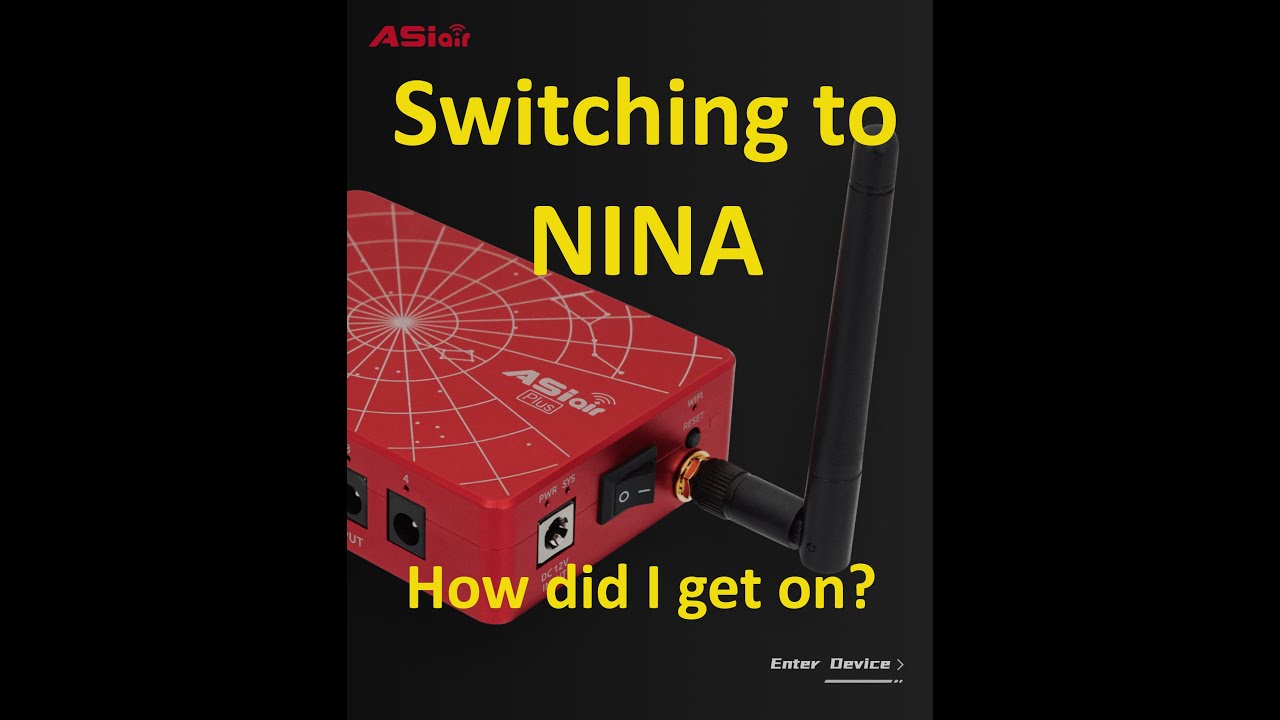
In this video I switch from the ASIAIR Plus to Nina and the Mele Quieter 3 mini pc. I had a few problems along the way, so how did I gt on? I hope you like this video, and maybe even found it useful! please consider subscribing to the channel if you like this kind of thing, give it a thumbs up and tick the bell! Thanks for watching and clear skies everyone.
Links to all of my observatory build videos:
Build 1 • How to Build an Observatory with Roll off ...
Build 2 • How to Build an Observatory with Roll off ...
Build 3 • How to Build an Observatory with Roll off ...
Build 4 • Observatory Build Part 4 Nearly Finished!
Build 5 • Observatory Build Part 5 Motorizing roof &...
Build 6 • How to Build an Observatory for a Telescop... #Astrophotography #NightSky #MilkyWay
/ @simonsastro
Embarking on the journey of astrophotography opens up a universe of possibilities, allowing you to capture the mesmerizing beauty of the night sky. Whether you're utilizing a telescope, a camera, or even binoculars, each tool offers unique perspectives and challenges. Here's a guide to help you navigate the stars with your chosen equipment.
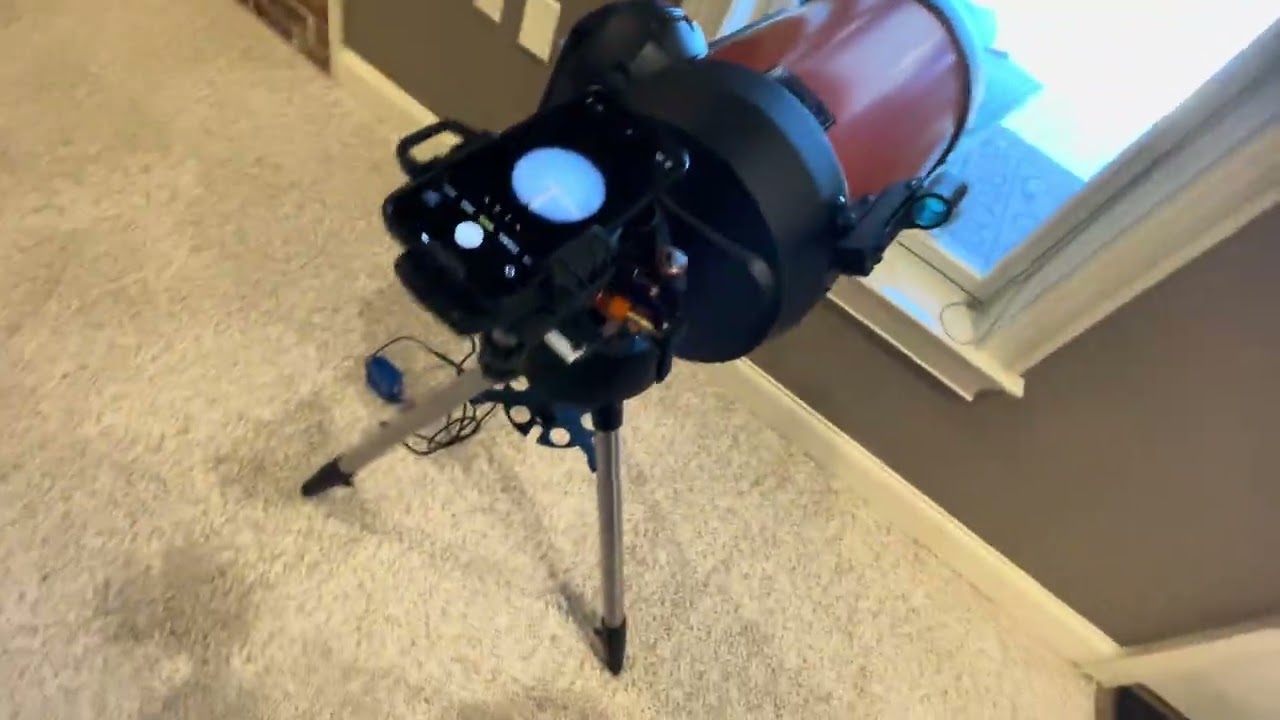
*1. Telescope Astrophotography*
Using a telescope provides detailed views of celestial objects, from the craters of the Moon to distant galaxies. To get started:
**Mounting Your Camera**: Attach your camera to the telescope using appropriate adapters, ensuring a secure fit to maintain image stability.
**Focusing**: Achieving sharp focus is crucial. Utilize the telescope's focuser and consider using a Bahtinov mask for precision.
**Tracking**: Employ an equatorial mount to compensate for Earth's rotation, allowing for longer exposure times without star trails.
*2. Camera-Only Astrophotography*
A standalone camera can capture wide-field images of the night sky, such as constellations and the Milky Way. Tips include:
**Lens Selection**: Wide-angle lenses (14mm to 24mm) are ideal for capturing expansive sky views.
**Settings**: Use a high ISO (1600-3200), a wide aperture (f/2.8 or lower), and experiment with exposure times to balance light capture and star sharpness.
**Stability**: Mount your camera on a sturdy tripod to prevent vibrations during long exposures.
*3. Binocular Astrophotography*
Binoculars offer a portable and accessible means to explore the night sky, and with some ingenuity, you can capture images through them:
**Mounting**: Stabilize your binoculars using a tripod adapter to reduce hand-induced shake.
**Afocal Photography**: Align your smartphone or camera lens with the binocular eyepiece. Devices like the SnapZoom Universal Digiscoping Adapter can assist in maintaining alignment. citeturn0search2
**Focus and Exposure**: Manually adjust focus and experiment with exposure settings to achieve clear images.
*General Tips for All Methods*
**Planning**: Check weather forecasts and moon phases to choose optimal nights for clear skies.
**Light Pollution**: Seek out dark-sky locations away from urban light sources to enhance image quality.
**Patience and Practice**: Astrophotography has a learning curve. Experiment with different settings and techniques to find what works best for you.
For more in-depth tutorials and to follow along with practical demonstrations, consider subscribing to [Simon's Astro](https://www.youtube.com/channel/UCH7N.... Simon shares his passion for astrophotography, offering insights into equipment setups, capturing techniques, and post-processing tips.
Embark on this celestial journey and unveil the wonders of the universe through your lens. Clear skies!
Повторяем попытку...
Доступные форматы для скачивания:
Скачать видео
-
Информация по загрузке: