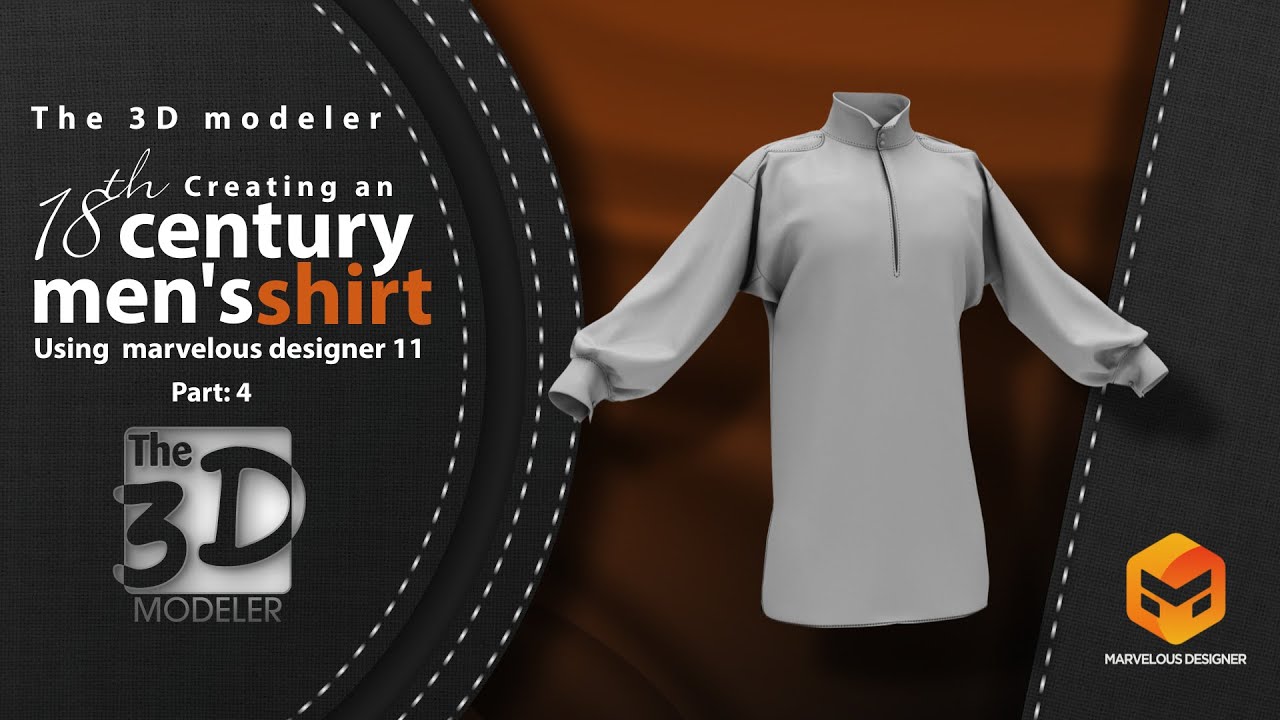
How to add top stitching using marvelous designer 11 to an 18th century men's shirt - part 4
Автор: The 3D modeler
Загружено: 2022-11-20
Просмотров: 258
Описание:
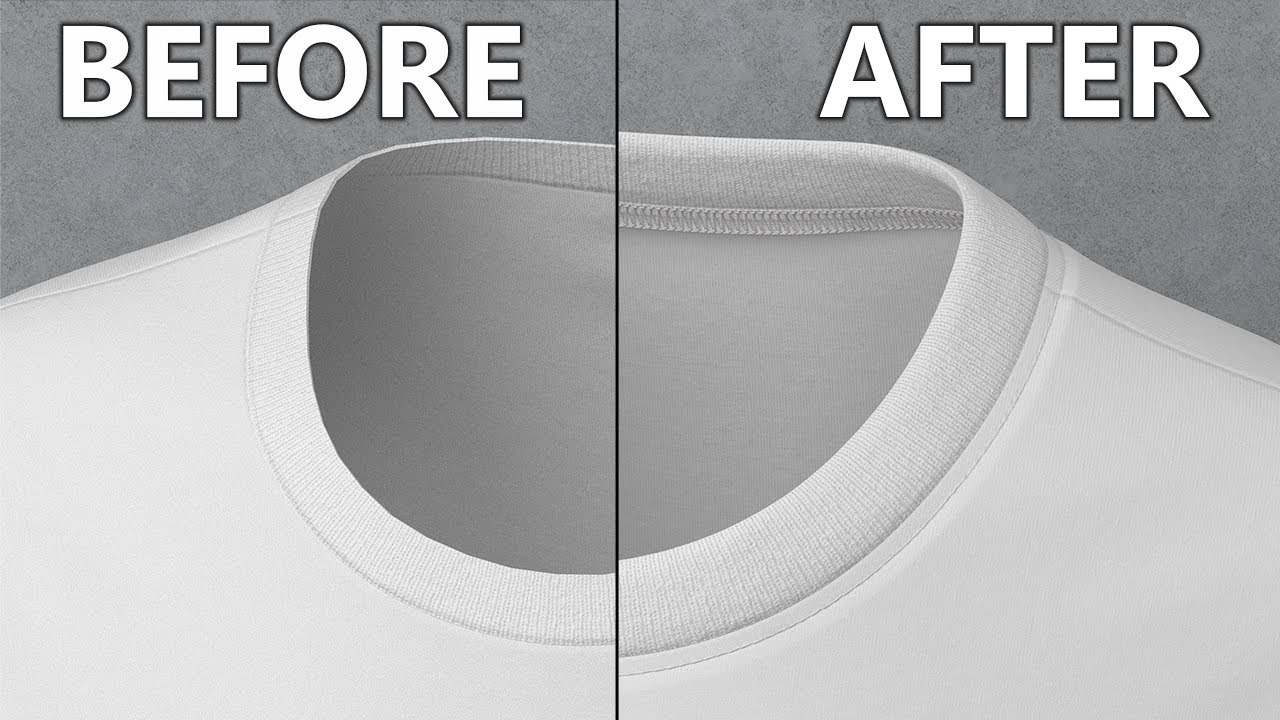
In this series we will show you how to create an 18th century men's shirt from scratch step by step using marvelous designer 11 and 3Ds max and we will add some fine details to the shirt using Zbrush. In part four we will start refining the shirt opening and adding top stitching using marvelous designer 11 to create a more realistic, appealing and classical shirt model.
🎬 Want to watch it:
how to create an 18th century men's shirt part 1: • How to Create an 18th century men's shirt ...
how to create an 18th century men's shirt part 2: • How to Create an 18th century men's shirt ...
How to make a classical style collar and cuffs for an 18th century men's shirt part 3: • How to make a classical style collar and c...
⌚ Timestamps
0:00 introduction
0:36 how to make a smooth transition between upper and lower layer in marvelous designer 11
2:28 how to add thickness and strength to shirt opening in marvelous designer 11
3:00 how to create a new pattern using trace pattern in marvelous designer 11
5:59 how to add top stitching to shirt collar in marvelous designer 11
11:35 how to add top stitching to the shirt epaulet using free stitching in marvelous designer 11
13:00 how to add top stitching to sleeve cuff in marvelous designer 11
15:35 how to add top stitching to the shirt opening in marvelous designer 11
18:45 how to add top stitching to the bottom of the shirt in marvelous designer 11
20:55 how to use curve option in top stitching in marvelous designer 11
22:46 part4 summery
🔔 Subscribe to my YouTube channel
/ @the_3dmodeler
🚩 Connect with me on social:
Facebook: / the3dmodeler1
Instagram: / the_3d_modeler
#marvelousdesigner #3dcharacter #3dmodeling
Повторяем попытку...
Доступные форматы для скачивания:
Скачать видео
-
Информация по загрузке:


![🔴 EXPRESS BIEDRZYCKIEJ | JAKUB STEFANIAK, GRZEGORZ RZECZKOWSKI [NA ŻYWO]](https://imager.clipsaver.ru/VsWukpP8bQo/max.jpg)