Denoise and Super Resolution on the Same Image in Lightroom - New Method for 2025 Updates
Автор: thomas fitzgerald
Загружено: 2025-05-27
Просмотров: 7542
Описание:
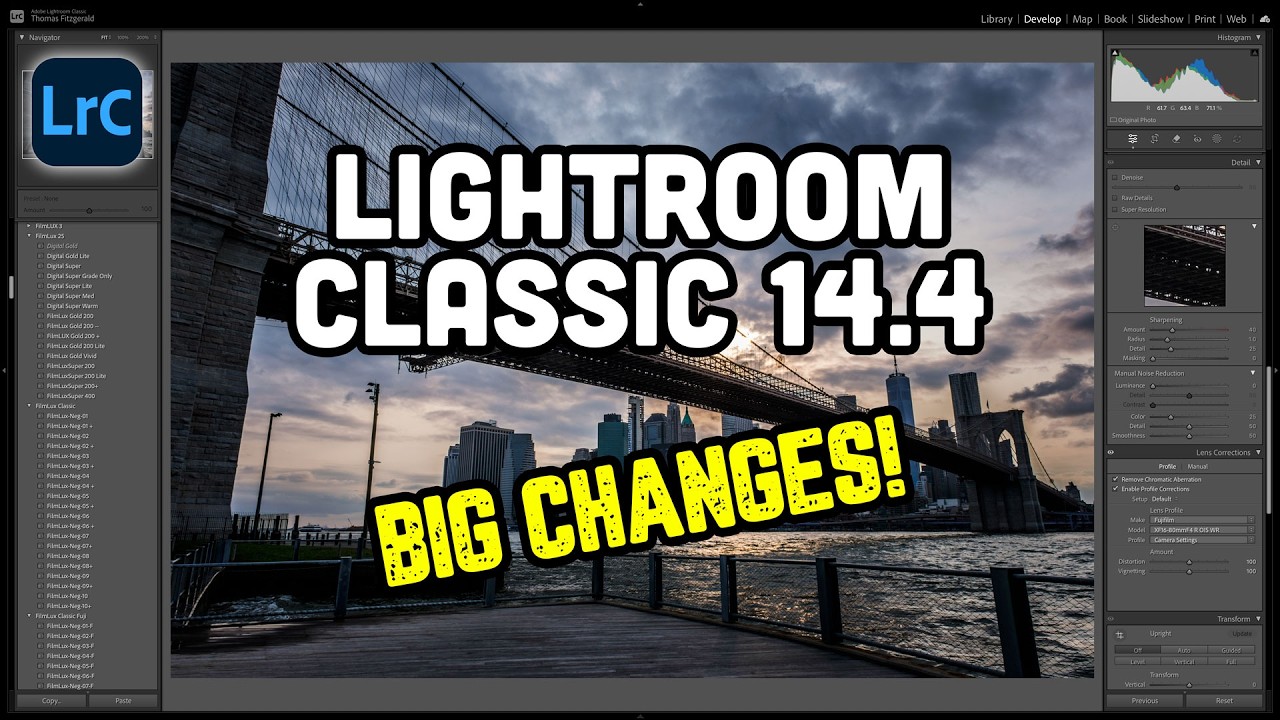
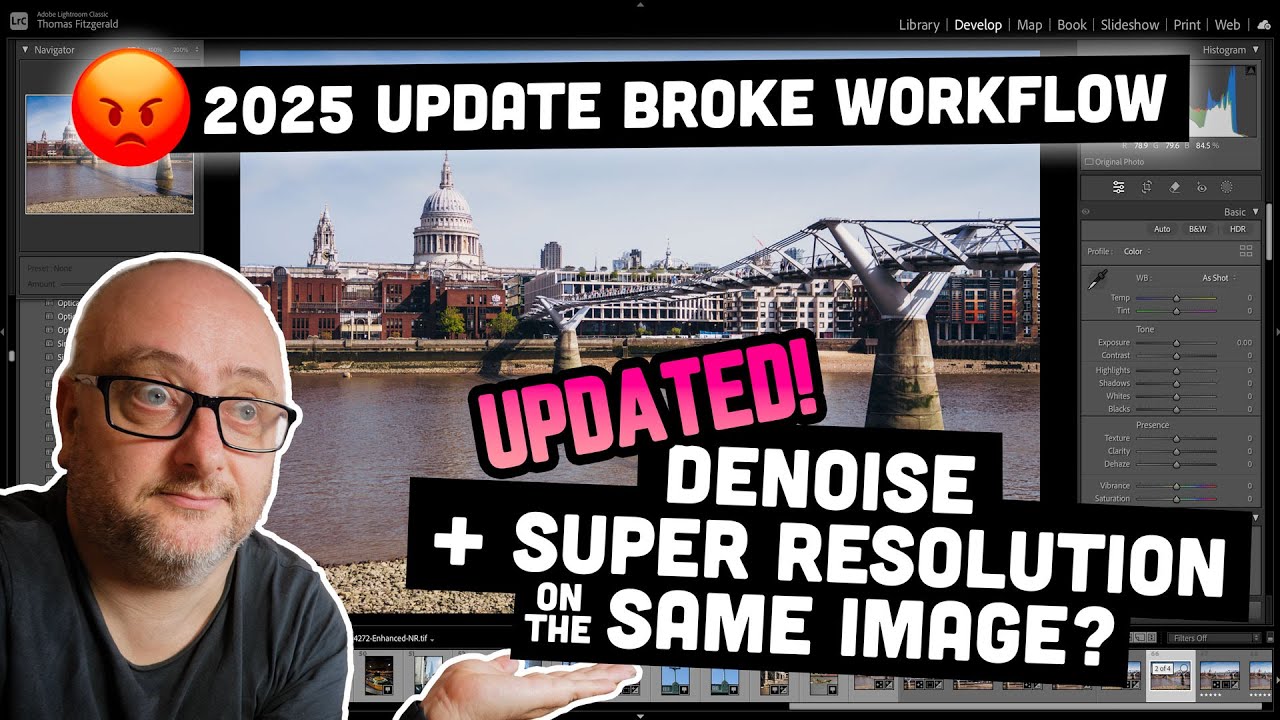
A while ago, I shared a video on YouTube on how to do SuperResolution and Denoise on the same image using Lightroom and Photoshop. The trick was to do Denoise first, then send the image to Photoshop, save it and send it back, and then you would be able to do SuperResolution. Unfortunately, in a recent update, Adobe has broken this workflow. I’ve been working on finding another workaround for this, and after a little bit of research, I’ve found the solution.
Chapters:
00:00 Introduction
00:10 What Adobe Broke with the latest Update
00:39 How I fixed it
01:11 Step By Step Instructions
01:44 Setting Up and Export Template
03:57 Using the Template
04:33 Conclusion
The Settings You Need to Use in the Export Preset:
Export To: Set this to “Hard Drive”
Export Location: Set this to “Same Folder as the Original Photo”
Check the “Add to This Catalogue” checkbox, and then Check “Add to Stack” and set the following pop-up to “Above Original”
Leave file naming alone unless you want to set something specific
Under File Settings, set Image format to TIFF. Do not use JPEG as Lightroom may ignore this file, especially if you have a RAW + JPEG workflow
Set compression to Zip and Leave Colour Space set to ProPhoto RGB
Set bit depth to 16 Bits
Do not set anything for image sizing or output sharpening (make sure they’re disabled)
Under Metadata set it to “Copyright and Contact Info Only”. This is very important.
Leave watermarking and After Export set to do nothing.
Check out my Lightroom Presets: https://tomfitz.gumroad.com
My Photography Portfolio: https://www.thomasfitzgerald.photography
My Blog: http://blog.thomasfitzgeraldphotograp...
Instagram: / fxgeek
X: https://x.com/fxgeek
Threads: https://www.threads.net/@fxgeek
Bluesky: https://bsky.app/profile/tomfitz.bsky...
Повторяем попытку...
Доступные форматы для скачивания:
Скачать видео
-
Информация по загрузке: