How to do Motion Blur Roto - Silhouette FX Rotoscopy Masterclass - EP 16 [HINDI]
Автор: PixelSpark Studios
Загружено: 2018-03-18
Просмотров: 29639
Описание:
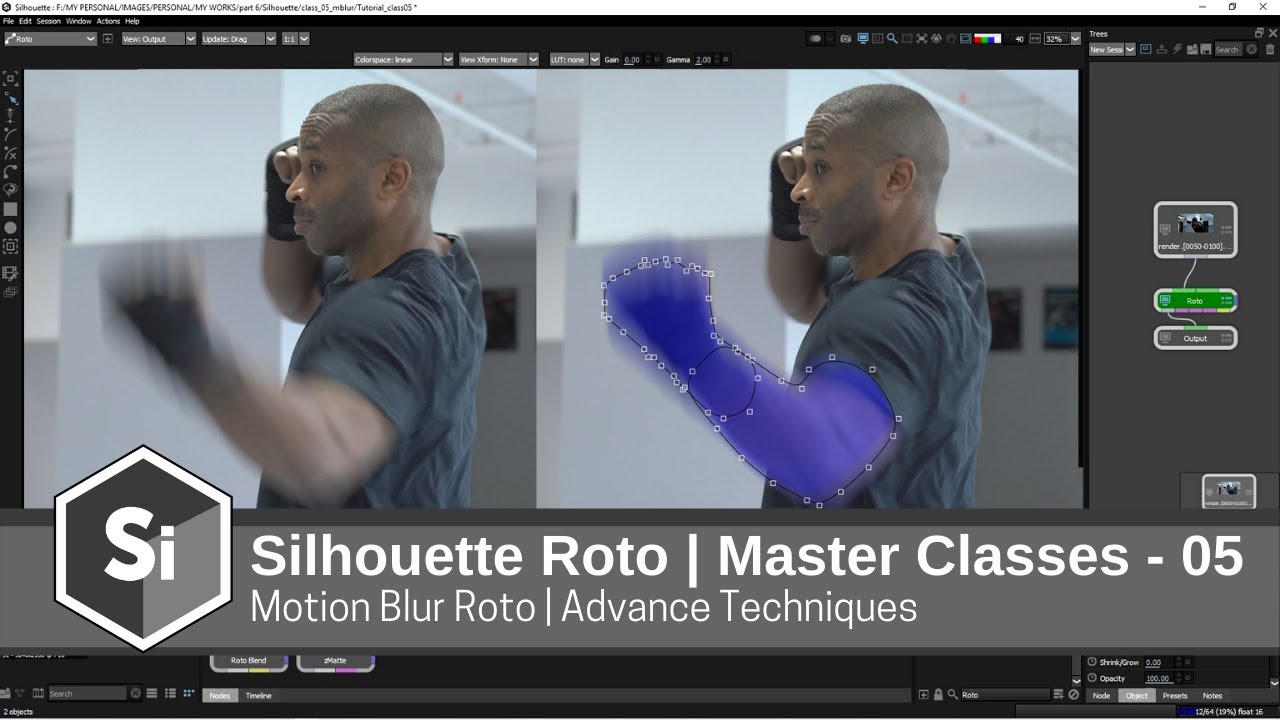
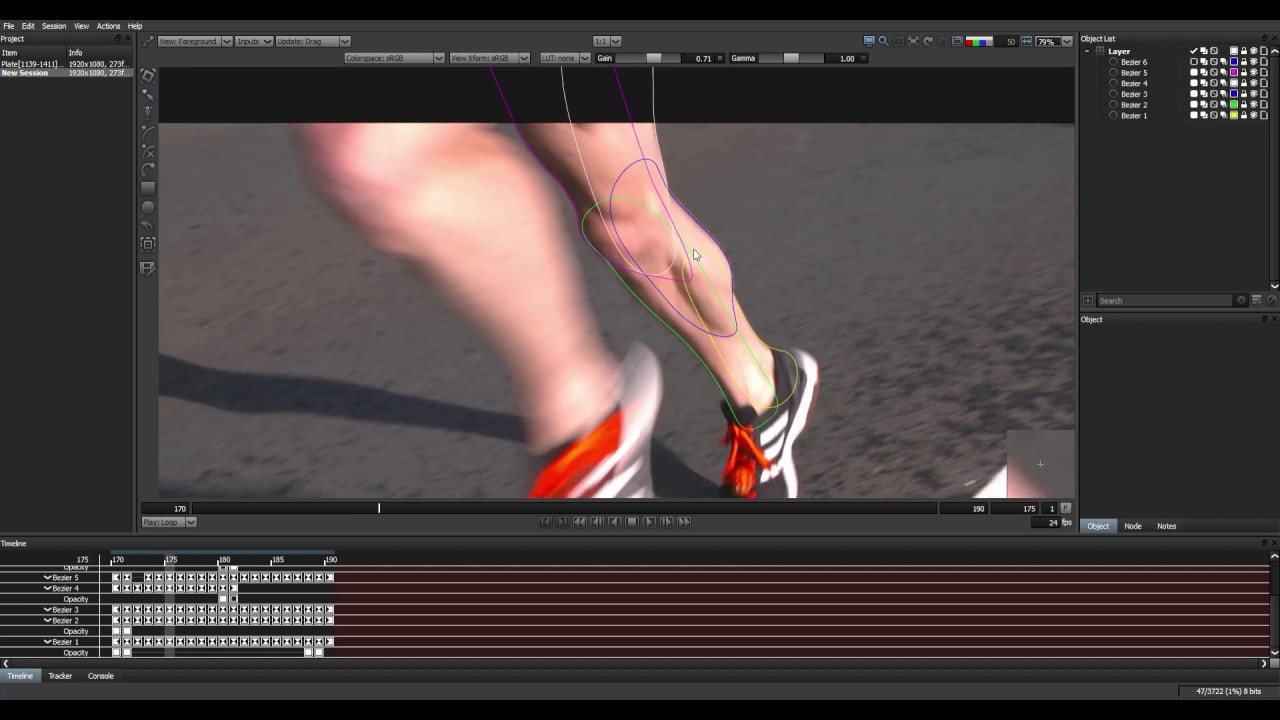
in this episode of Silhouette Fx rotoscopy Masterclass I am gona show in detail How to do Motion Blur Roto in Silhouette fx. The basics are same as normal roto but one extra step comes is you have to animate the motion blur as well . I will show all the steps from beginning to the end and cover the entire process of hair rotoscopy. Anyone even a beginner can follow this tutorial I have designed for all kinds of suitable artists.Rotoscoping or “Roto” for short has become a generic term for drawing shapes to extract, isolate or affect a portion of an image. It is tedious work, but it’s one
of the most important parts of the visual effects process. Within the Roto node, there are all the tools needed to make quick work of any Roto job. Creating usable shape animations can be a bit tricky with the most common problem being edge chatter. Here are a few tips to help you on your way.View your sequence to determine the frame that requires the greatest number of points to create the shape. It is easier to draw your shape on the most complex frame as opposed to starting on a simpler frame and adding points later.In Silhouette, you can create B-Splines (also known as natural splines), XSplines, Bézier splines, Circles and Squares.Use as many points as needed to create the shape, but avoid using more than is necessary. The fewer the points, the easier it is to successfully animate the shape. Unnecessary shape complexity inevitably leads to inconsistency when editing points.Create multiple shapes to Roto complex objects. Drawing separate shapes for the major parts of an object give you finer control over motion especially when separate objects intersect with each other.Try not to individually move points in a shape unless absolutely necessary. Moving points in groups will maintain consistency and eliminate edge chatter.Use the tracker to analyze the motion of your sequence and then apply that motion to your shapes. This will cut down on the number of keyframes needed.By editing your shape at various frames in the sequence, Silhouette animates the shape in between those keyframes. This saves you work. Make as few keyframes as possible, but as many as needed so the shape properly follows the object that you are rotoing. For instance, on a 80 frame clip, start by adding
keyframes at 1, 20 and 40.If more animation is needed, add keyframes at 10 and 30. Get the idea? Creating too many keyframes will cause the shape to jitter or chatter.
Повторяем попытку...
![How to do Motion Blur Roto - Silhouette FX Rotoscopy Masterclass - EP 16 [HINDI]](https://imager.clipsaver.ru/VI7bxy86sCs/max.jpg)
Доступные форматы для скачивания:
Скачать видео
-
Информация по загрузке:
![How to do IK / Inverse Kinematics ROTO - Silhouette FX Rotoscopy Masterclass - EP 17 [HINDI]](https://imager.clipsaver.ru/tDJIaRlE0g0/max.jpg)
![Silhouette Essentials Roto - 05G Motion Blur [Boris FX rotoscoping]](https://imager.clipsaver.ru/70tP7jR90Dw/max.jpg)

![Office Hours 34 : Fun with Hair Rotoscoping in Silhouette [Ben Brownlee 4th October 2022]](https://imager.clipsaver.ru/nlk3naudxzk/max.jpg)

![How to do Hair Roto Part 1, In-depth Tutorial - Silhouette FX Rotoscopy Masterclass - EP 07 [HINDI]](https://imager.clipsaver.ru/6sj-c2qd0BU/max.jpg)


![Silhouette : How to do Motion Blur Roto - Silhouette FX Rotoscopy [HINDI] class 06](https://imager.clipsaver.ru/U5R79xmOaWk/max.jpg)

![Silhouette FX Roto Tutorial || Silhouette FX Rotoscopy [Getting Started] Class 03 || Silhouette](https://imager.clipsaver.ru/a-Kfa8IAiWI/max.jpg)


![Getting started Silhouette FX User Interface - Silhouette FX Rotoscopy [HINDI] class 02](https://imager.clipsaver.ru/IZAz4xLa9b8/max.jpg)
