10 Tips To Bring Your Portrait Paintings To Life@ABDUl ART GALLERY
Автор: zaarur abdul
Загружено: 2025-11-27
Просмотров: 45
Описание:
How to Paint a Portrait From a Live Model — Step-by-Step Guide
Welcome back to the channel! Today I’m showing you a clear, beginner-friendly method for painting a portrait from a live model. Whether you’re working in oils, acrylics, or even digital, these principles will help you build a solid, expressive likeness.
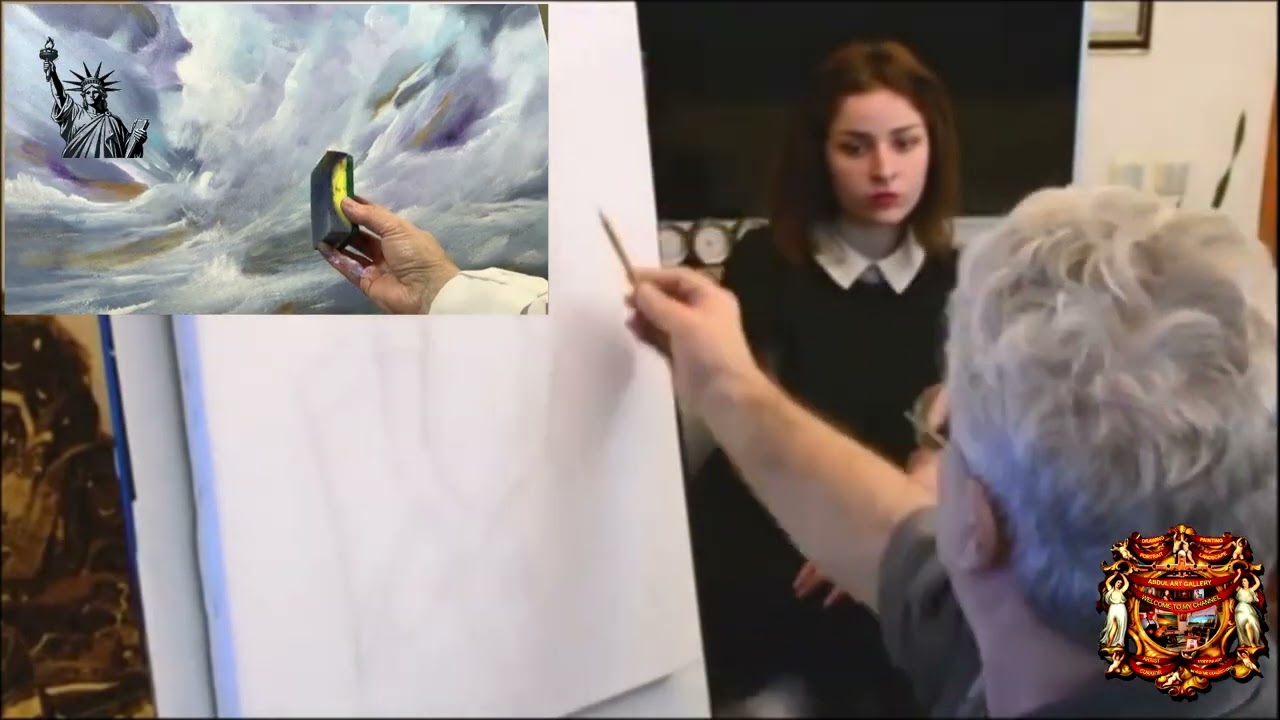
1. Setting Up Your Model
Start by positioning your model with a single, strong light source. A directional light creates clear shadows that define the form. Make sure the model can stay comfortable—use cushions and let them rest between poses. Mark the chair legs and your easel position so nothing shifts.
2. Block-In Stage
Begin with a loose sketch. Use thinned paint or charcoal to map the general shapes—the tilt of the head, the placement of the eyes, nose, and mouth. Don’t worry about details yet. Focus on big proportions and angles. Keep your lines soft and adjustable.
3. Establish Light and Shadow
Identify the shadow shapes first. Squint your eyes to simplify the values. Fill in the shadow areas with one unified tone. This creates instant depth and gives you a clear structure to work on. Make sure the transitions between light and shadow follow the planes of the face.
4. Build Midtones and Color
Now add midtones and basic skin colors. Work from general to specific: large planes first, small forms later. Compare every color to what’s already on the canvas—warmer or cooler? Lighter or darker? Constant comparison is the secret to accuracy.
5. Refining Features
Move to the eyes, nose, and mouth only when the structure underneath feels correct. Use soft edges around most areas of the face and save sharp edges for focal points like the eyes. Avoid outlining—model the forms with value and temperature shifts instead.
6. Final Details and Edges
Add highlights sparingly. A tiny bright stroke can bring life to the portrait, so don’t overdo it. Adjust edges: soften the jaw and hairline, tighten the features you want the viewer to focus on. Step back frequently to check the likeness.
7. Finishing Touches
Reassess overall harmony—colors, value relationships, and balance. When the portrait looks cohesive from a distance, it’s done.
Thanks for watching! If you want more tutorials, don’t forget to like and subscribe.
First: How to Choose the Model’s Pose for Portrait Drawing
1) Comfort is the most important
The pose must be comfortable for the model, especially if the session will be long.
The chair should support the back and the feet should be stable.
2) The angle of the body relative to the artist
The best angle for a portrait is the ¾ view.
The body is not facing you directly but slightly turned.
This angle shows the depth of the face and gives a lifelike feeling.
3) Head position
The head can be:
Slightly tilted forward: gives depth to the eyes.
Slightly lifted upward: gives elegance and strength.
Tilted up with a side glance: gives softness and emotion.
4) The hands
For a formal portrait: hands on the lap or resting on the chair arm.
For a natural or poetic portrait:
One hand on the cheek, on the chair, or gently folded in the lap.
5) The personality decides the pose
Child: natural and simple poses.
Strong personality: direct gaze toward the artist.
Calm or poetic personality: side gaze with a gentle head tilt.
---
Second: How to Choose the Right Lighting for Portrait Drawing
1) Light from above and from the side (Top–Side Light)
This is the best lighting for realistic portraits.
Example: the light comes from the right side and from above.
This lighting reveals the nose shape, eye sockets, and jawline.
It creates beautiful gradations between light and shadow.
2) Rembrandt Lighting
A famous classical technique:
Light comes from above and from one side.
It creates a small triangle of light under the opposite eye.
Excellent for academic portrait drawing.
3) Avoid direct frontal lighting
It removes shadows and makes the face flat.
Not suitable for realistic drawing.
4) The best shadow pattern
Half of the face in light and the other half in shadow.
The shadow should not be black but soft and gradual.
The light should not be too strong or too weak.
5) Type of light
Natural window light: ideal and soft.
LED or softbox light: if drawing indoors.
Place the light slightly above eye level.
---
Golden Tip
Remember: shadow shapes the face more than lines do.
Choosing the light is more important than the drawing skill itself.
If you like, I can also:
Suggest the perfect pose for your model based on age and character.
Write you a video script or voice-over for a lesson on lighting.
Create a Masterclass-style script for your YouTube channel.
Повторяем попытку...
Доступные форматы для скачивания:
Скачать видео
-
Информация по загрузке:


