How to Replace Infant Manikin Airway
Автор: RQI Partners Training
Загружено: 2024-10-18
Просмотров: 248
Описание:
To change the airway on the infant manikin, first remove the face skin.
Start by gently pulling the skin off of the attachment posts located under the jaw on the side of the neck. Gently curl the face skin upward and pull the skin up and from the head.
Next, tilt the head back, loosen the jaw and release the tube end of the airway from its attachment slot and then remove the jaw.
Now remove the chest skin by gently releasing it from the attachment posts located on the torso and shoulders.
Lay it back to reveal the chest cavity and lungs.
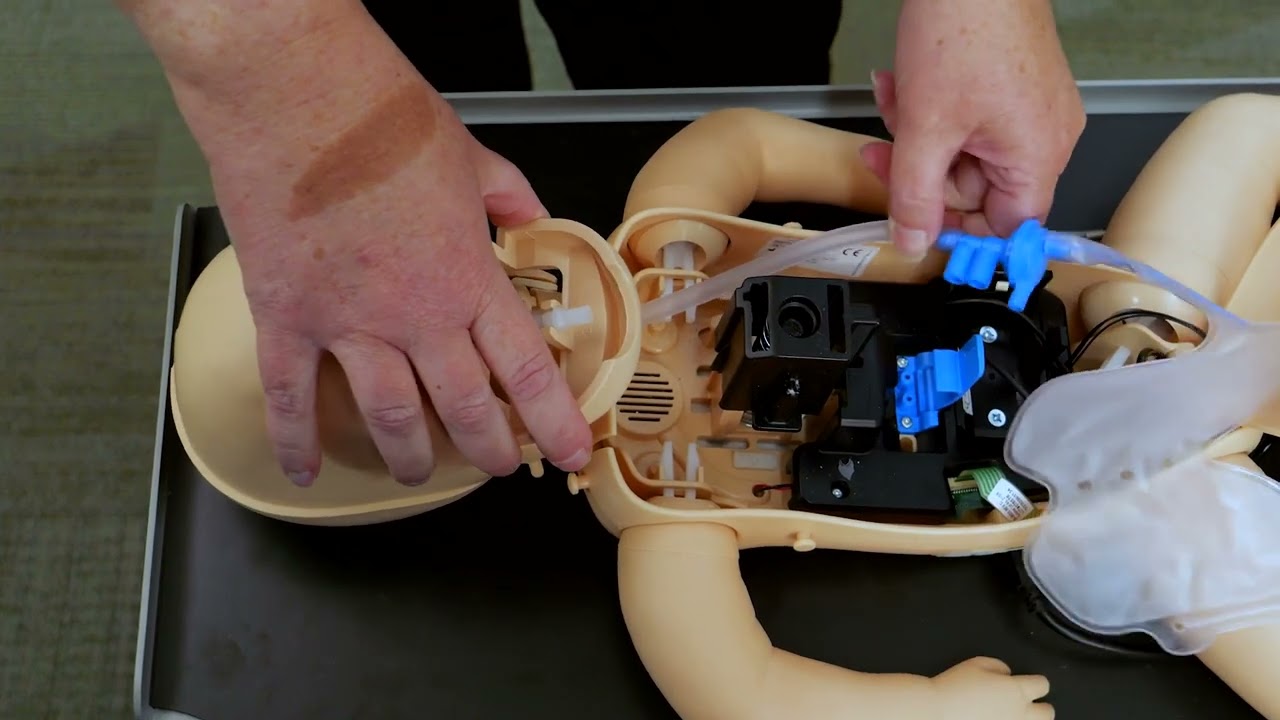
Gently unhook the lungs on the left side of the baby's chest plate and raise the chest plate to reveal the blue connector, taking care not to damage the wire connections.
Release the airway from a securing notch on the baby's left side and remove the tube from the jaw.
Lift the blue tab that holds the blue connector down and lift the connector upward to release.
Exchange the old airway with a new one.
Slide the tube end of the airway back up through the neck.
Attach the tube to the jaw making sure the tube has been properly slotted back into the jaw correctly.
Then reinsert the jaw.
Slip the airway into the securing notch and then reinsert the blue connector into its holder and close the blue tab.
Lower the chest plate and secure the lungs on the attachment hooks.
This is very important because it prevents the lungs from sliding off of the chest plate.
Reattach the chest skin.
And reattach the face skin. Make sure that the airways tube connector is seated inside the red mouthpiece of the face skin.
Повторяем попытку...
Доступные форматы для скачивания:
Скачать видео
-
Информация по загрузке: