How To Tile a Herringbone Floor?
Автор: GTI India Directory (Tiles-Bathware-Various)
Загружено: 2024-07-28
Просмотров: 239757
Описание:
Tiling a herringbone floor pattern can be a bit more challenging than other patterns due to its intricate layout, but it creates a stunning visual effect. Here’s a step-by-step guide to help you tile a herringbone floor:
Tools and Materials Needed
• Tiles: Choose rectangular tiles for a traditional herringbone pattern.
• Tile adhesive (thin-set mortar):
• Notched trowel:
• Tile spacers:
• Tile cutter or wet saw:
• Measuring tape:
• Chalk line or laser level:
• Pencil:
• Straightedge or ruler:
• Rubber mallet:
• Grout:
• Grout float:
• Sponge:
• Bucket:
• Tile spacers:
Step-by-Step Guide
1. Prepare the Subfloor
• Clean the Subfloor: Ensure the subfloor is clean, dry, and level.
• Repair Any Damage: Fix any cracks or holes to create a smooth surface.
2. Plan Your Layout
• Find the Center Point: Measure and mark the center of the room with a chalk line. This will help ensure your pattern is centered and symmetrical.
• Dry Lay the Tiles: Lay out a few tiles without adhesive to get a sense of the pattern and how it will fit in the space. Adjust as necessary.
3. Create the Herringbone Pattern
• Mark a Starting Line: Using a ruler or straightedge, mark a line that will serve as the starting point for the herringbone pattern. This is usually at a 45-degree angle from the walls.
• Lay the First Tile: Place the first tile at the intersection of the starting line, ensuring it is aligned correctly.
4. Apply the Tile Adhesive
• Spread Adhesive: Use a notched trowel to spread the tile adhesive evenly on a small section of the floor.
• Comb the Adhesive: Use the notched side of the trowel to comb the adhesive into straight lines. This helps the tiles adhere better.
5. Lay the Tiles
• Set the First Tile: Press the first tile into the adhesive at the marked starting point.
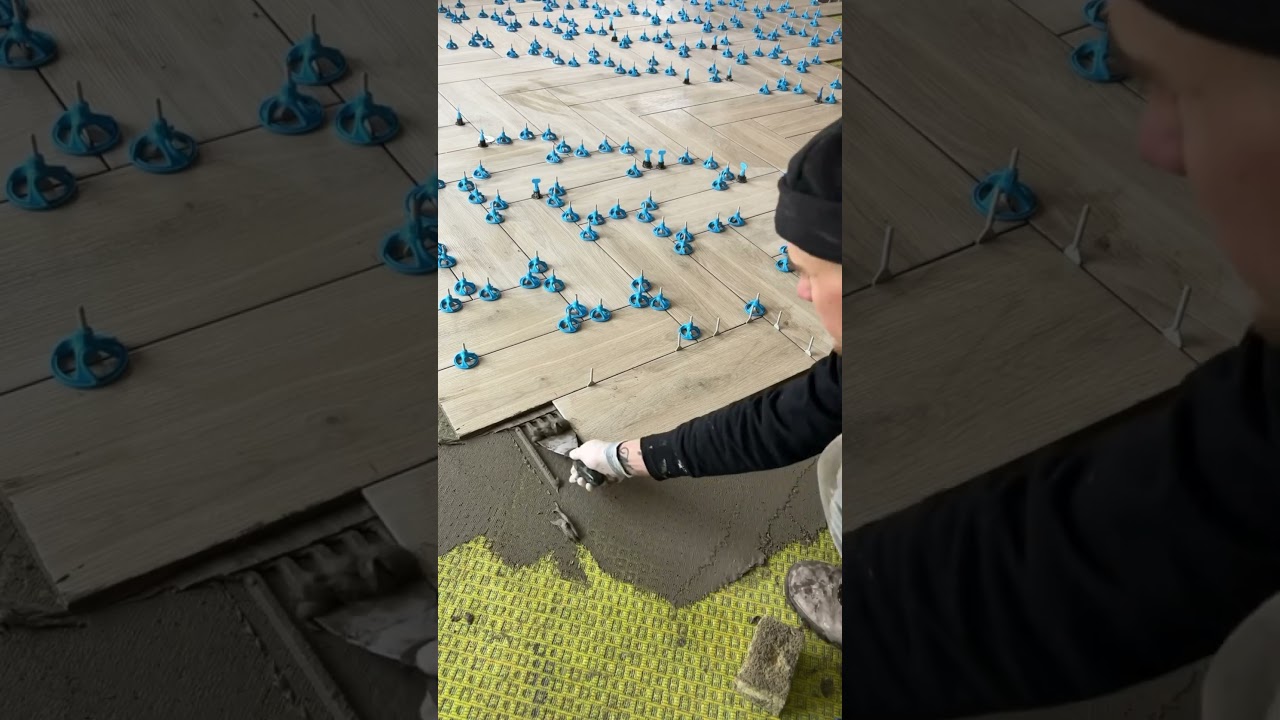
• Continue the Pattern: Place the next tile at a 90-degree angle to the first, creating the V-shaped herringbone pattern. Continue laying tiles in this manner, using spacers to ensure even gaps.
• Check Alignment: Frequently check that the tiles are aligned correctly and adjust as necessary.
• Cut Tiles as Needed: Use a tile cutter or wet saw to cut tiles to fit around edges and obstacles.
6. Allow the Adhesive to Set
• Drying Time: Allow the adhesive to set according to the manufacturer’s instructions, usually 24 hours.
7. Grout the Tiles
• Mix the Grout: Prepare the grout according to the manufacturer’s instructions.
• Apply Grout: Use a grout float to apply grout over the tiles, pressing it into the gaps.
• Clean Excess Grout: Wipe away excess grout with a damp sponge, rinsing the sponge frequently.
• Final Cleaning: Once the grout has dried, clean the tiles with a damp cloth to remove any haze.
Tips for Success
• Consistent Gaps: Use tile spacers to ensure consistent gaps between tiles for a professional look.
• Frequent Checks: Regularly check the alignment of tiles to maintain the integrity of the pattern.
• Start Small: Begin with a small section to get comfortable with the pattern before tackling the entire floor.
• Patience: Take your time to ensure each tile is placed correctly, especially at the beginning.
Common Challenges and Solutions
• Uneven Tiles: Use a rubber mallet to gently tap tiles into place if they become uneven.
• Complex Cuts: Use a wet saw for precise cuts around edges and obstacles.
• Alignment Issues: Double-check your measurements and alignment before the adhesive sets to avoid costly mistakes.
By following these steps and tips, you can successfully tile a herringbone floor and create a beautiful, eye-catching design in your space.
#homedecor #Interior #design #tiles #tilesdesign #sink #kitchensink #sinkdesign #washbasins #faucet #gujarattilesinfo #tilesdesign #ceramicexhibition #ceramic #ceramics #ceramica #ceramicart #ceramicartist #steelsink #ceramicstudio #ceramicpro #ceramictiles #morbi #floortiles #ceramiche #morbitiles #ceramicwalltiles #ceramicpot #ceramicreview #sanitaryware #bathware #expo
Download Apps of Tiles Directory
Play Store :
https://play.google.com/store/apps/de...
App Store :
https://apps.apple.com/in/app/gujarat...
You Tube Links : / gujarattilesinfo
FaceBook links : / gujarattilesinfo
Linkedin : / gujarat-tiles-info-103718227
Instragram : / gujarattilesinfo
Повторяем попытку...
Доступные форматы для скачивания:
Скачать видео
-
Информация по загрузке:


