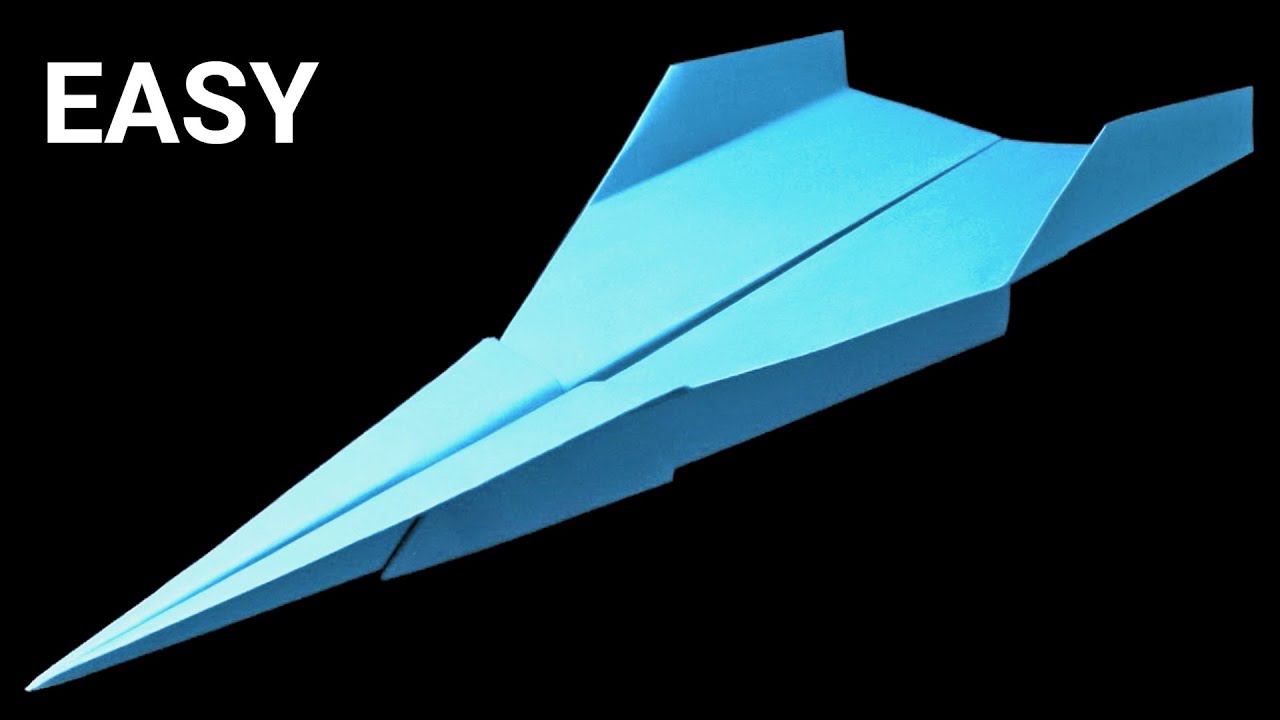
How to fold a Paper Plane
Автор: Origami Land
Загружено: 2024-05-10
Просмотров: 85
Описание:
Paper Type: Printer Paper
Paper Size: A4 (210 x 297mm)
"Paper Plane"
"How to fold a Paper Plane"
Detailed Steps to Fold a Paper Plane
1. Preparation
Materials Needed: One standard sheet of paper (A4 or letter size).
Initial Setup: Lay the paper flat on a clean, hard surface.
2. First Fold
Fold in Half Lengthwise:
Align the long edges of the paper and fold it in half lengthwise.
Crease the fold well and then unfold to create a visible center crease.
3. Creating the Nose
Fold Top Corners to Center Crease:
Take the top left corner and fold it down towards the center crease, making a triangle.
Repeat with the top right corner, ensuring both folds are symmetrical.
4. Nose Refinement
Fold the Peak Down:
Fold the peak formed by the previous step down to about one-third of the way from the bottom edge of the paper.
This forms a smaller triangle at the top with the peak pointing downwards.
5. Final Fold for Stability
Fold in Half Again:
Fold the paper in half along the initial center crease, enclosing the smaller triangle inside.
Ensure the edges align perfectly.
6. Wing Formation
Creating the Wings:
Fold down the top layer of the paper from the folded edge to the bottom edge on one side to create the first wing.
Turn the paper over and repeat on the other side for the second wing.
7. Wing Tips Adjustment
Final Adjustments:
Adjust the wings to ensure they are symmetrical and level.
Crease all the folds firmly to maintain the shape of the plane.
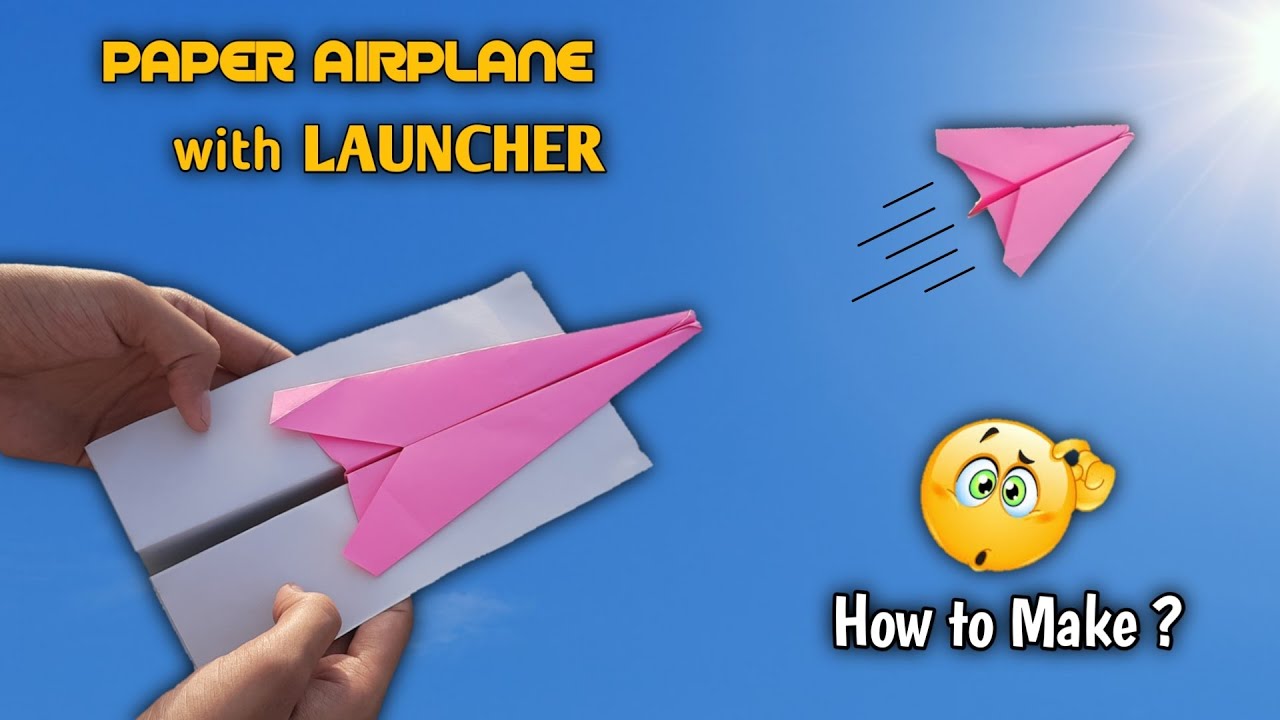
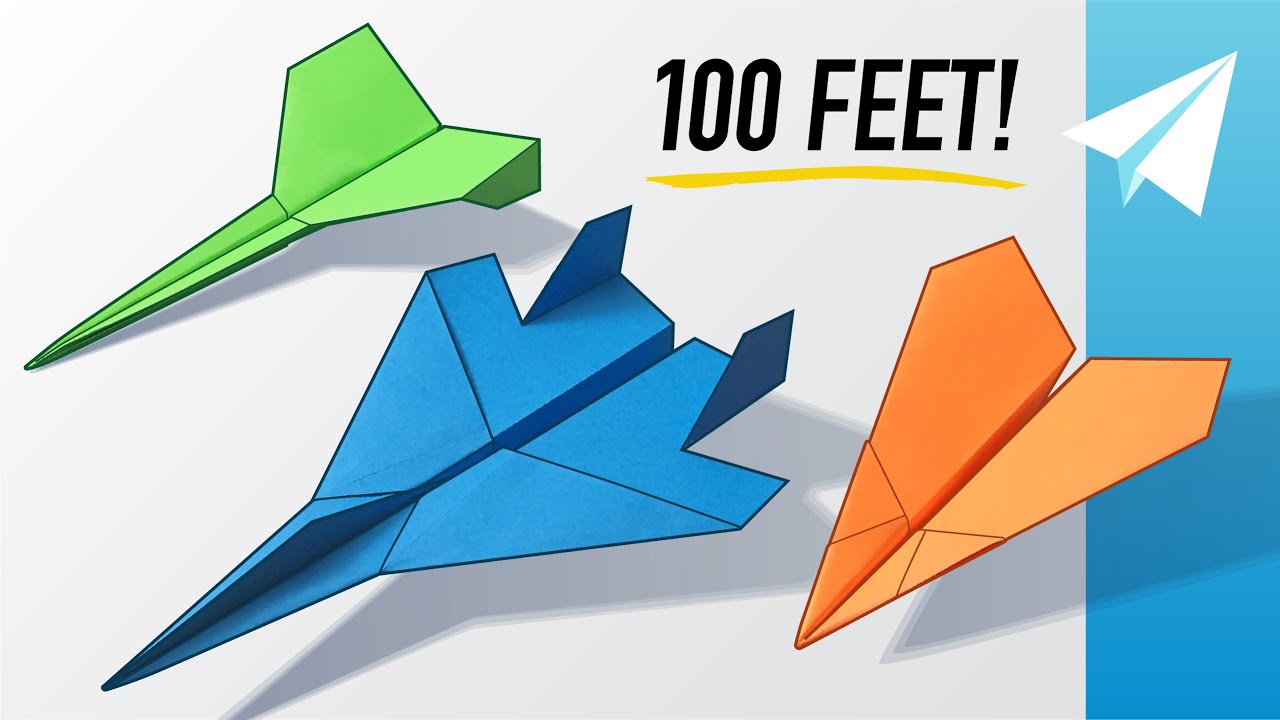
This process results in a basic paper airplane ready to fly. For visual guidance, you can watch the full tutorial in the video here.
• How to fold a Paper Plane
#paperplaneschannel
#origamipaperplanes
#superpaperjet
Повторяем попытку...

Доступные форматы для скачивания:
Скачать видео
-
Информация по загрузке: