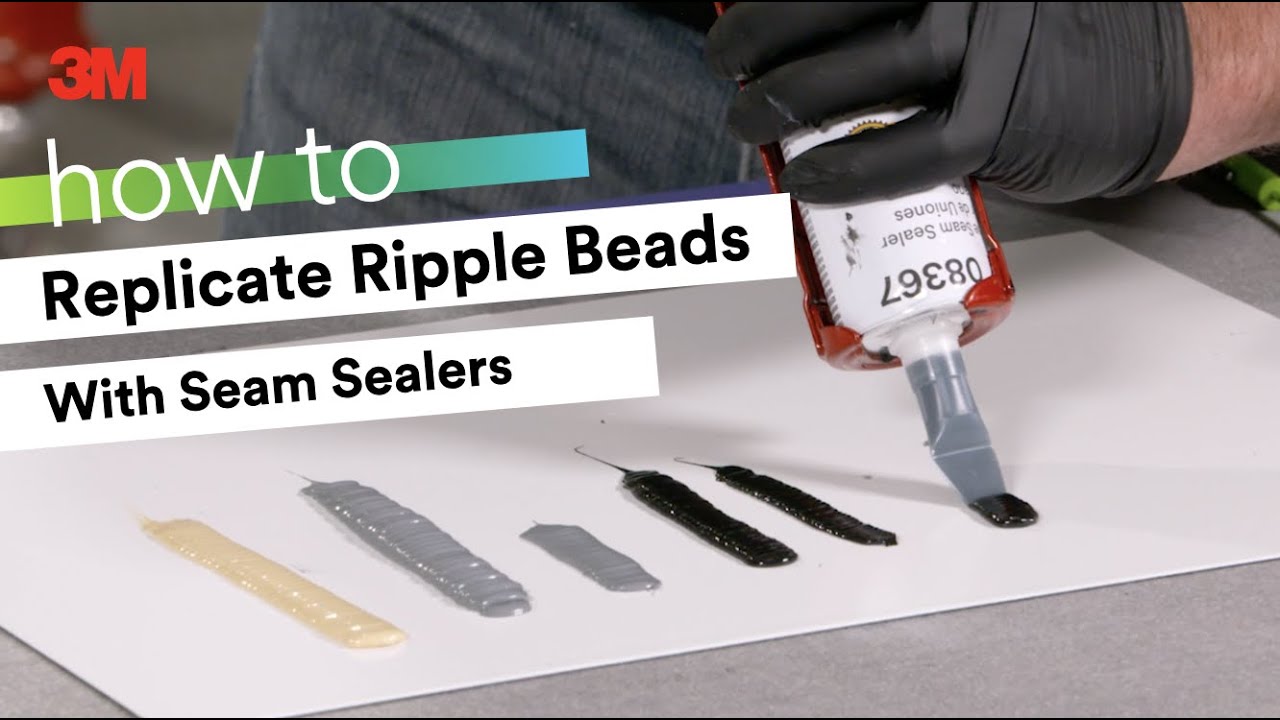
HOW TO: Replicate a Ripple Bead
Автор: 3M Collision Repair
Загружено: 2020-03-03
Просмотров: 87220
Описание:
HOW TO: Replicate a Ripple Bead
Ryan Marrinan, 3M Application Engineer, shows a couple of simple tips and tricks using our one-part products to effectively replicate a ripple bead.
What you’ll need (00:39)
Razor blade
Vise grip pliers
Sausage pack offerings OR single-cartridge offering
Technique 1: Prep your tools (00:51)
We’re using an MSP for this but you can also use a urethane. Cut the tip with the razor blade at about a 30-degree angle. Be careful not to go too far. The cut will affect the look and appearance of the bead. Then take duck bill vise grips and, with the long end of the angle at the top, clamp the tip about an inch back and move the plastic back and forth just a little to flatten it out and create a nose effect. It’s important to leave it in a bit of an upright position.
Technique 1: Lay the bead (01:55)
You won’t need to adjust the air much at all. You can create a really tall bead like on the floor pan underneath a Toyota or Lexus, or you can back it off a little to get a tighter, flatter, more hidden ripple bead.
Technique 2: Prep your tools (02:33)
Use your product of choice – an MSP or urethane, and either of the sausage pack offerings or even the hand caulking cartridge applicator. Again, cut the tip off at about a 30-degree angle. When you clamp it, the key is for the long part of the tip to be at the top. Give it two clamps. The second clamp should be about a quarter-inch or eighth-inch back from the first clamp, closer to the tip. Give it a little twist and leave it in an upright position. This becomes your pressure point.
Technique 2: Lay the bead (03:21)
Guide the tip along and force the material into the surface to create a tight seal for adhesion and corrosion resistance. Depending on what you’re going for, you can go narrower or taller. Again, you want to create a tight seal to the surface.
Pro tip: (04:07)
A misconception about our one-part products is that they take a long time to cure. This misses the fact that you can start painting a one-part product in 30 minutes – it doesn’t need to be fully cured. Many technicians wait until it’s completely cured before they apply paint, and this is unnecessary.
Important note:
There are of course many factors and variables that can affect an individual repair, so the technician and repair facility need to evaluate each specific application and repair process, including relevant vehicle, part and OEM guidelines, and determine what is appropriate for that repair.
Products used in this video:
3M™ MSP Seam Sealer
https://www.3m.com/3M/en_US/company-u...
3M™ Urethane Seam Sealer
https://www.3m.com/3M/en_US/company-u...
For more advanced tutorials, check out 3M Collision Repair Academy
https://www.3m.com/3M/en_US/collision...
You’ll find courses that will expand your knowledge, deliver practical procedures that you can use right away, and, in many cases, earn you I-CAR credits.
Website: 3MCollision.com
Instagram: Instagram.com/3MCollision
Facebook: facebook.com/3MCollision
Повторяем попытку...
Доступные форматы для скачивания:
Скачать видео
-
Информация по загрузке: