MASTER ALUMINUM WELDING TIPS & TECHNIQUES! CLICK SUBSCRIBE! 👍THANK YOU!
Автор: JD TUBE
Загружено: 2025-01-26
Просмотров: 79
Описание:
@jdtube1000 CLICK SUBSCRIBE & SHARE!👍LIKE! THANK YOU!
Welding aluminum requires specific techniques and tools due to its unique properties compared to other metals like steel. Here’s a comprehensive guide on how to effectively weld aluminum, including the necessary tools, materials, and steps involved.
Understanding Aluminum Welding
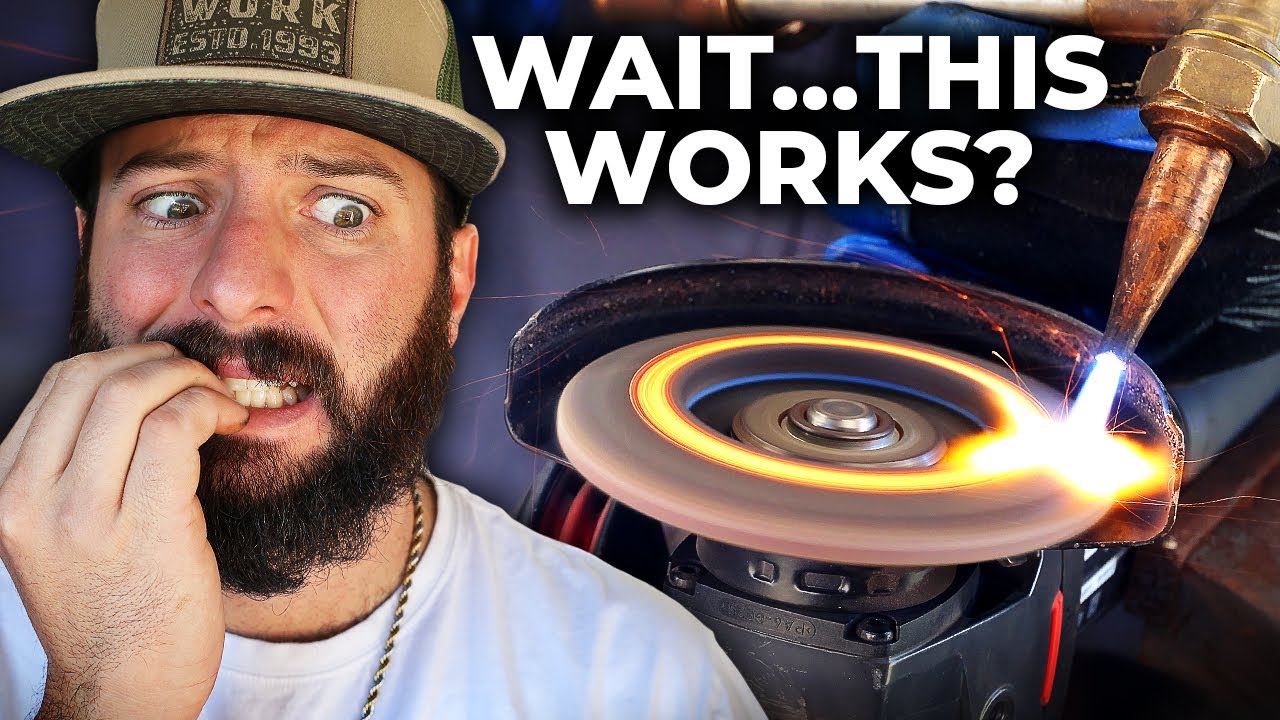
Aluminum has a lower melting point (approximately 1,221°F or 660°C) compared to steel (around 2,500°F or 1,370°C), which makes it essential to use appropriate welding techniques to avoid burning through the material. The two most common methods for welding aluminum are TIG (Tungsten Inert Gas) and MIG (Metal Inert Gas) welding.
*TIG Welding*: Offers precise control and is ideal for thin materials and detailed work. It requires more skill and is generally slower.
*MIG Welding*: Faster and easier for beginners, especially with a spool gun to prevent wire feeding issues. It is better suited for thicker aluminum pieces but may lack the precision of TIG welding.
Essential Tools and Materials
To successfully weld aluminum, you will need the following tools and materials:
*Welding Machine*: A TIG or MIG welder specifically designed for aluminum. Ensure the machine has AC capabilities for TIG welding.
*Filler Material*: Use aluminum-specific filler rods or wires, such as 4043 or 5356, which are compatible with most aluminum alloys.
*Shielding Gas*: Argon or a mixture of argon and helium is typically used to protect the weld from atmospheric contamination.
*Wire Brush*: A dedicated stainless steel or aluminum wire brush is essential for cleaning the aluminum surface before welding.
*Safety Gear*: This includes an auto-darkening welding helmet, safety glasses, leather gloves, and protective clothing to guard against sparks and UV exposure.
Step-by-Step Welding Process
1. Prepare the Surface
Thoroughly clean the aluminum surface using a wire brush to remove any oxide layer, dirt, or oil. This step is crucial as contaminants can weaken the weld.
2. Set Up the Welding Machine
*For TIG Welding*: Set the machine to alternating current (AC) to break down the oxide layer. Adjust the amperage based on the thickness of the aluminum.
*For MIG Welding*: Ensure the machine is set up with the correct polarity and that a spool gun is installed if necessary.
3. Preheat the Aluminum (if needed)
Preheating is not always necessary but can help prevent cracking, especially in thicker materials. Aim for a surface temperature of 200–300°F (93–149°C) using a propane or acetylene torch.
4. Execute the Weld
*TIG Welding*: Use a steady hand and maintain a 10–15° angle with the torch. Employ a push technique, moving the torch away from the weld puddle.
*MIG Welding*: Move the gun steadily to ensure proper penetration without overheating. Use short bursts to maintain control.
5. Inspect and Finish the Weld
After welding, inspect the weld for cracks or unevenness. A good weld should have a smooth, uniform appearance. If defects are found, grind them down and re-weld.
Clean the weld area to remove any slag or residue, especially after MIG welding, and polish the weld for a professional finish.
Common Challenges and Solutions
*Porosity*: Caused by trapped gas in the weld. Ensure proper surface preparation and control gas flow.
*Cracking*: Often results from incompatible filler materials or excessive heat. Use the correct filler and maintain appropriate heat settings.
*Incomplete Fusion*: Occurs when the weld metal does not merge fully with the base material. Ensure proper joint preparation and welding technique.
By following these guidelines and practicing the techniques, you can achieve strong and clean welds in aluminum projects, whether for repairs or new fabrications. Always prioritize safety and ensure you have the right equipment for the job to achieve the best results.
Повторяем попытку...

Доступные форматы для скачивания:
Скачать видео
-
Информация по загрузке: