DIY Modular Breakfast Bar and Kitchen Table
Автор: HonestWork Designs
Загружено: 2021-02-09
Просмотров: 74500
Описание:
**For more behind-the-scenes content and to support the channel: / hwdesigns **
** Starbond Super Glue Aff. Link: https://www.starbond.com/?rfsn=475828...
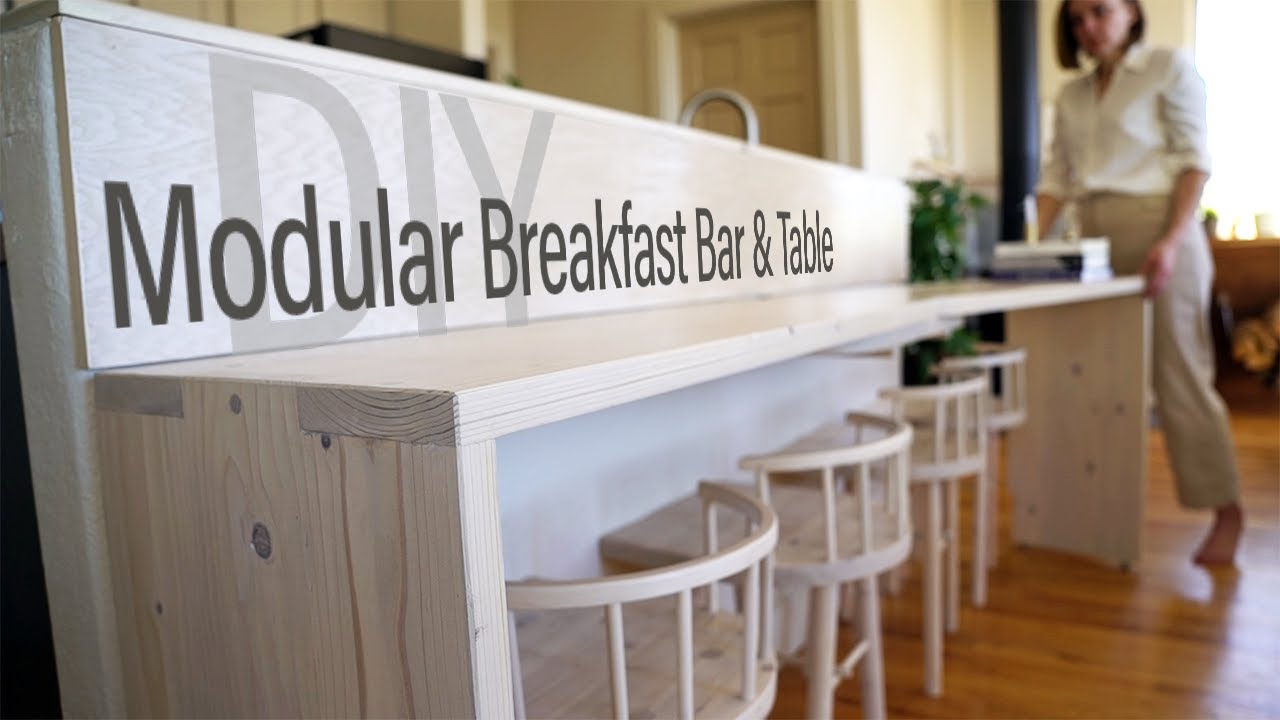
Having blown my lumber budget on all the walnut projects, plus making plans to renovate the kitchen in full in the future, I decided to mess around with a fun, modular design made with some Lowes grade, 2x6" pine.
I hope you enjoy!
To support "the show:"
Like
Subscribe
"Ring the Bell"
Follow me: / honestworkdesigns
Music Credits:
Rosemary's Garden
Peter Crosby
https://player.epidemicsound.com/
Think about you
Sture Zetterberg
https://player.epidemicsound.com/
Feel So Lucky
Cody Francis
https://player.epidemicsound.com/
Sing to me
Sven Karlsson
https://player.epidemicsound.com/
**TRANSCRIPT OF VOICE OVER
How to make, or how I made, a modular breakfast bar slash kitchen table
Let’s get into it
After spending all my lumber budget on walnut projects, and because this area will be replace when we get to renovating the kitchen, I started by squaring pine 2x6’s from lowes.
With three planks for each side, I laminated the counter tops.
Once cured, I sanded down any seem issues, the used starbond medium thick brown super glue and it’s accelerator to fill in any knots or notches, then sanded those flush as well
If you have a project in need of some super glue and want to help support the channel at the same time, use the link in the description below to check out starbond’s super glue collection.
With the counter tops tidied up, I used the cross cut to cut them down to 3’ 9” or half the distance of the half wall they’d be anchored on
Then I measured and marked an anchor point to either corner of one end of each surface.
I mounted the circle cutting jig and router to this point, then rounded over the corners in a few passes with a straight edge gouge bit to allow the tables to pivot.
To complete the center mount piece and the table legs, I went through a similar process of prepping the surfaces.
With those cut to rough dimensions, it was time to cut the fat finger joints to hold the legs and table tops together.
I started by clearing the innermost edges of the joint on the legs.
Then, because I haven’t jumped for a dado blade that would make quick work of clearing the rest just yet, I set up a quick jig, and cut out the back edge of the joints using a router and gouge bit.
Happy with the edges, I turned to the mirroring joint on the table top surface. I began by outlining the recess to cut
Then used a pull saw to cut just inside of that line
And again, set the router to work tho clear a flat back edge, before tiding up with a chisel
For the center mount piece,
I trimmed it down to size, slightly thinner than the table top surface,
Then used the same router and circle cutting jig set up to round the corners of the front edge to soften its overall profile within the piece
With that complete, I found the center point, then about 2 inches left and right of it, and marked the placement for the two motises that would hold the pivot tenon for the table tops
I cut mirroring mortises into the table top surfaces as well making sure to use a backer board to avoid tear out
The last cut i needed to make before glue up was simply to clear a small space at the back of the bottom of each leg to account for the molding it would encounter once installed
After that, it was time to give each piece a finishing level sand down
Time for glue up!
I used various clamps and squares to hold everything in place.
While that cured, I set about creating recesses for the metal shelving brackets I’d use to help anchor this piece to the wall.
Since I didn’t have a good way of cutting a nice, straight, 14” mortise, I decided to use the router to cut half of the ½’ mortise away from the bottom face of the mount piece,
Then I did the same to one inch wide scrap pieces, that I mounted along the routed edges of the center mount piece to form the full mortise for the metal brackets.
I rounded over the edges of the small piece before adhering them to the center mount piece for a cleaner look.
With the glue cured on the leg and table top joints, I used half inch oak dowel pins to strengthening the joint
With the pieces all but structurally ready to be installed, I cut a quick chamfer on the edges to wrap them up.
The last parts I needed before I could finish were the 1” walnut dowels that would act as the pivot points between the tables and the center mount piece
I started by laminated two squared pieces together
Then I cut out my blank for the lathe
Then I quickly turned the piece
I cut the turned dowel into 2 pivot pins, then anchored them to the table top sides
After that, all that was left to do was finish! I softed the yellow of the pine with a quick white wash, then used miniwax clear gloss finish to seal them.
Повторяем попытку...
Доступные форматы для скачивания:
Скачать видео
-
Информация по загрузке:


