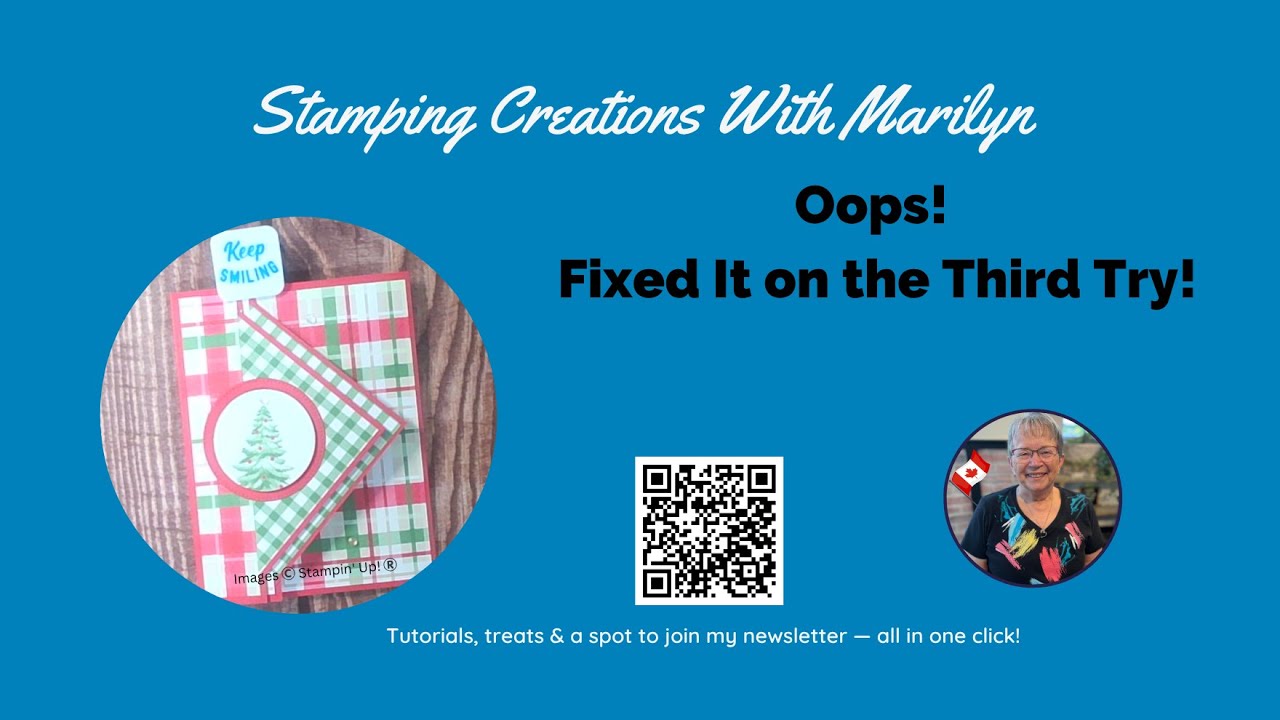
Double Flap Envelope Card Tutorial | Learn from My Mistakes and Make It Right!
Автор: Stamping Creations With Marilyn
Загружено: 2025-10-30
Просмотров: 167
Описание:
Have you ever had one of those crafting nights where nothing goes quite as planned? Join Marilyn from Stamping Creations with Marilyn, live from Spruce Grove, Alberta, Canada, as she laughs her way through “doing it wrong twice and right the third time” while teaching how to make a Double Flap Envelope Card that’s both clever and elegant!
This week’s Glue & Giggles live brings all the charm of handmade cardmaking — real moments, little oopsies, and a finished project you’ll absolutely love. You’ll see exactly how Marilyn figured out what went wrong, how she fixed it, and how you can avoid the same mistakes when creating this versatile, fun-fold card.
Inside the video, you’ll also hear the latest Stampin’ Up!® news, including the Marvelous Makers Community join special — where you can choose $165 worth of products for only $48, or $252 for $135. Whether you’re brand new to stamping or a seasoned crafter who wants to save money and connect with a creative community, now’s the perfect time to join in!
What You’ll Learn in This Tutorial:
• How to cut, score, and fold your card base for a perfectly aligned double flap design
• How to create the angled “envelope” shape without losing your points (literally!)
• Simple layering tricks that make your Designer Series Paper shine
• The one easy fix for when you glue your paper on backwards (yes, it happens!)
• How to mix and match embellishments like berries or peppermints for a polished holiday look
Marilyn also shares stories from her craft table, chats about upcoming Christmas card classes, and shows off some fun team swaps from her Marvelous Makers Community. Plus, you’ll see how she turned a stamping “halo mistake” into a beautiful design feature — a clever tip you’ll want to remember!
Whether you’re watching from Canada or beyond, you’ll feel right at home in this cozy, chatty crafting session. Grab your favourite hot drink, laugh along, and get inspired to make your own envelope cards for the holiday season or any special occasion.
Card Measurements (as shared in the video):
• Base: 10-¾" x 5-½", score at 1-¼", 5-½", and 9-½"
• Inside panel: 5-¼" x 4"
• DSP layers: 5-¼" x 3-¾", plus coordinating triangles for the envelope flaps
• Decorative squares: 3-½" and 3-¾" with DSP layers ¼" smaller
Each section layers beautifully to create dimension, with the focal point mounted on dimensionals for a “pop-up” effect when displayed. Marilyn finishes her design with rich Cherry Cobbler accents and embellishments that add sparkle and warmth without overwhelming the layout.
This project works wonderfully with Christmas paper, winter scenes, or even birthday and thank-you themes — just change the DSP and sentiment!
Bonus Tips:
• Always test your folds before gluing to ensure your DSP is facing the right direction.
• Use your trimmer to cut triangles by placing the corners in the cutting track, starting from the center, to preserve your paper points.
• Keep your embellishments in odd numbers for balanced, professional-looking designs.
• If you make a mistake, embrace it! There’s usually a creative fix waiting to happen.
At the end of the video, Marilyn shares team swap cards, the winner of last week’s card giveaway, and a reminder to comment, like, and subscribe — because every engagement helps the crafting community grow and keeps the Thursday night giggles rolling!
If you’d like the written measurements and step-by-step instructions, be sure to subscribe to Marilyn’s Tuesday newsletter, where she shares her latest tutorials, PDF projects, and upcoming class announcements.
You can find all my links, freebies, and goodies here
https://links.stampingcreationswithma...
Images © Stampin’ Up!®
Повторяем попытку...
Доступные форматы для скачивания:
Скачать видео
-
Информация по загрузке:


