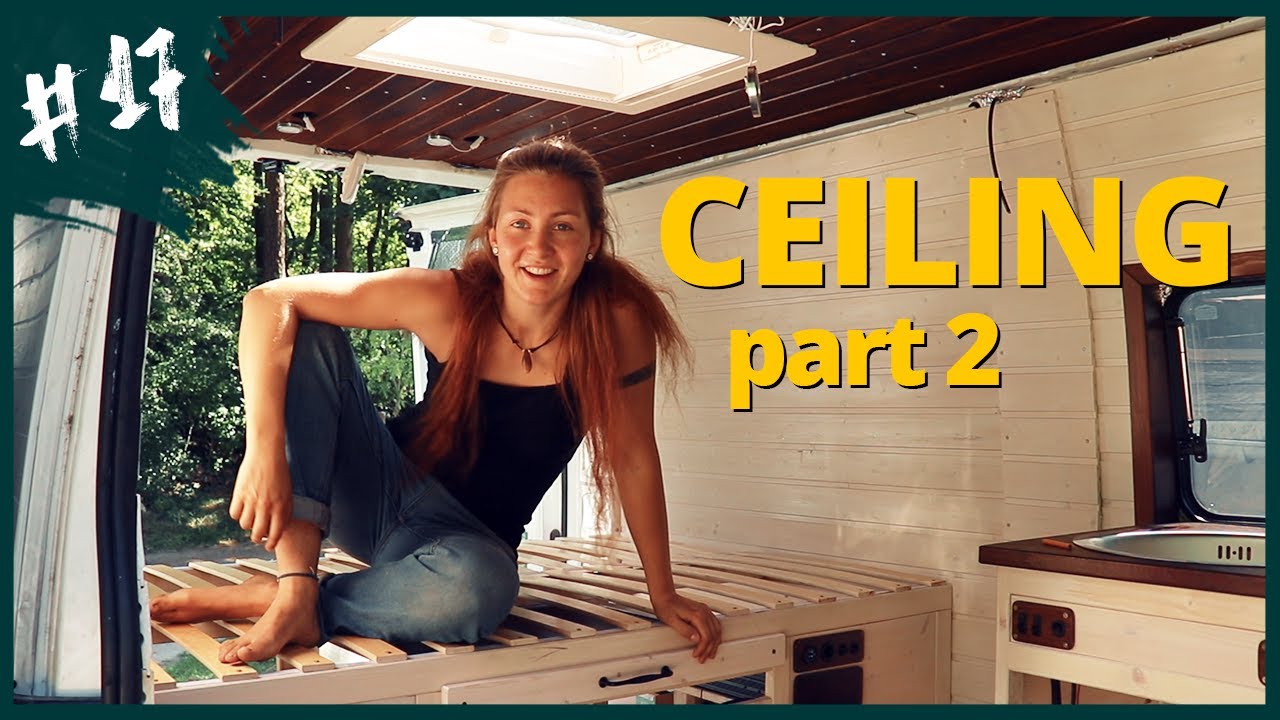
Dark wood finish for my CEILING CLADDING | Van Build #17
Автор: Life of Lenja
Загружено: 2020-04-05
Просмотров: 10630
Описание:
After I put up the metal strips in the last epiode, now it's time to actually install the cladding. But because I want to spend as little time as possible working (especially painting!) over my head, I first install the cladding to predrill everything, then take it all down again to adjust, sand and paint it and then install it once again. Quite a lot of effort but worth it in my opinion. I also manage to sneak in the installation of my inverter!
What I used this episode:
Tools
Electric screwdriver
Jigsaw
Sander
Ruler
Pencil
Brush
Materials
Self-drilling screws
14mm fur tongue and groove
Swingcolor indoor solvent-free wood glaze palisander
ECTIVE CSI52 Sinus Charger-Inverter 500W/12V
------------------------- Links ----------------------------
My Instagram: / lenja_ka
------------------------- Music ----------------------------
Music by Silent Partner
Intro song by Silent Partner
------------------------- About ----------------------------
I've been living in my 1979 Mercedes-Benz James Cook Campervan for two years now. I loved that van, but it was itching me to do my own conversion; alone and without any experience. I sold my old van and started my very own van conversion!
In this Van Build Series I will take you along my journey of building my own home on wheels. I will do everything from insulation, cladding and furniture to the water and electric system. And all that while I'm learning how to do these things on the way. I will go through many hours of work, frustrating moments and defeats in order to achieve the experience of creating things with my own hands. I hope you're enjoying this series and maybe you can even learn something from my ideas & mistakes. - Lenja
#vanconversion #ceiling #cladding
Повторяем попытку...
Доступные форматы для скачивания:
Скачать видео
-
Информация по загрузке: