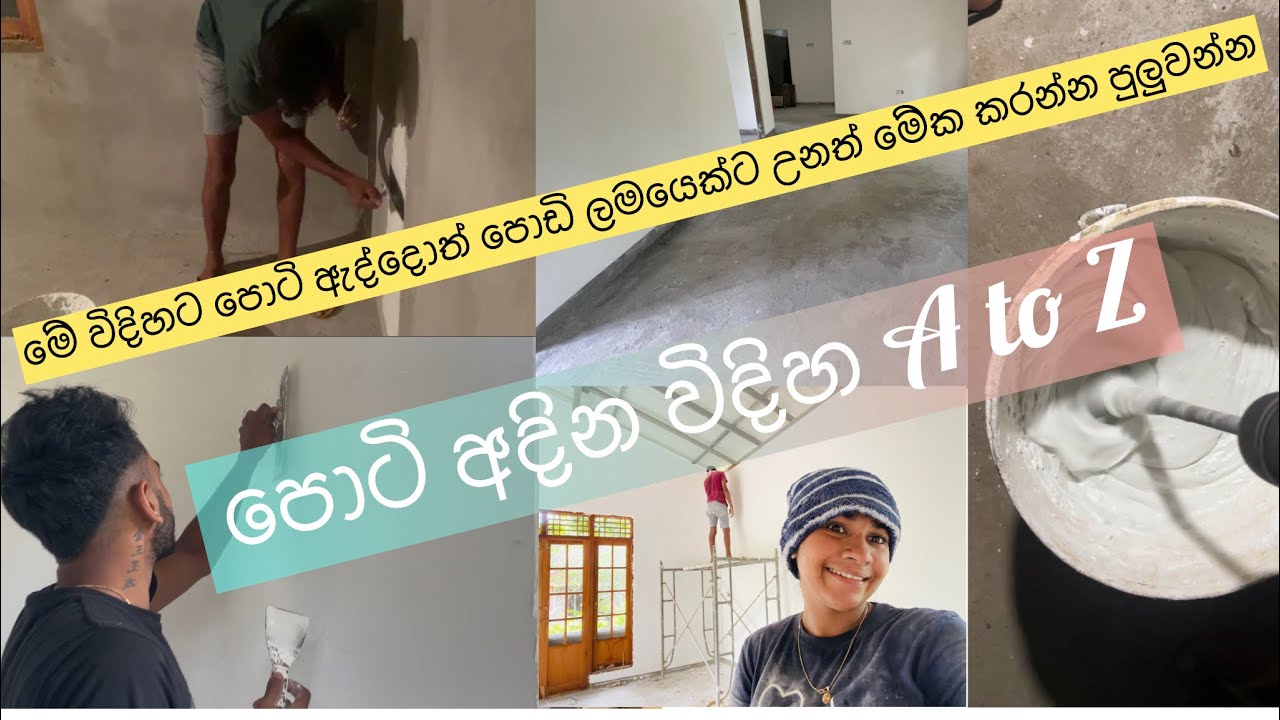
ycliper

Популярное

Музыка Кино и Анимация Автомобили Животные Спорт Путешествия Игры Юмор

Интересные видео

2025 Сериалы Трейлеры Новости Как сделать Видеоуроки Diy своими руками

Топ запросов

смотреть а4 schoolboy runaway турецкий сериал смотреть мультфильмы эдисон
Скачать

පොටි කපන්න පුරුදු වෙමු.සරල සහ පහසුම ක්‍රමය

Автор: WADA BIMA -වැඩ බිම

Загружено: 2024-09-16

Просмотров: 52021

Описание: පොටි කපන්න පුරුදු වෙමු
Applying wall putty (often called "wall putty" or "spackle") is an important step in preparing a wall for painting or other finishes. It helps in smoothing the surface and filling in cracks, holes, and imperfections. Here's a step-by-step guide on how to apply wall putty:

Materials You’ll Need:
#Wall putty (ready-made or powder-based)
Putty knife or trowel
#Sandpaper (medium to fine grit)
Primer (optional)
Clean cloth or sponge
Water
Ladder (if needed
Step-by-Step Guide:

1. *Prepare the Surface:*
Clean the wall thoroughly to remove any dust, dirt, or loose particles. You can use a clean cloth or sponge.
If there are any cracks, old paint, or loose plaster, scrape them off using a scraper or sandpaper.
Ensure the wall is dry before proceeding.

2. *Mix the Putty:*
If you're using powder-based #wall putty, mix it with water as per the manufacturer's instructions to create a smooth paste.
Stir thoroughly to avoid lumps. Ready-made putty doesn’t need mixing, so you can use it directly.

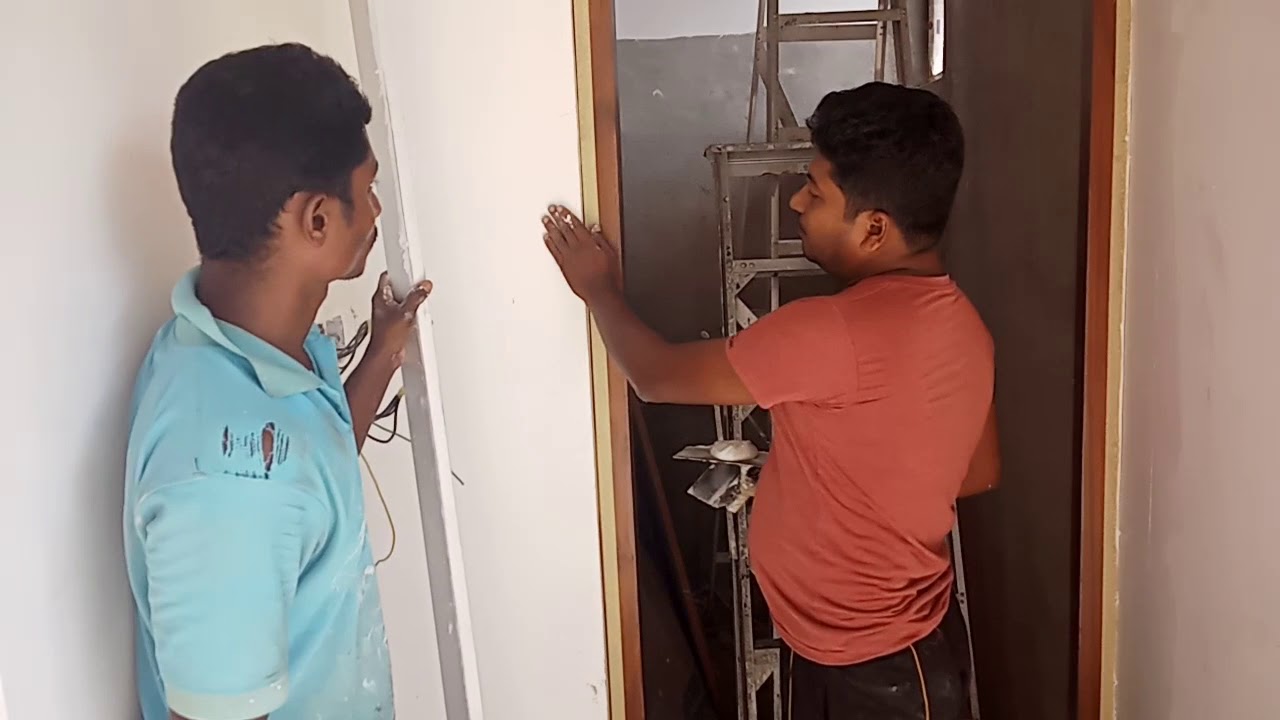
3. *Apply the First Coat:*
Take some #putty on your putty knife or trowel and apply it to the wall. Start from the top of the wall and work your way down.
Spread the putty evenly in thin layers across the surface. Avoid applying a thick layer in one go, as it may crack when drying.
Use a wider trowel for larger surfaces and a narrower knife for smaller patches or cracks.

4. *Let It Dry:*
Allow the first coat of putty to dry completely. Drying time can vary depending on the brand, humidity, and temperature but typically takes 4-6 hours.

5. *Sand the Surface:*
Once the first coat is dry, use fine-grit sandpaper to smooth the surface. This will remove any imperfections and give the wall a smooth finish.
Wipe off the dust with a clean cloth or sponge.

6. *Apply the Second Coat (if necessary):*
If the wall still feels uneven after sanding, apply a second coat of putty in the same manner as the first coat.
Let it dry again and then sand it for a smooth finish.

7. *Final Sanding:*
Sand the surface again lightly with fine-grit sandpaper to achieve a perfectly smooth surface.

8. *Apply Primer (Optional):*
For best results, especially if you’re going to paint the wall, apply a coat of primer. Primer helps the paint adhere better and provides a more uniform finish.

9. *Paint the Wall:*
After the primer has dried, you can go ahead and paint the wall as desired.

Tips:
Avoid applying putty during very humid conditions, as it can affect the drying process.
Always sand between coats for a professional finish.
Make sure to use protective gear such as gloves and a mask, especially when sanding.

Following these steps will give you a smooth and professional-looking finish to your wall.

Не удается загрузить Youtube-плеер. Проверьте блокировку Youtube в вашей сети.
Повторяем попытку...
පොටි කපන්න පුරුදු වෙමු.සරල සහ පහසුම ක්‍රමය

Поделиться в:

Доступные форматы для скачивания:

Скачать видео

  • Информация по загрузке:

Скачать аудио

Похожие видео

Шлифовка штукатурки Жирафом. Как шлифовать штукатурку. Формирование плоскости

Шлифовка штукатурки Жирафом. Как шлифовать штукатурку. Формирование плоскости

Try this wall painting putty texture design rope roller

Try this wall painting putty texture design rope roller

පට්ටමක් හදන්න පුරුදු වෙමු පළවෙනි ක්‍රමය @WADABIMA1989 #construction #masonry

පට්ටමක් හදන්න පුරුදු වෙමු පළවෙනි ක්‍රමය @WADABIMA1989 #construction #masonry

Гротто из обычной шпаклевки своими руками

Гротто из обычной шпаклевки своими руками

පොටී අදින්න කවල්ම් කරගන්නෙ මේහෙමයි

පොටී අදින්න කවල්ම් කරගන්නෙ මේහෙමයි

පොටි අදින්න කලින් අපි  දැනුවත් වෙමු

පොටි අදින්න කලින් අපි දැනුවත් වෙමු

РЕМОНТ ПОТОЛКА за 11 минут своими руками

РЕМОНТ ПОТОЛКА за 11 минут своими руками

බාස්ලට ලක්ශ ගනන් වියදම් කරන්න ඕනි නෑ. තනියම පොටි අදින විදිහ A to Z

බාස්ලට ලක්ශ ගනන් වියදම් කරන්න ඕනි නෑ. තනියම පොටි අදින විදිහ A to Z

උලුහව් පට්ටමක් කෙලින් හදාගන්නේ කොහොමද

උලුහව් පට්ටමක් කෙලින් හදාගන්නේ කොහොමද

ටයිල් අල්ලන්න බදාම කපනන්න පුරුදු වෙමු 2 @WADABIMA1989 #construction #masonry

ටයිල් අල්ලන්න බදාම කපනන්න පුරුදු වෙමු 2 @WADABIMA1989 #construction #masonry

Тонкости поклейки обоев. Делюсь опытом.

Тонкости поклейки обоев. Делюсь опытом.

КАРТА МИРА - 3 техники. Декоративная штукатурка - мастер-класс. Раскрываем все секреты. diy decor

КАРТА МИРА - 3 техники. Декоративная штукатурка - мастер-класс. Раскрываем все секреты. diy decor

පොටි අදින්න පුරුදු වෙමු /how to apply wall party @WADABIMA1989 #wall putty #construction

පොටි අදින්න පුරුදු වෙමු /how to apply wall party @WADABIMA1989 #wall putty #construction

декоративная штукатурка карта мира из гипсовой штукатурки

декоративная штукатурка карта мира из гипсовой штукатурки "максимально бюджетная"

New wall texture painting design | wall decoration texture painting ideas

New wall texture painting design | wall decoration texture painting ideas

තීන්ත නිවැරදිව රෝලේ උපකාරයෙන් ගාමු tips ,tips ,tips

තීන්ත නිවැරදිව රෝලේ උපකාරයෙන් ගාමු tips ,tips ,tips

Tile අල්ලන්න සිමෙන්ති බදාම කපන්න පුරුදු වෙමු

Tile අල්ලන්න සිමෙන්ති බදාම කපන්න පුරුදු වෙමු

ШПАКЛЕВКА+ЛАК=СУПЕР ГЛЯНЕЦ!  от А до Я !! PUTTY+VARNISH=SUPER GLOSS!  DIY

ШПАКЛЕВКА+ЛАК=СУПЕР ГЛЯНЕЦ! от А до Я !! PUTTY+VARNISH=SUPER GLOSS! DIY

අපිම බිමට බදාම කපමු | floor Plastering | floor plastering for tile | how to do floor plaster | DIY

අපිම බිමට බදාම කපමු | floor Plastering | floor plastering for tile | how to do floor plaster | DIY

16 ошибок штукатурки стен.

16 ошибок штукатурки стен.

© 2025 ycliper. Все права защищены.


  • Контакты
  • О нас
  • Политика конфиденциальности


Контакты для правообладателей: [email protected]