How to Set Up Dakota Alert Driveway Alarm - Setup Tutorial
Автор: Guardline
Загружено: 2015-11-16
Просмотров: 31354
Описание:
This is a short instructional video that goes over the set up and basic functions of your Dakota Alert Wireless Driveway Alarm transmitter and receiver. See more here: https://www.guardlinesecurity.com/pro...
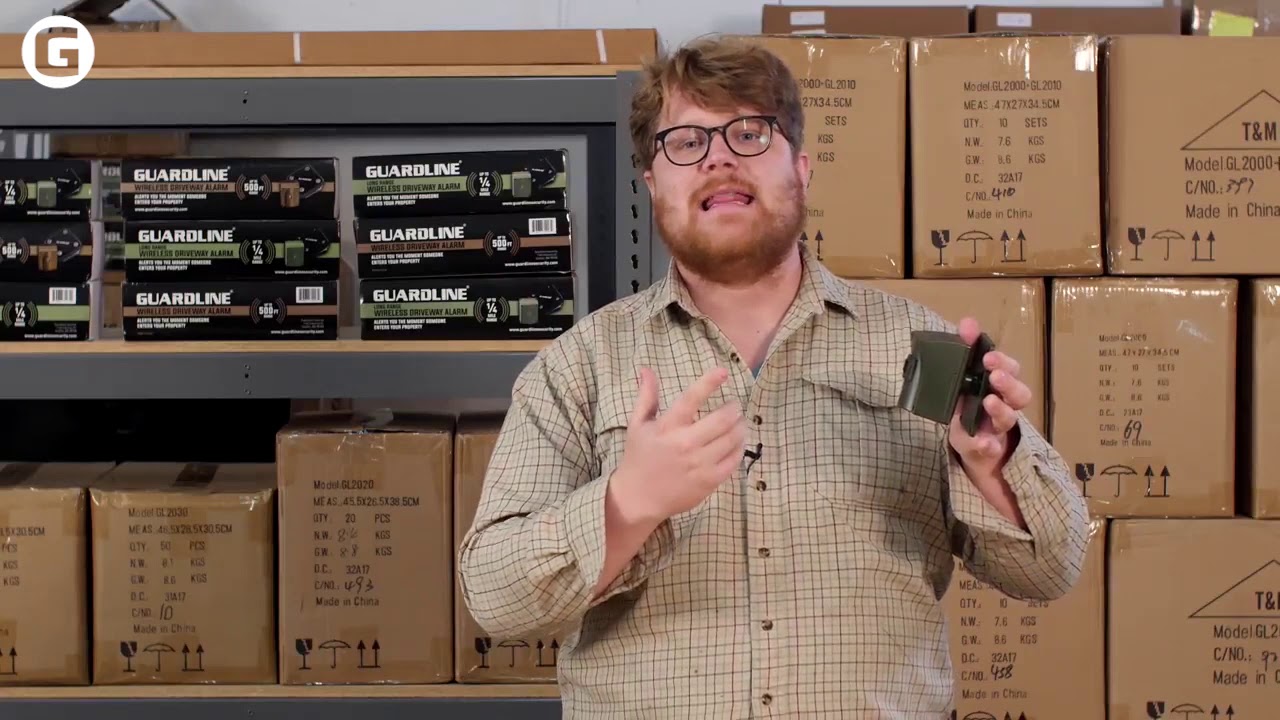
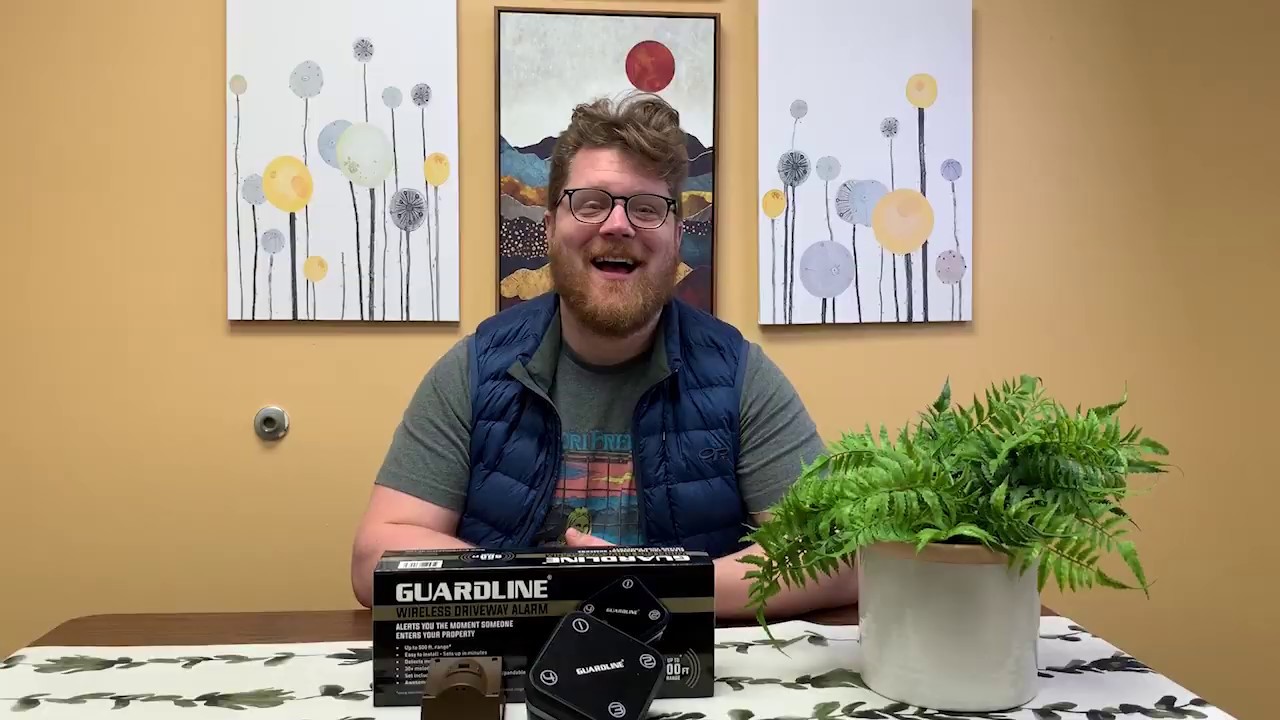
Included in the box:
(2) User's Manuals
(1) Receiver
(1) Power adapter for receiver
(1) Transmitter
(2) Mounts: (1) Plate mount and (1) Swivel Mount
(1) set of screws for mount
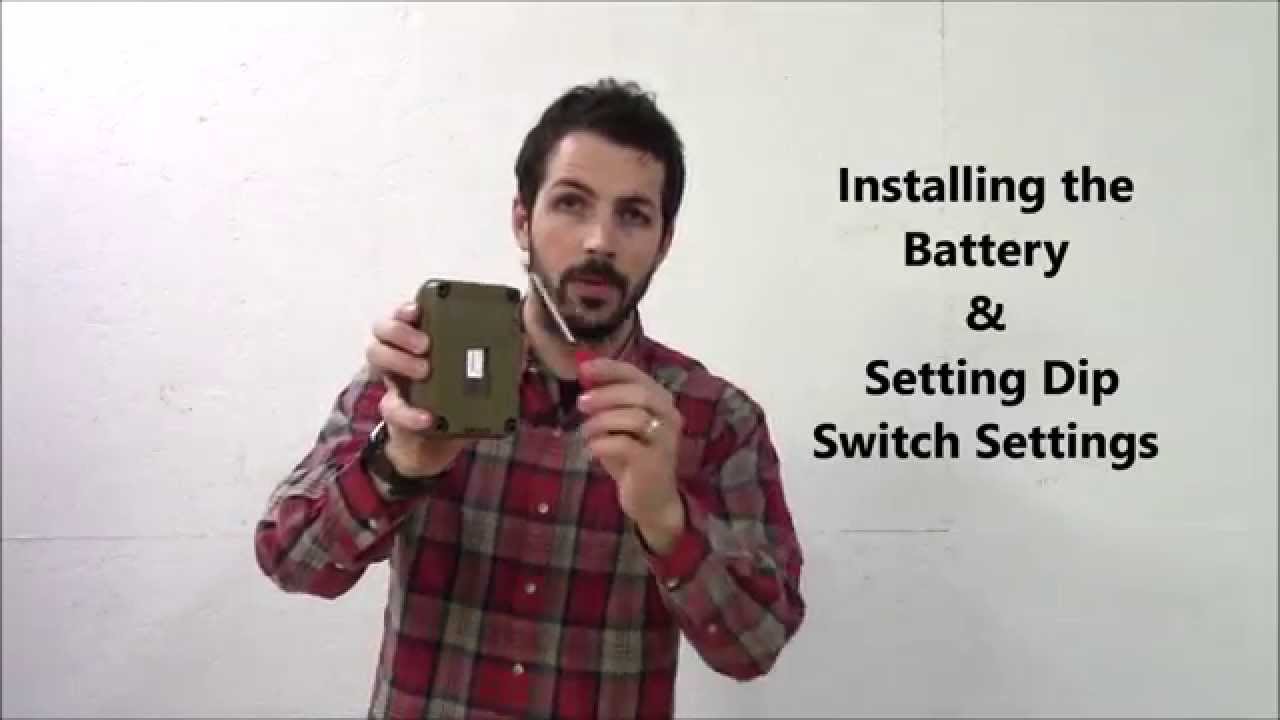
The Dakota Alert driveway alarm should already be paired when it arrives. If you want to change the channel (or need to change it due to interference with other devices) you can do so by adjusting the dip switches. Dip switches 1-8 can be arranged in any configuration you choose so long as they are the same for the receiver and sensor.
Each of the 4 zones has it's own chime. If you want to change the chime for your sensor, you will also change the zone that it appears on. To change the zone/chime, you simple need to adjust dip switches 9 and 10 on the sensor.
The Zone/chime dip switch settings are below.
Zone 1 - Classical Chime - Dip switch 9 "on", 10 "on"
Zone 2 - Westminster Chime - Dip switch 9 "off", 10 "on"
Zone 3 - Ding Dong Chime - Dip switch 9 "on, 10 "off"
Zone 4 - Whistle Chime - Dip switch 9 "off", 10 "off"
Please share any comments or questions with us below in the comments field. Thanks for watching!
Повторяем попытку...
Доступные форматы для скачивания:
Скачать видео
-
Информация по загрузке: