How to Present the Geometry Cabinet | AMI Montessori Lesson
Автор: Montessori Moments with Frida
Загружено: 2020-10-16
Просмотров: 2763
Описание:
Geometry Cabinet
Material:
Nienhuis Montessori USA | The Nienhuis Montessori materials
www.nienhuis.com
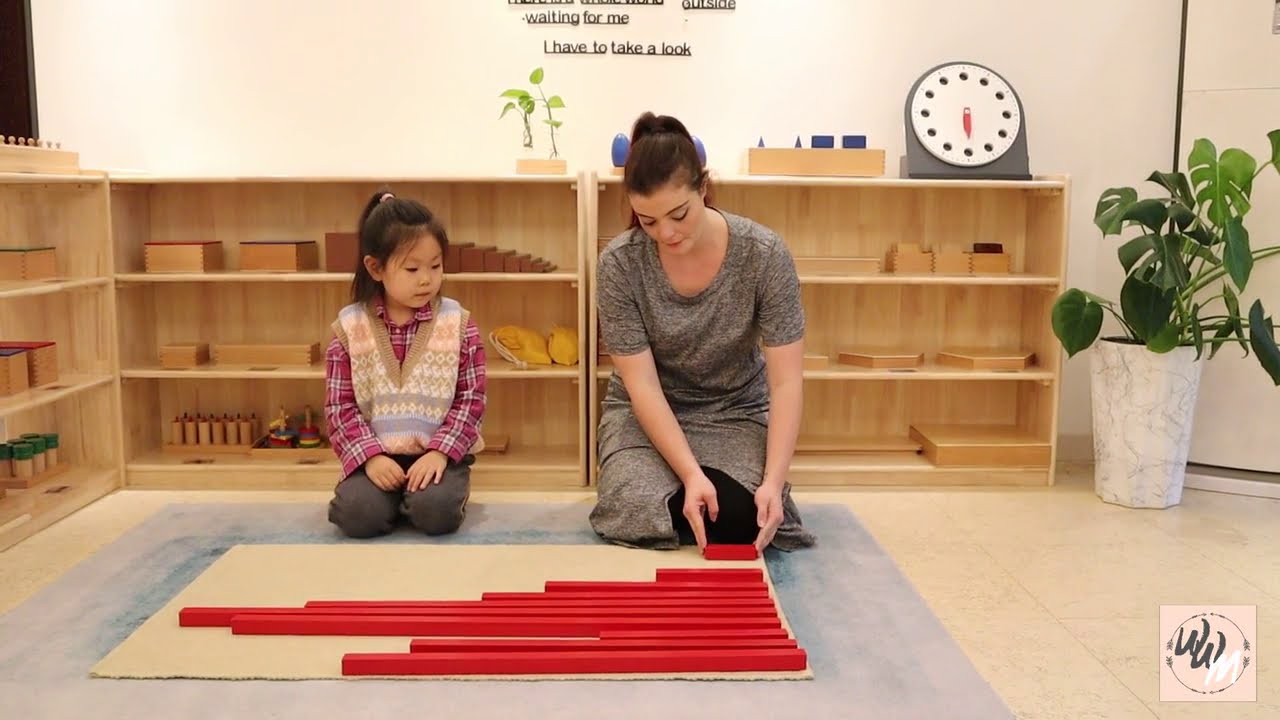
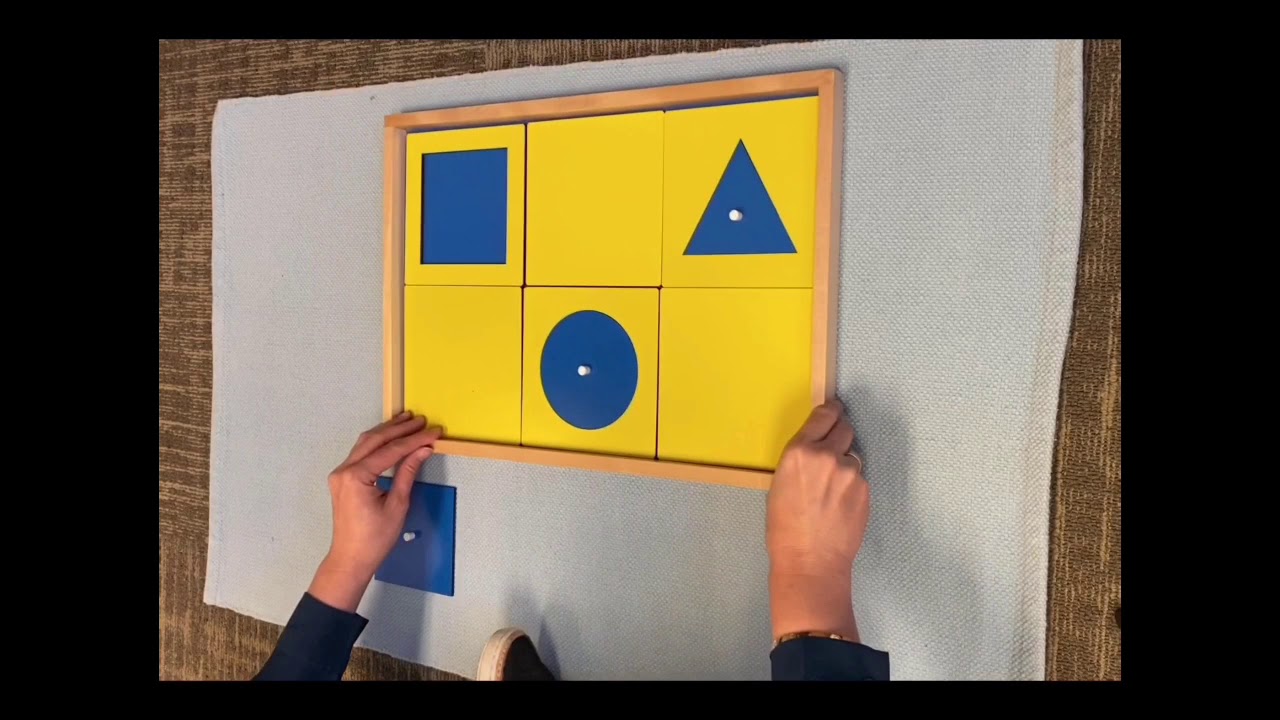
A demonstration tray. For first presentation introduce a square, circle and triangle. These are the basic geometric figures. The triangle is the constructor of the other figures. The square is the measurer of areas. The circle is the calculator of angles.
A wooden cabinet with six drawers. Each drawer contains 6 wooden divisions. In most of the divisions there is a wooden inset with a knob to lift it out. The inset and the bottom of the drawer are painted the same color. The square frames of the insets have a contrasting color and are also removable. In the demonstration tray as in some drawers where there are not 6 insets, the remaining square divisions are whole.
Drawer 1: 6 circles which vary in diameter — from 10 cm to 5 cm.
Drawer 2: 5 rectangles equal in length while decreasing in width by
1 cm consequently. Also 1 square
Drawer 3: 7triangles - 3 isosceles (two equal sides) right-angled (90’), acute-angled (less then 90”) and obtuse-angled (more than 90’). 3 scalene ( three diff sides) right-angled, acute-angled and obtuse-angled. 1 equilateral triangle (3 equal sides)
Drawer 4: 6 polygons (many sides) — pentagon, hexagon, heptagon, octagon, nonagon, decagon.
Drawer 5: 4 quadrilaterals (4sides) — rhombus, parallelogram, trapezoid, right-angled trapezoid.
Drawer 6: 4 curvilinear figures - curvilinear triangle, quatrefoil, oval, ellipse.
Presentation:
Invite a child
Introduce the activity
Show the child how to carry the demonstration tray
Bring the demonstration tray with three most contrasting shape (first: Square, circle, triangle) to the table and sit down
With one hand (non dominant hand) use your pincher grip, take the circle
Hold the shape 45 degrees toward the child, blue side facing the child
Other hand, index and middle finger, start tracing the shape edge with continuous movement , clockwise.
Trace it several times, more than 3 times clockwise
One you finish , place your inset in the blank space
Hold the frame of circle with non dominant hand and the other hand trace it counter clockwise
When finish, place the inset into the corresponding frame
Do the same with the other 2 shapes
Invite the child to do the activities as many times as he wants to
Have him put it back to its place
After the child done this activity, invite him to do with 3 more contrasting shape
Show him how to prepare a demonstration tray:
Place the demonstration tray on top of the drawer
Take out the grid and place on to empty space nearby
Put back all the previous shape in the drawers.
Open a drawer and put back a shape, first put back the frame and then the inset, do the same with other shapes
When finish , start set up the new demonstration tray with different shapes
The first thing that the child going to put in the demonstration tray is the frame and then the inset
Note:
The child work in the geometry cabinet 3 shapes at the time
Triangle is constructor of rectangular
Square is unit measure area
Circle is a measure of angel
Control of error
In the material, the frame with correct it
Mechanical control of error
Direct Purpose
Refinement of visual sense
Visual discrimination of shapes
Provide the child with the key to orient himself in the world of shapes
Indirect Purpose
Indirect preparation of hand for writing
Indirect preparation fro geometry
Age:
3 - 3 1/2 - 5
Повторяем попытку...
Доступные форматы для скачивания:
Скачать видео
-
Информация по загрузке: