How to Use the IAI Servo Press: Real Life Example
Автор: Valin Corporation
Загружено: 2021-05-03
Просмотров: 1044
Описание:
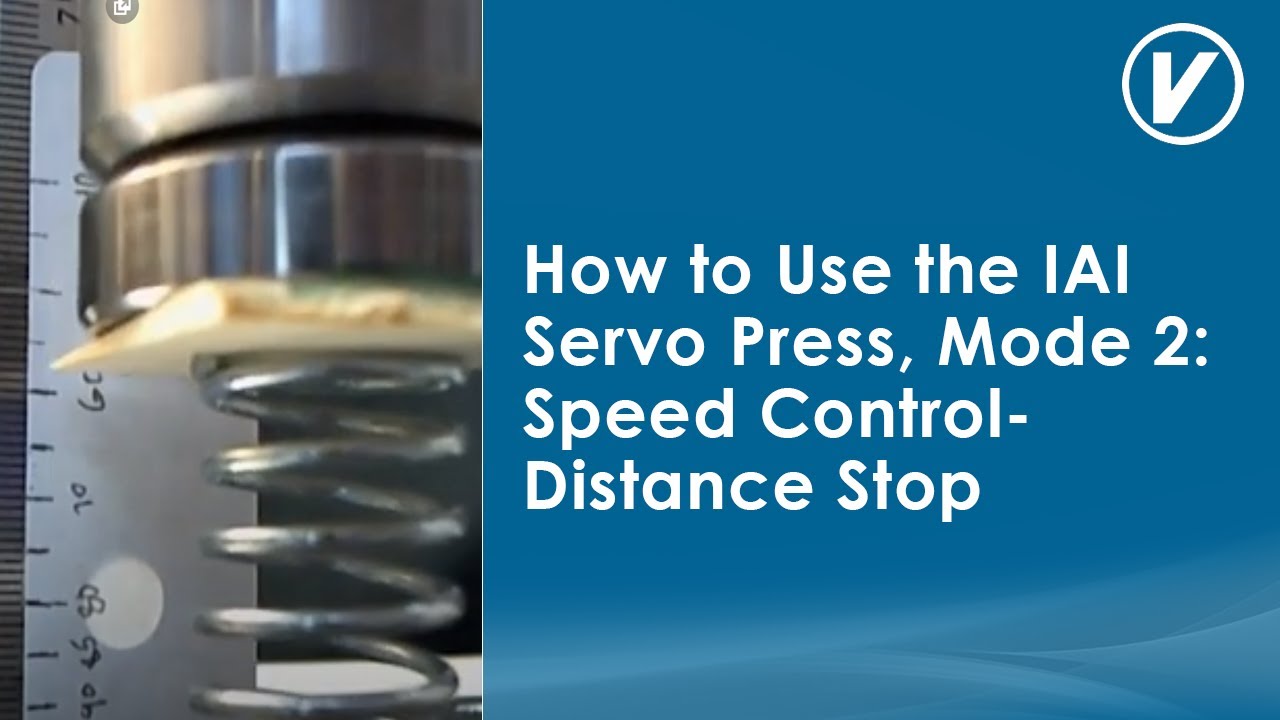
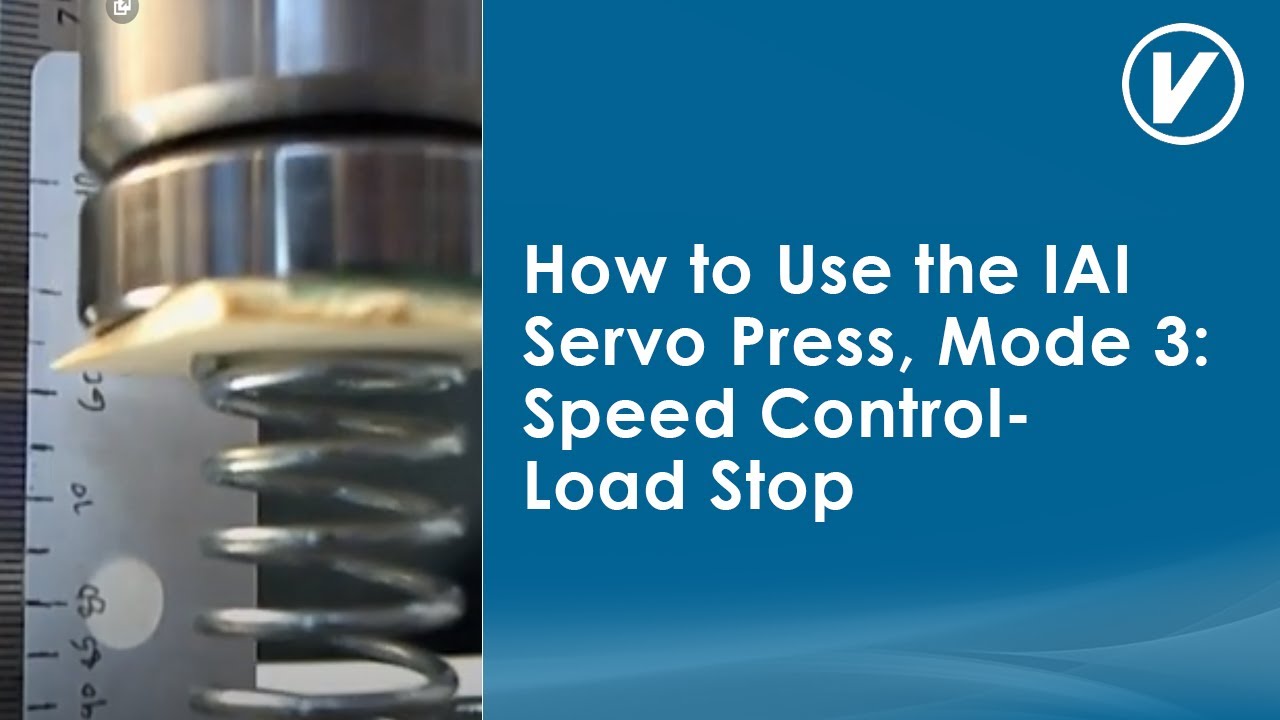
Hello this is Ray Marquiss, Senior Application Engineer with Valin Corporation, and this video is going to show a short practical application of using two different modes with IAI servo press product. One will be “speed control-holding load”-or stopping at load-and speed control-stopping at distance-or “keeping distance”.
I’m going to go through the process of setting up a program to push these snaps, and you can see I've got a beveled Shim. In the background here, and there's a part on one end a part in the middle, and then if I move this you can see a part on the other end over here. This piece is higher than these other two pieces, so let's say that the middle piece is the one that's in a good position, and even this top one could be good. So what I'm going to do is go in to the intelligent actuator software. In the trial operation mode, and I'm going to jog this down and watch the numbers as I move in order to determine how I want to set up my program. So I've already determined that if I move down to about 50, or rather 75, I'll just move directly down there. That's pretty close. So now I've got my speed set at 1 millimeter a second, and I can jog very slowly and you can see the actuator moving there on the right. I'm going to look over here at the current load to determine about where I should start looking for that part. I'm going to start at that 75 position. just moved back up there again. I'm going to start there. Look a little bit from a, sort of, a little farther out. And I'm going to start looking at the feedback, the current load, as I go down. I'm going to just kind of keep moving slowly. And slowly. Just slowly going down. And I can see that current load starting to go up a little bit…so there it just went up to two. At about 79 millimeters I see 2 newtons.
I'm going to jump back into my program. The approach motion is pretty good. I went to 75 millimeters. That's where I want to start. And then once I get there, I'm going to transition to this work search motion. I've got the speed set to 3 millimeters a second. That's fine and I'm going to make it transition to the press motion phase once it sees 2 newtons of load coming back and then, this is important, if I don't see a part by the time I reach 80 millimeters, that gives me about 5 millimeters to start looking for this part, and see the terminating load value of 2 newtons. Once I do I'm going to transition to the press motion part, and I'm going to change the speed to 5 millimeters and I'm going to look for a terminating load of 32 Newton meters.
Why do I look for that? Let's watch the part on the right as I just slowly jog down and will look at the current load value also in the window. I'm going to go slow. I'll just keep tapping it and you can see the current load going up and up. It's at 19. It's at 20 and it's going to snap back to zero once that part mates, so we'll watch it's 12…look, it's getting easier. And it's snapping into place. It's getting lower and lower, so I want to make sure that I pushed it in. So I'm just going to keep pushing on it just a tiny bit. Until I get to 30 about 37 or 32 newtons. I don't want to crush it, but I want to make sure to pop that part in and it does go up to about 20 and then it snaps down to a lower value. So if I just stopped at 20 newtons it's not going to push the part all the way in. I want to make sure it gets in there. There are other ways to do this. I could use another mode of pressing but I am using this one just for now I know I'm going to reach about 32 newtons, so I'll go back here and I go to my program and I say I want to go 32 newtons. That's when I want to stop. And I want to make sure that I stop before I hit 86 millimeters. Right now I'm at 82. That gives me four more millimeters to press once I found the part. So now I'll just jog this back up, or what I could do is go in here and enter zero and then just. In reality, I really need it to be about 50. I don't want to go that whole distance every time. So let's start here. I also go back to the program home position and I put that at 50. So that's where it's going to go after it completes its press. I set these parameters in there.
Let's go back here and we'll see how they work. I have to adjust the part...just pull that out. And then put it back in carefully. It's kind of a pain. It always wants to fall apart. Alright, and then let's run our program. We're going to program operation now. Normally, if I was making these changes on the fly, which I did when I originally set this up, I'd have to go save this by clicking on the “Load to controller” button. But I've already done that with the settings that you just helped me discover.
If you have questions you can call Valin at (855) 737-4716 or visit our website at https://www.valin.com.
Повторяем попытку...

Доступные форматы для скачивания:
Скачать видео
-
Информация по загрузке:


![[Servo Press] Introducing the JP-S2 Series Servo Press](https://imager.clipsaver.ru/evVmqTMqhu0/max.jpg)