etrailer | Curt T-Connector Vehicle Wiring Harness Installation - 2020 Nissan Rogue Sport
Автор: etrailer
Загружено: 2021-06-23
Просмотров: 1768
Описание:
Click for more info and reviews of this CURT Custom Fit Vehicle Wiring:
https://www.etrailer.com/Custom-Fit-V...
Check out some similar Custom Fit Vehicle Wiring options:
https://www.etrailer.com/fitguidet1.htm
Search for other popular Nissan Rogue Sport parts and accessories:
https://www.etrailer.com/vehicle/2020...
https://www.etrailer.com
Don’t forget to subscribe!
/ etrailertv
Full transcript: https://www.etrailer.com/tv-install-c...
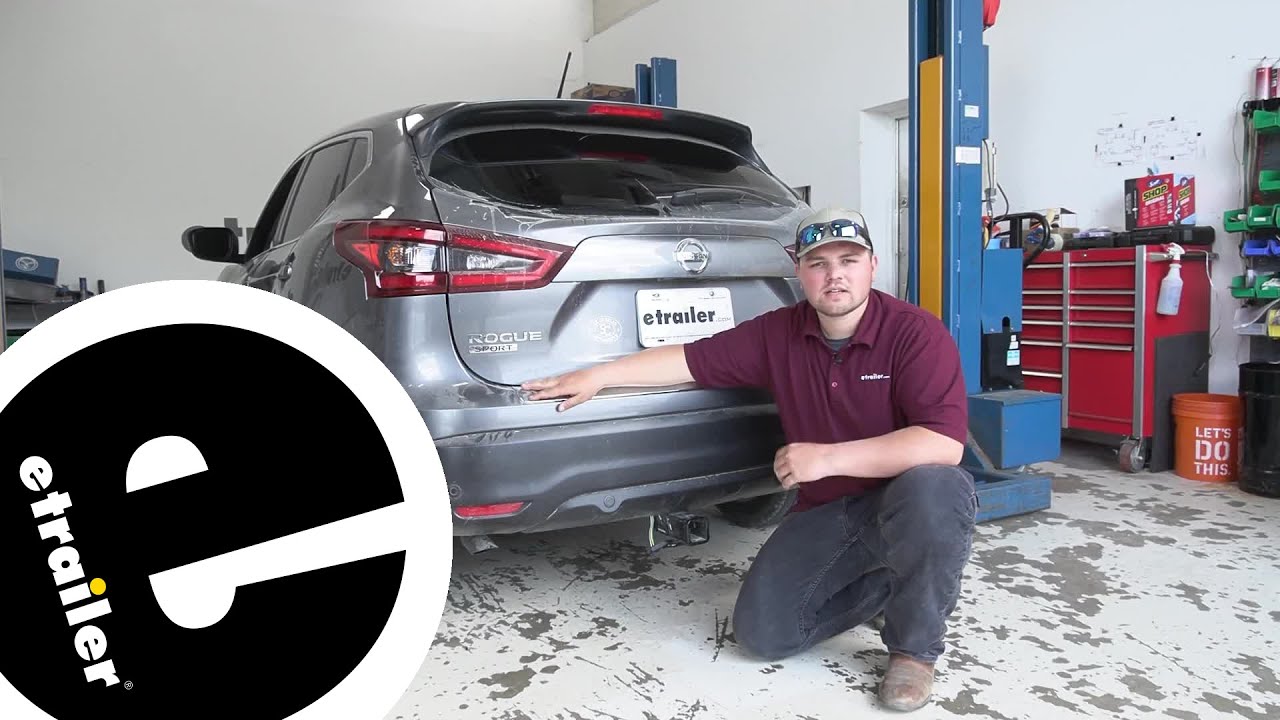
Hey everybody, Clayton here at etrailer.com. Here at etrailer, we install, test, and review a lot of different products to help you as a customer make more educated decisions before you purchase. Today we're gonna be working on a 2020 Nissan Rogue Sport. We're gonna be taking a look at, and I'll be walking you through how to install the Curt T-connector harness with a four flat. Adding a 4-pole to the back of your Rogue is gonna be a great upgrade. This is gonna allow us to tow a trailer safely.
We're gonna get all those necessary lighting functions to the back of our trailer. We're gonna get our taillight signal, our brake signal and our turn signals. Also there's a lot of cargo carriers and bike racks out there that do require lights. So this is gonna work great for you. Our four pole is going to work with five, six and seven-pole adapters and all of those can be found here at etrailer.
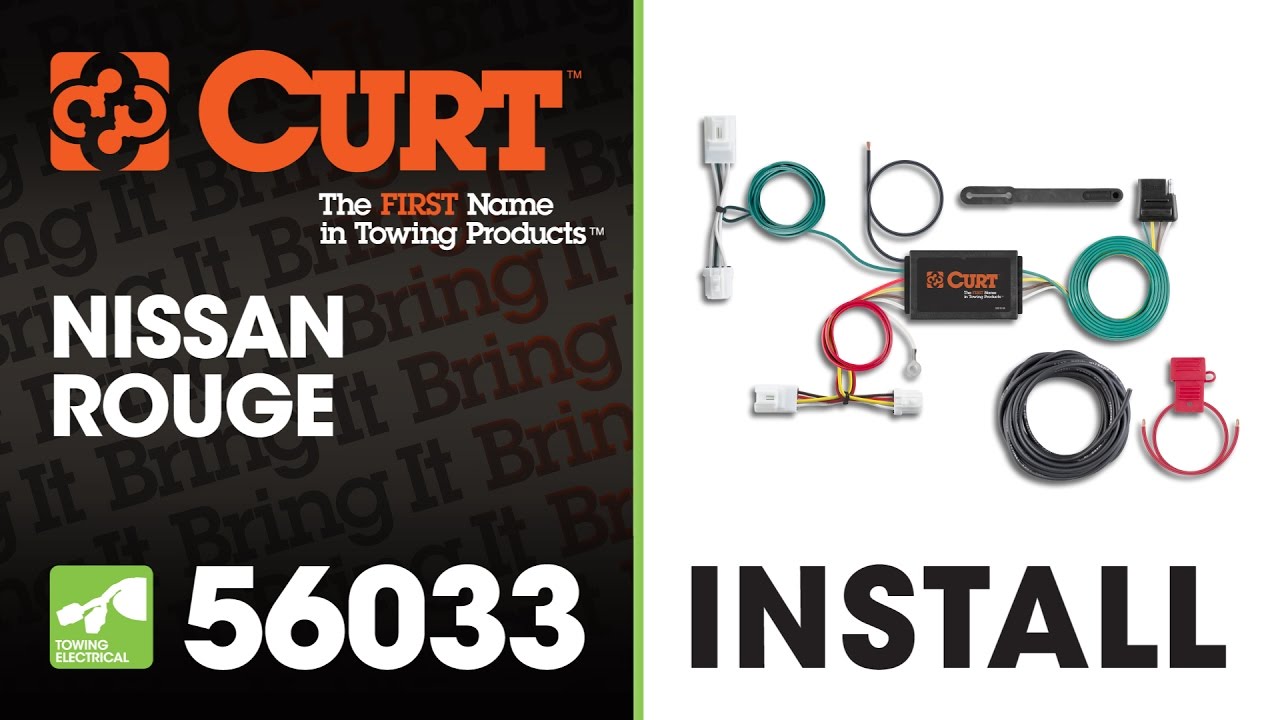
Now this kit is pretty nice. Everything's gonna be included. It's gonna be a plug and play set up. So you're not gonna have to splice into any of your wiring. One thing I really like is that the module box that comes with the kit is gonna protect our factory wiring from any shorts or anything that might happen on the trailer side, then we can make sure that our stock wiring is protected.
In terms of installation, getting this thing installed really isn't too bad. The hardest part is gonna be running our wire from the rear of our vehicle up to the front. With that being said, let's take a look at the installation together now. To begin our installation we're gonna be working in the rear of our Rogue. I'm gonna open up our trunk.
We're gonna come over to our taillight housings. We're gonna have two 10 millimeter screws to remove on each side. With our hardware removed, we now want to pull out our taillight assembly. Now this is going to be pretty tough. Our pins are very tight and the edges of our lights are super thin. So if you grab a trim panel tool and pry on these edges, you need to be really careful but you're gonna have to pull really hard out and kind of pry, kinda work your way around and kind of pry that back 'cause it is gonna pull out towards the rear. So we'll go ahead and do this on both sides. Pry it out, just like that. Then on the bottom of our connectors, yellow push pin fastener for lighting and push that and pull out on that pin. Repeat that on the other side. And I want to grab our wiring. We're gonna grab our side that has the yellow wire. I'm gonna plug that into our factory wiring. That's gonna take that tab, face it upwards push it in 'til you hear a click. We will need to ground our wire up here, and then grab our provided self-tapping screw with our ring terminal. We're just gonna ground that right here. You don't want over tighten this 'cause you don't want to strip it out, but you want to make sure it's nice and snug and that that ground isn't going to shake. We can then take our module and the rest of our wiring and drop that down through the opening right here and grab it at the bottom. Now I want to get all of our wires pulled down. I went ahead and already did that but we need to leave our green wire up. It isn't long enough to make our connection running completely underneath the vehicle, but to get it to the passenger side, all we're gonna do is remove these 10 millimeter bolts on our fascia. Kind of tuck it down here and pull it over that way. That way we do get a little bit of extra length. As you can see, now we have enough clearance. So you just wanna plug these in the same way that we did over on the driver's side. Then we can reinstall our tail lamp assembly in the reverse order we took it off. Now, I connect your power wire. I'm gonna use a heat shrink butt connector. The one that comes in your kit is not heat shrink. It'll work just fine, but I prefer using the heat shrink. You can find these here at etrailer. We're just gonna crimp that onto our wire. Then we wanna grab our long power wire. We're gonna strip the end back. We're gonna add this to the other side of that butt connector. We can grab our heat source and shrink it down. You can then add some electrical tape to help ensure a good connection. We now run our power wire up to our battery. I'll go ahead and do it. And then we'll show you the route we took. The black wires can come out right here by our module. And I ran it up and over our s
Повторяем попытку...
Доступные форматы для скачивания:
Скачать видео
-
Информация по загрузке:


![Towbar wiring kit - installation manual [HD]](https://imager.clipsaver.ru/mb5hShisIS4/max.jpg)


