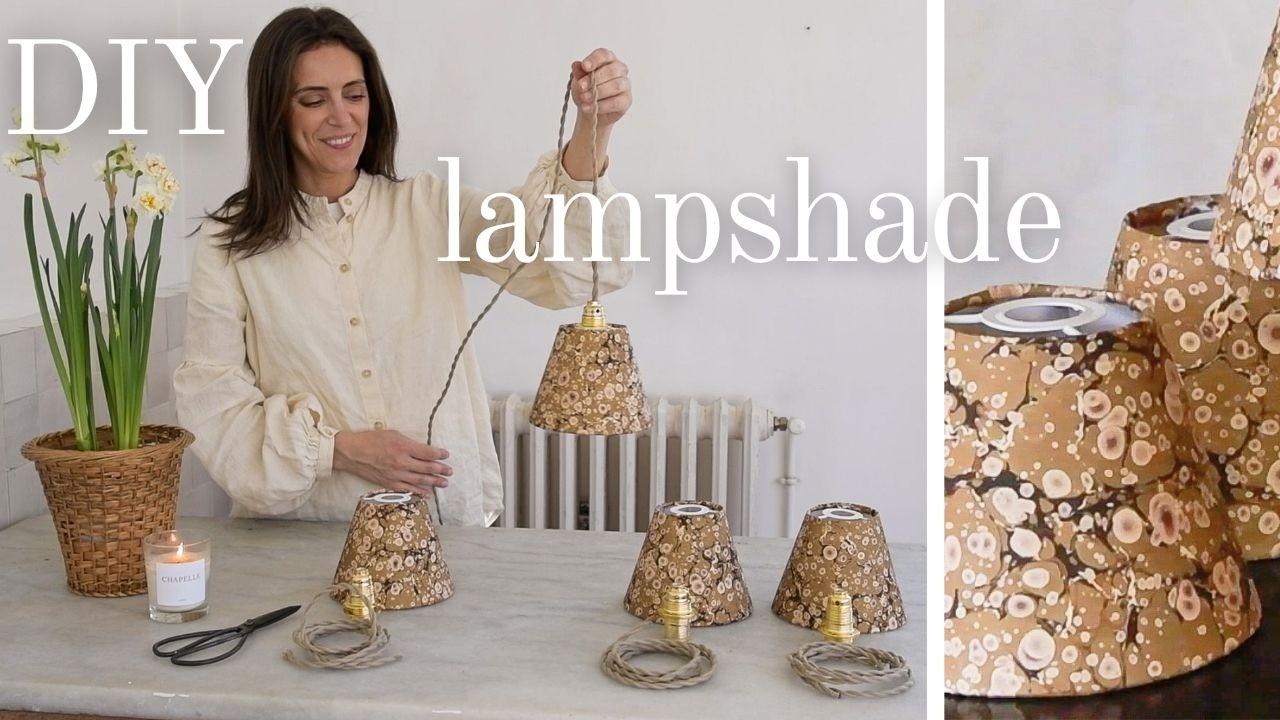
63 - Making Lampshades for our Kitchen | French Farmhouse Update
Автор: French Countryside Diary
Загружено: 2026-03-06
Просмотров: 8875
Описание:
Bonjour and welcome back to the farmhouse.
In today’s video I am taking you along as I create custom lampshades and electrified suspensions for our kitchen, which is currently being gently updated. I share the full process of making lampshades from scratch using polyphane, hand-marbled paper and a simple metal frame. In the description you will also find the measurements and pattern instructions so you can create your own template at home.
This small project has been such a joyful way to add character to the kitchen while using beautiful materials. Thank you so much for being here and for sharing these quiet moments with me.
Audrey
☕️ If you wish to show your support, you can buy me a coffee :) : https://buymeacoffee.com/frenchcountr...
My Amazon Storefront : https://www.amazon.com/shop/audreyfit...
Stay in My Airbnb : https://bit.ly/4fxFxg0
Join Me on Instagram : https://www.instagram.com/audreyfitzj...
📓 Hand Marbled Paper Etsy store : https://c.klarna.com/al/IvZ0/
🤎 My selection of favorites from this store :
https://c.klarna.com/al/IvZ8/
https://c.klarna.com/al/IvZB/
https://c.klarna.com/al/IvZS/
https://c.klarna.com/al/IvZU/
https://c.klarna.com/al/IvZW/
https://c.klarna.com/al/IvZX/
https://c.klarna.com/al/IvZZ/
✂️ Supplies :
polyphane paper
bone folder
lampshade metal carcass (I get mine from https://carcassepourabat-jour.com , located in France)
white PVA glue
📐✂️✏️ How to Draft the Pattern for a Lampshade
(Adjust the measurements according to the size of your metal rings.)
📌 Materials
Thick paper or cardstock
Pencil
Ruler
Compass
Protractor
Scissors
1. Draw the base line
On thick paper, draw a horizontal line at the bottom left of the sheet and label it XY.
2. Draw the height line
Measure 20 cm (7.9 in) above line XY — this is the height of the lampshade. (Adjust the measurements according to the size of your metal rings.)
Draw a parallel line and label it VW.
3. Mark the bottom diameter
On line XY, mark points A and B 30 cm (11.8 in) apart.
(This corresponds to the diameter of the lower ring, adjust the measurements according to the size of your metal rings.)
Mark H at the midpoint of segment AB.
4. Draw the central axis
From point H, draw a perpendicular line upward (as long as possible).
Label this line HJ.
Mark I at the intersection between HJ and line VW.
5. Mark the top diameter
On line VW, mark points C and D 7.5 cm (3 in) on each side of I.
Segment CD corresponds to the diameter of the upper ring. (Adjust the measurements according to the size of your metal rings.)
6. Draw the side lines
Draw a line from A to C and another from B to D.
Extend them until they intersect line HJ at point K.
7. Draw the arcs
From point K, draw: an arc with radius KC, passing through D
an arc with radius KA, passing through B
8. Calculate the angle α
Calculate the angle α (alpha), which corresponds to the development of the base circle of the lampshade, using the following formula: α = (AH ÷ KA) × 360
9. Measure the angle
Place your protractor along line AK.
From point K, measure the angle α and mark the point L.
10. Define the pattern edges
Draw a line from K to L and extend it until it intersects: the upper arc at point M the lower arc at point N
Then connect M to N.
11. Add the seam allowance
For the seam overlap, extend 3 cm (1.2 in) beyond M and N to create M' and N'. Connect M' to N'.
12. Mark the orientation
Write “inside face” on the template to identify the correct side of the lampshade. Also place a ★ mark on the left side of the pattern to indicate the part that will sit inside the overlap seam.
13. Cut and test
Cut out the pattern with scissors.Test it on your metal rings, securing it temporarily with clips or clamps.
📌 Tip: Always test the paper pattern on your frame before cutting your fabric or lampshade material.
Повторяем попытку...
Доступные форматы для скачивания:
Скачать видео
-
Информация по загрузке: