2009 Lexus IS250 Rear Armrest Reupholster and Installation
Автор: EM UPHOLSTERY TECHNOLOGY
Загружено: 2025-02-28
Просмотров: 161
Описание:
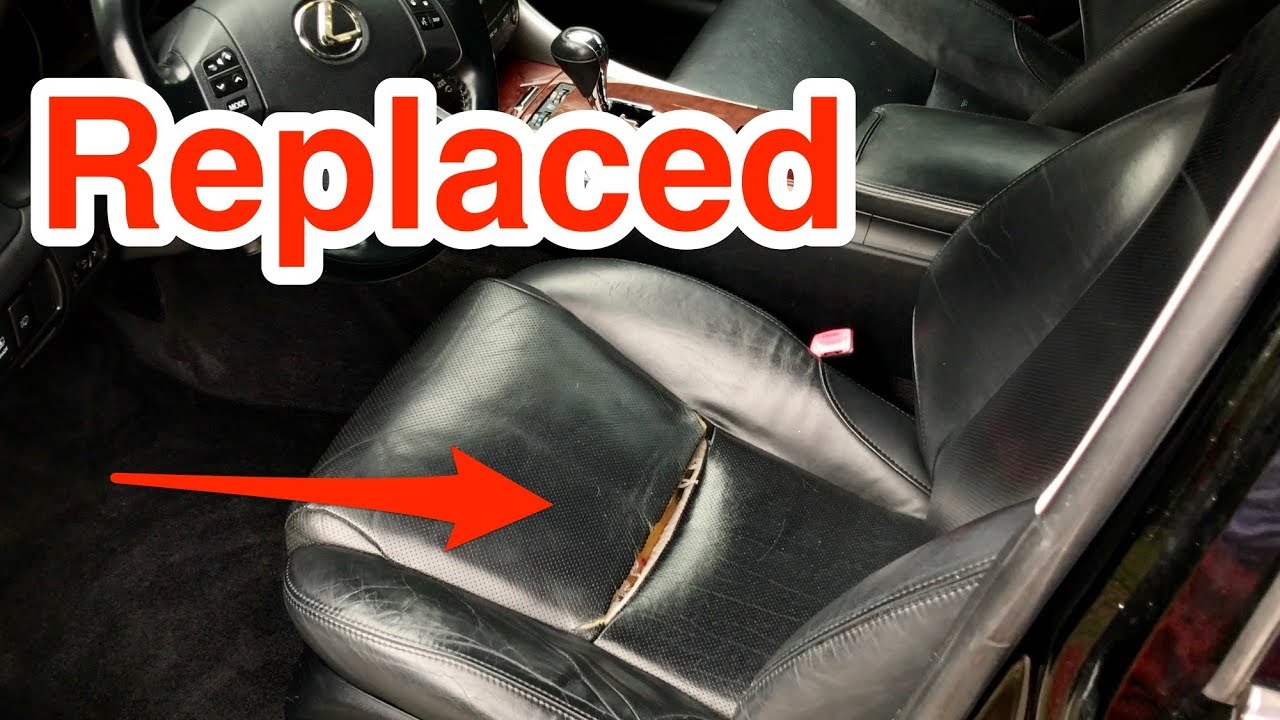
Hey guys, Eliseo Manzanilla here from https://LeatherTeck.com by https://EMUpholsteryTechnology.com! Today, I'm showing you how we breathe new life into this 2009 Lexus IS250 rear armrest. You know what's frustrating? When your luxury car's interior starts looking worn out but you don't want to pay dealership prices for a fix!
Ever been embarrassed by that cracked, peeling armrest when your friends hop in your Lexus? Trust me, I've seen it all! Your beautiful car deserves better than that eyesore in the back seat. The good news? We can transform it without emptying your wallet.
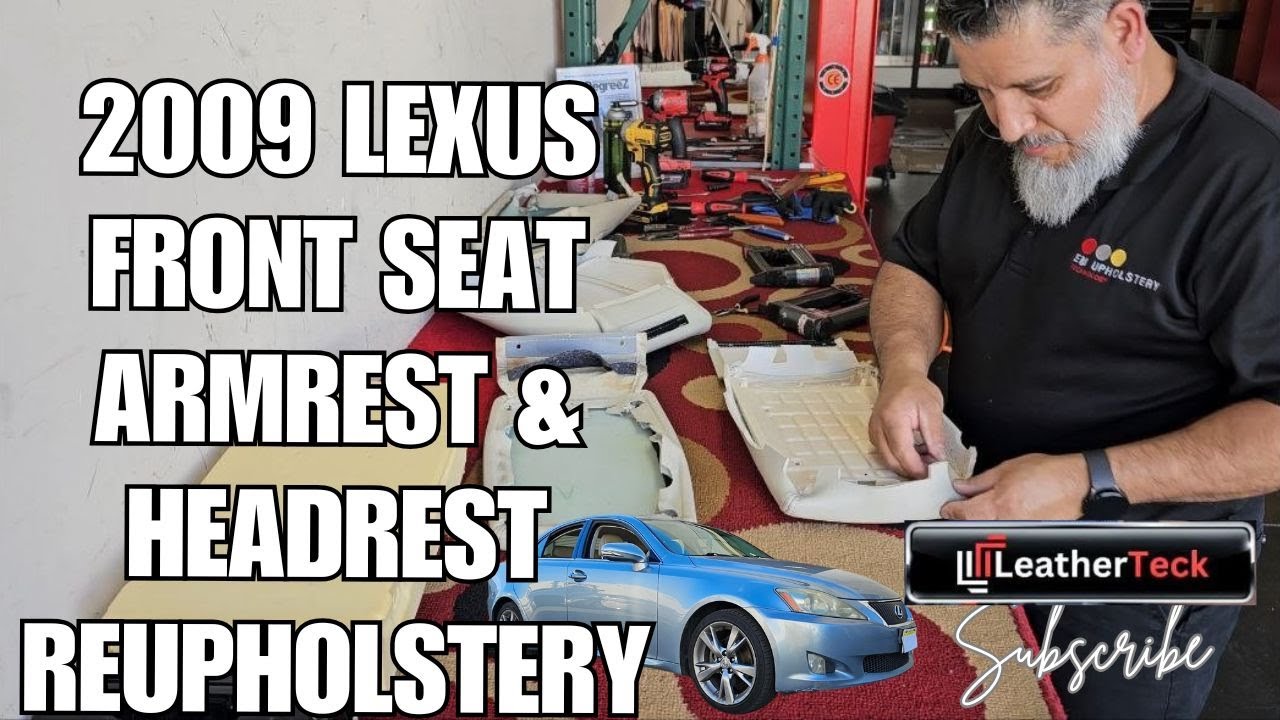
At LeatherTeck by EM Upholstery Technology, we're authorized Katzkin Leather distributors and preferred installers. This isn't just some cheap cover - we're talking real upholstery solutions that match your factory interior perfectly. We carefully disassemble, pattern, cut premium materials, and professionally reinstall everything for that factory-fresh look.
Want your Lexus looking showroom new again? Call us NOW at 760-980-2383. Visit our shop at 703 South Gifford Avenue, Suite 205, San Bernardino, California, or check out our websites: https://EMUpholsteryTechnology.com to see more of our work!
Enjoyed this video? Make sure to hit that subscribe button and follow us for more awesome content! Don't miss out on our latest updates and exciting new videos.
#leatherteck #emupholsterytechnology #eliseomanzanilla #lexis #is250 #interiorrestoration #tapiceria #katzkin #katzkinleather #upholstery #leatherseatcovers #seatcovers #leather #leatherseats #rideinstyle #carrestoration #luxurycars #autoupholstery #carsofinstagram #DIY #autodetailing
Lexus Rear Armrest Reupholstery – Timestamp Summary
In this video, we walk through the process of reupholstering a Lexus rear armrest using the original cover as a guide. The process involves cutting, stapling, and ensuring proper alignment to maintain a factory-like fit. Adjustments are made throughout to accommodate material thickness variations. Finally, the armrest is reinstalled, resulting in a professional and seamless finish.
Timestamps & Key Highlights:
0:05 – Overview: Reupholstering the rear armrest using old patterns
0:24 – Importance of following the original trimming process
0:48 – Identifying the three main sections that must be identical
0:53 – Choosing staple sizes (¼”, ⅜”, ½”) for securing double stitching
1:17 – Aligning material while keeping original staple placement in mind
1:37 – Cutting strategically to ensure proper fit and seam alignment
2:10 – Running out of ¼” staples & adjusting the process
2:41 – Maintaining straight seam lines to prevent distortion
3:12 – Using original covers as a guide to ensure proper fit
3:36 – Applying pressure to stretch material into place
4:13 – Dealing with material thickness variations
5:10 – Trimming seam allowances for a cleaner finish
6:41 – Stretching and folding the material into place
7:20 – Observing factory adjustments & replicating them
8:06 – Factory-manufactured cuts vs. manual adjustments
9:07 – Understanding why adjustments are necessary for a perfect fit
10:18 – Locking material in place (tedious but not difficult)
11:03 – Making precision cuts for screw placements
12:38 – Final corner adjustments for a seamless fit
14:08 – Proper cutting for a clean Velcro installation
15:08 – Testing the reassembled armrest
16:47 – Ensuring a seamless finish for demanding customers
17:06 – Beginning the full reassembly process
18:48 – Importance of marking screw positions for accurate reinstallation
20:47 – Foam thickness considerations affecting final fit
23:08 – Checking and refining fitment for a professional finish
24:05 – Final reinstallation of the armrest
25:48 – Completing the armrest trim & installation
26:21 – Testing the final product—smooth opening and closing
26:37 – The final reveal: clean, factory-like finish
Повторяем попытку...

Доступные форматы для скачивания:
Скачать видео
-
Информация по загрузке: