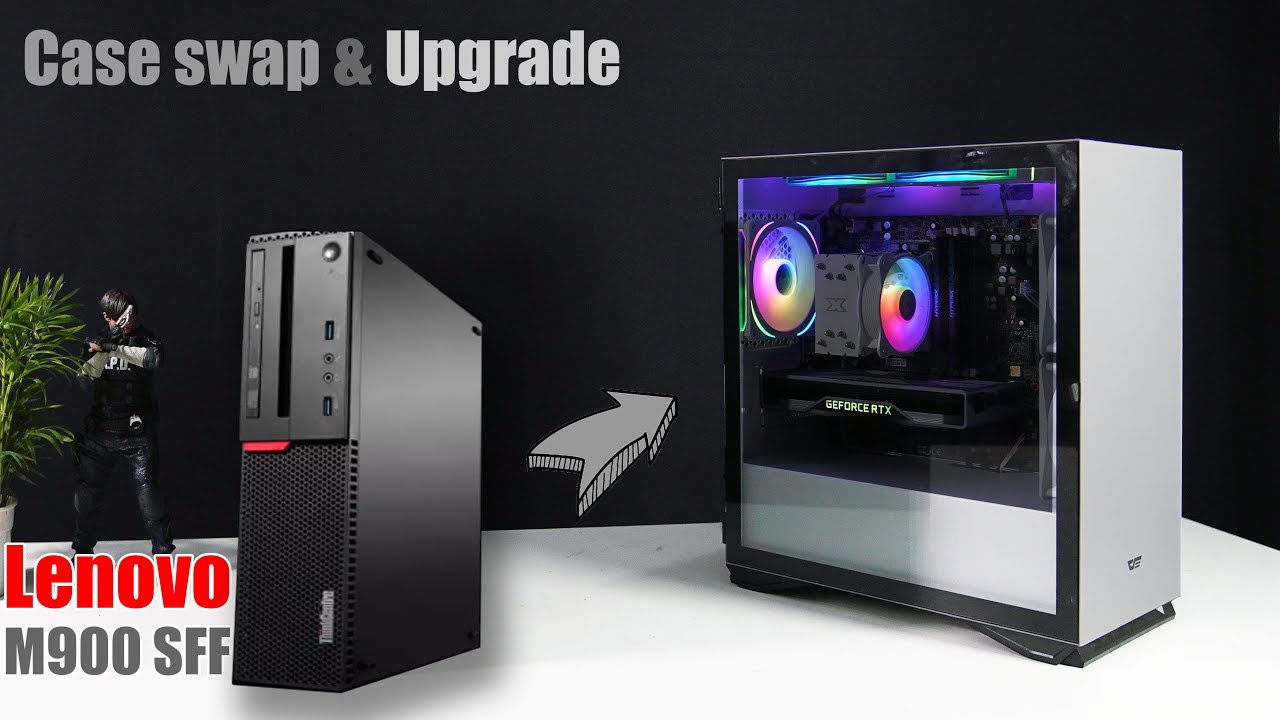
Lenovo M900SFF case swap and gaming upgrade
Автор: ITG Gear
Загружено: 2024-05-30
Просмотров: 43176
Описание:
#lenovo #gaming #upgrade
In this video, I showed you the whole process of swapping new cases for Lenovo M900 SFF and adding some RGB fans. The result is blowing my mind. The PC is a really modern lock at an extremely low cost. I have also added a GPU, NVidia Geforce RTX 2070 founder edition, to make this PC able to play some games and edit photos and videos.
Highlight:
The Lenovo ThinkCentre M900 SFF motherboard is a standard M-ATX size.
The motherboard I/O shield is removable/reinstallable
The USB 3.0 port on the M900 SFF is a proprietary connector. To connect the front USB 3.0 of the case to the motherboard, you need a Standard USB 3.0 19 PIN connector to the Lenovo Front Panel USB 3.0 Slot, which is not included in this video because my order takes too long time for shipment, and it still has not arrived.
To upgrade the power supply, use a 24pin to 10 for the Lenovo motherboard cable adapter.
We can restore the PC anytime in case we need to roll back the case swap.
The items used in this video:
DarkFlash DLM22 Mid Tower Case (White) $45
Jobsbo FR-505W ARGB 120MM fan (White) $8
Unknown brand 120mm ARGB Fan (White) $5x2 $10
Jonsbo ARGB controller $3
Crucial P3 Pro 1TB $50
M.2 NVMe to PCIe 3.0 x4 adapter $9
Nvidia RTX 2070 FE old card from mining unknown price.
Disclosure: I am a participant in the Amazon Services LLC Associates Program, an affiliate advertising program designed to provide a means for me to earn fees by linking to Amazon.com and affiliated sites. As an Amazon Associate, I earn from qualifying purchases. This means that if you make a purchase through my affiliate links, I may receive a small commission at no extra cost to you. Your support helps me continue to create content that you enjoy.
00:00 Introduction
01:30 Part 1: Removing parts
01:41 Removing the Motherboard
02:29 Removing the motherboard's I/O shield
02:43 Upgrading RAM
03:06 Upgrading the CPU Cooler
04:34 Introduction new case
04:45 Part 2: Installing the parts on new case
04:59 Installing the power supply
05:09 Installing I/O shield
05:20 Installing ARGB case fan
05:39 Installing the motherboard
06:05 Installing front fans
07:00 Connecting the cables with the motherboard
07:16 Installing ARGB controller device
07:49 Installing Thermal sensor
08:46 Power on testing
10:20 Gameplay: Shadow of Tomb Raider 1080p high
11:35 Gameplay: Resident Evil 4 Remake 1080p High
12:47 Gameplay: God of War 1080p High
Hey there, amazing viewers! If you enjoyed this video, don’t forget to hit that like button, subscribe for more awesome content, and ring the notification bell so you never miss an update. Your support means the world to me! Thanks for being part of our awesome community!
Повторяем попытку...
Доступные форматы для скачивания:
Скачать видео
-
Информация по загрузке: