KiCad Electronic Circuit Design - Part 1 Eeschema Schematic Diagram - Model Railway Traffic Lights
Автор: Penguin Tutor
Загружено: 2021-03-08
Просмотров: 12764
Описание:
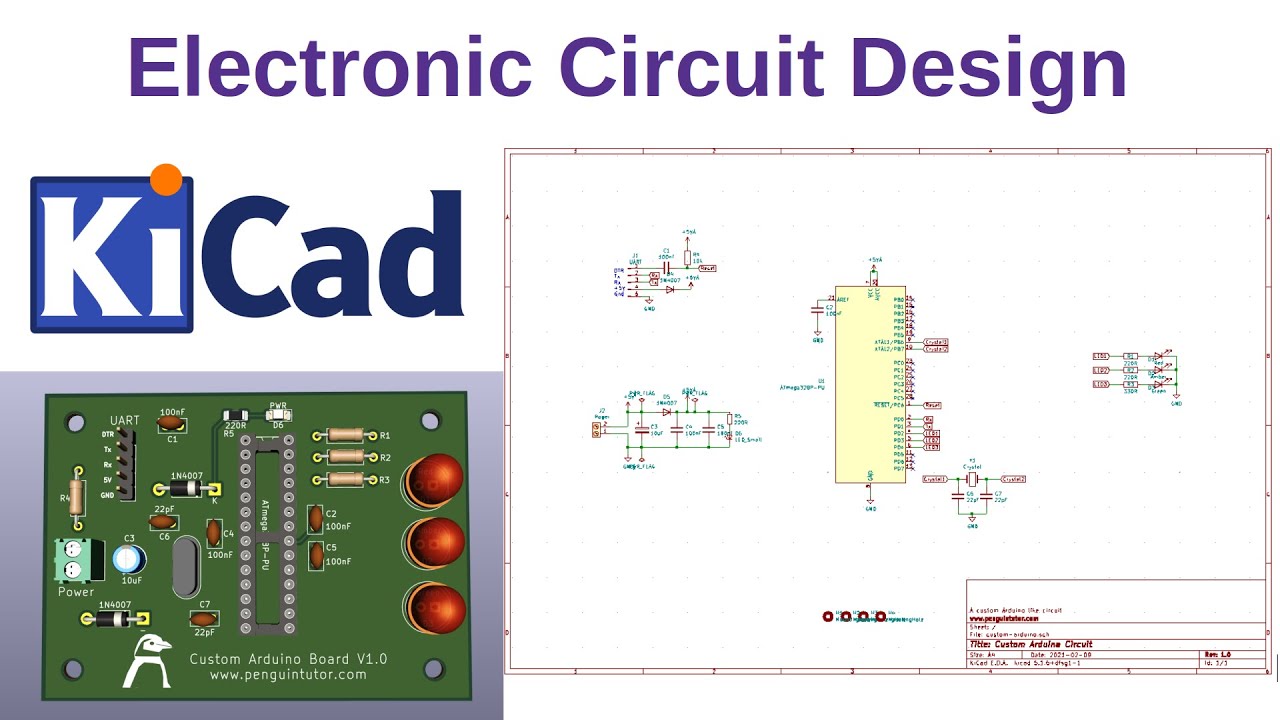
This video goes through the process of designing an Arduino like electronic circuit using KiCAD (Free Open Source circuit design software). This is a guide to creating a printed circuit board for my garden model railway traffic light which I 3D printed after designing in FreeCAD.
• Design Model Railway Traffic Lights in Fre...
I've already explained how it can be controlled using a Raspberry Pi Pico
• Raspberry Pi Pico - Model Railway Traffic ... but I wanted to create my own custom printed circuit board.
This circuit is based around the ATmega328P, which is the same microcontroller used in the Arduino UNO and similar boards. As long as the Arduino bootloader is installed then this can still be programmed in the same way as the Arduino using the normal Arduino IDE.
In this first part I show you how to create a schematic diagram using Eeschema. Then in part 2 I will show how you can turn that design into a printed circuit board which can be manufactured by a PCB fabrication company.
Chapter:
00:00 Introduction to KiCAD and model railway project
00:46 Running KiCAD and different programs
05:46 Adding a component to the diagram
08:28 Adding power connections
20:00 Adding the crystal for the ATmega328p
23:00 Adding a UART connection
30:50 Adding the LEDs
41:28 Annotate the components
43:00 Electrical rules checker
Повторяем попытку...
Доступные форматы для скачивания:
Скачать видео
-
Информация по загрузке:


