Designing Curtain-walls in Revit: Beginners to Intermediate
Автор: CAD-IT
Загружено: 2026-01-03
Просмотров: 16
Описание:
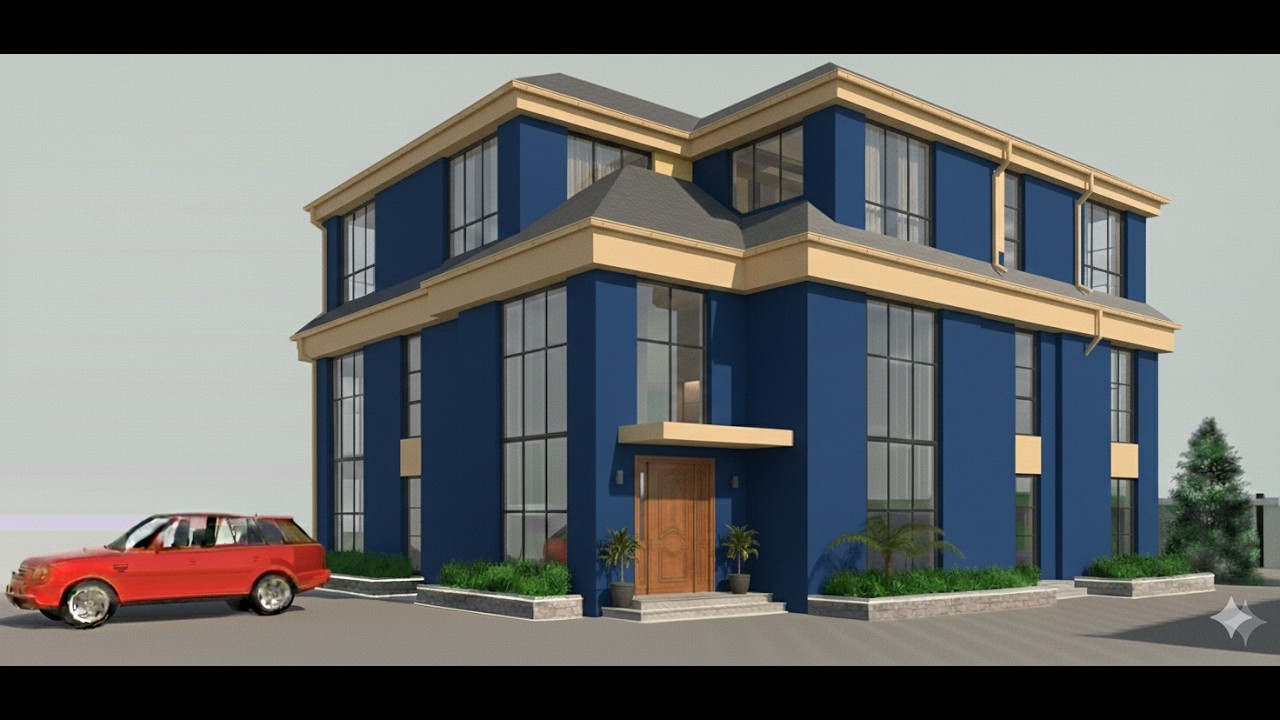
Curtain walls are exterior wall systems that are attached to the structural frame of a building. They are typically made of lightweight materials such as glass, aluminum, and steel.
In Autodesk Revit, scroll to the architectural wall and navigate to different types of walls. You may need to load families where necessary; pick the choice of your curtain wall and proceed to draw your plans. By default, Revit provides two types of curtain walls, namely shop front and exterior glazing. You can choose "Edit Type" to customize your design.
Designing a curtain wall in Autodesk Revit involves several steps, combining pre-defined components with custom adjustments to achieve the desired aesthetic and functionality. Here's a general outline:
A) Steps for Designing a Curtain Wall in Revit:
1. Project Setup:
Ensure your project is properly set up with appropriate units and levels for accurate
placement.
2. Curtain Wall Creation:
Go to the "Architecture" tab and select "Curtain System" or "Curtain Wall" from the panel.
Choose a curtain wall type from the available options. Revit offers various pre-loaded
types, or you can create a custom one.
3. Placement:
Define the wall's location by clicking on the desired location on the floor plan or
elevation view.
Adjust the wall's position and orientation as needed. You can also snap to existing
elements.
4. Curtain Wall Grid Configuration:
Modify the curtain wall's grid layout. This includes setting the spacing, type, and pattern
of vertical and horizontal mullions.
You can use fixed, modular, or adaptive grid systems.
5. Component Selection:
Select the components for the curtain wall. This may include glazing, panels, mullions,
and spandrel panels.
Choose materials, profiles, and other visual characteristics for each component.
6. Customization:
Modify the curtain wall's characteristics.
Adjust the panel types, sizes, and materials.
Add custom details, such as offsets, gaps, or different component types at specific
locations.
7. Testing and Refinement:
Check the curtain wall in 3D views to ensure its visual accuracy and functionality.
Make necessary adjustments to the grid, components, and materials.
Perform structural and performance analyses if required.
B ) Tips for Effective Curtain Wall Design in Revit:
1. Use Family Editors: Create custom curtain wall components using the Family Editor to
tailor the design to specific project needs.
2. Parameterization: Use parameters to make the curtain wall adaptable and easily
modified.
3. Material Libraries: Use Revit's material library or import custom materials for a realistic
look.
4. Collaboration: Ensure smooth collaboration with other team members by using shared
project parameters.
5. Performance Analysis: Run energy simulations to optimize the curtain wall's thermal
performance.
C) Facts about Curtain-wall
1. Non-Load Bearing: Unlike traditional walls, curtain walls primarily serve as an enclosure
and don't support the building's weight.
2. Versatile Design: They offer flexibility in design, allowing for large expanses of glazing,
varied aesthetics, and efficient use of space.
3. Cost-Effective: The use of lightweight materials and prefabrication often makes them a
cost-effective solution, although recent change in cost of materials in some countries
negatively impacts on this fact.
4. Energy Efficiency: Modern curtain walls are designed with thermal and acoustic
insulation, contributing to energy efficiency.
5. Aesthetics: They can significantly enhance a building's appearance, providing natural
light and creating visually appealing facades.
Повторяем попытку...
Доступные форматы для скачивания:
Скачать видео
-
Информация по загрузке:


