How to Stencil a Multicolor Hopscotch with Stencilease.com
Автор: Stencilease.com
Загружено: 2020-08-21
Просмотров: 7894
Описание:
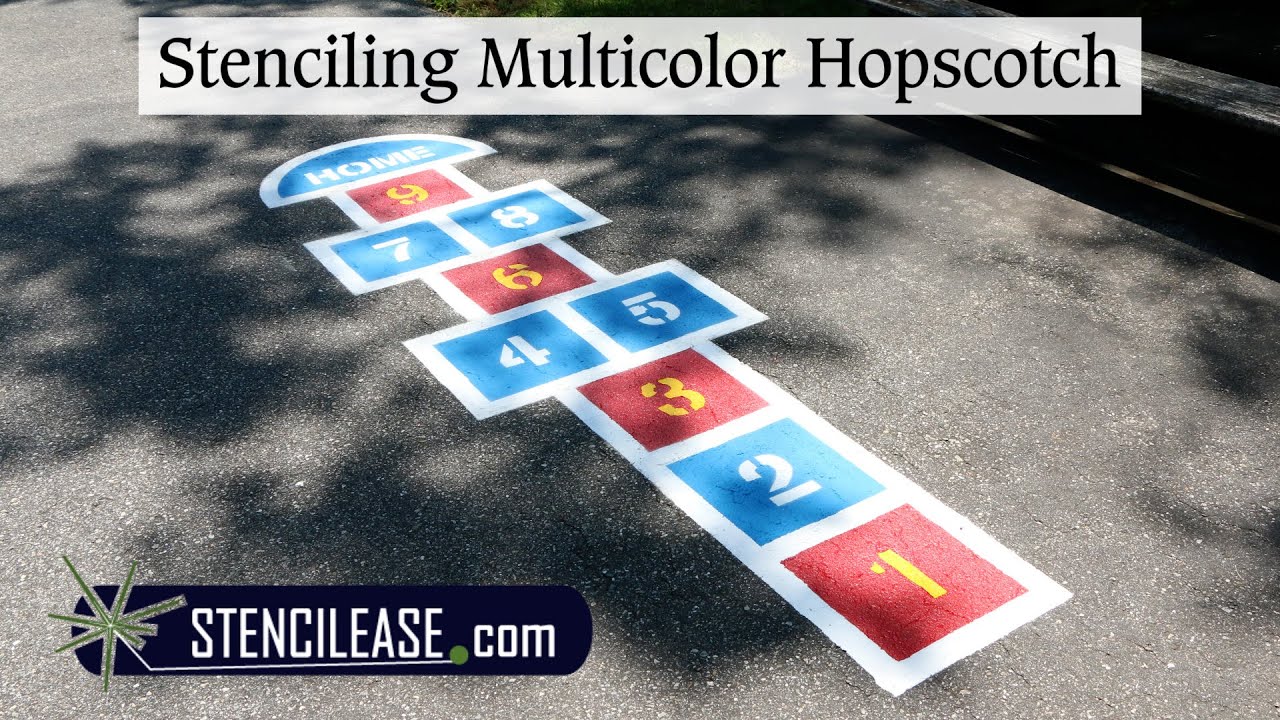
Welcome to the Stencilease Hopscotch stenciling tutorial. In this guide we go over rolling, brushing, and spraying paint to stencil a game of hopscotch in multiple colors. Our hopscotch stencil is perfect for schools, playgrounds, and community centers. Check out the links below for the products used in this tutorial:
60 Mil LLDPE Hopscotch Stencil- https://bit.ly/31czPNt
Putty Knives- https://bit.ly/2YklRHu
Krylon Pro Marking Spray Paint- https://bit.ly/3aK8d5s
Krylon Inverted Marking Wand 12 Inch Spotter- https://bit.ly/328ejJ6
Frog Tape Painter’s Tape- https://bit.ly/32hip1E
Sidewalk Chalk
Cardboard Box
In order to stencil the hopscotch stencil in multiple colors you will need to paint the background before stenciling the lines and numbers. To do this you will want to mark your pavement using sidewalk chalk around the outlines of the stencil design. This ensures that when you brush or roll paint within these boundaries that the lines will cover them up.
You may want to use painters’ tape on the outside of the lines as you paint between the chalk lines for each box. You may use a roller, brush, or spray box (explained in a later step) to paint the background colors of each of these boxes. Simply roll two thick coats of exterior pavement within the boundaries of the exterior chalk lines. As long as you paint close to the chalk lines, the hopscotch outline will cover up any of the overlap.
Next, we alternate colors using red exterior pavement paint and a brush. Don’t worry about how much paint you are using on the brush in these sections as we are not stenciling yet. Just be careful not to get any paint outside of the chalk lines you drew for yourself. Paint these boxes with two coats of red paint before moving on.
Remove the Frog Tape painters’ tape before letting the paint dry. Now place the hopscotch stencil over the painted background. The lines of the hopscotch stencil should overlap the colors of the background. When painted white, these lines will turn the background colors into perfect boxes. Before you get to stenciling the lines and numbers white, be sure to tape off any numbers you will be stenciling in a different color.
Now that you are ready to spray paint the stencil it is time for the most important step; USE A SPRAY BOX. The easiest and cheapest way to prevent spray paint from going outside of the stencil is to use a cardboard spray box. A spray box is simply a cardboard box with the top and bottom pushed out, placed over the stencil. Hold the tip of the nozzle just below the top of the box as you spray the paint through.
Be sure to overlap where you place the spray box as you paint for total coverage of the lines. Follow the steps below to build your own spray box:
-Take a cardboard box that fits on top of your stencil. It should be about 12 inches tall
-Push the top and bottom of the box in
-Tape the top and bottom of the box down with packing or duct tape
If you choose to use exterior pavement paint for the hopscotch lines then you are in luck because you can use a brush for this as well. Load about a 3 inch brush in exterior parking lot paint from the can. Wipe of the excess paint from the brush so that it is not dripping wet. The key to stenciling with a brush is to not use too much paint or it may seep beneath the stencil design. Start at the center of each line and brush the paint along the edges. Be sure not to build the paint on the side of the stencil.
With the first numbers stenciled you are ready to paint the others in a second color. Here is a trick to do that while cutting down on paint bleed. Start by painting the base color of the block through the numbers. This will create a seal between the stencil and the pavement that will prevent the next color of paint from bleeding through. Then let this base coat dry to the touch.
Once the base coat is dry you can paint the second color of paint through the top. Since the base coat is locking in the paint to the stencil boundaries you don’t need to be quite as careful about paint bleed as you stencil the yellow. That being said, your brush should still not be dripping with paint as you stencil the second set of numbers in about 2 coats. Once you paint all the numbers you are ready to lift the stencil straight off of your surface!
With the stencil removed, you may notice that the lines of the stencil are not continuous due to the breaks in the stencil. These breaks provide structural integrity to the stencil to keep it as one solid piece of plastic. Some people like the style of these breaks, but here’s a quick way to fill them in.
Use a putty knife as a straightedge on both sides of the line along with a paint brush. This way you can connect each break of the stencil design to achieves the solid lines as seen in this video!
Use your imagination though, as there are endless color combinations you can make using a hopscotch stencil from Stencilease.com and your imagination!
#playground #multicolor #hopscotch
Повторяем попытку...
Доступные форматы для скачивания:
Скачать видео
-
Информация по загрузке:


