Athena - Import an ARMA3 map into Athena
Автор: bus
Загружено: 2015-09-09
Просмотров: 8241
Описание:
Update 2017/1/24: This process is very soon to be outdated. See here for the new 'non' process: • Athena - New Export Process
Here's a brief video going over the process for exporting a map from ARMA3 and then how to import it into Athena. These instructions are also located at www.athenamod.com/instructions.aspx.
But to summarize the video, here are the instructions:
1. Start ARMA as an administrator
2. Make sure the Athena mod is enabled
3. Go into the Editor and create a new mission for the desired map
4. While in the editor, Press SHIFT and NUMPAD MINUS at the same time
5. Type "exportnogrid" w/o the quotes
6. Place a unit in the map and click 'preview'
7. Once started, hit escape and in the developer console paste "call ATH_fnc_Export_Locs;" w/o the quotes
8. Click "Local Exec"
9. Exit Arma
10. Check your C:\ drive and you should see mapname.emf
11. Move that file to your desktop
12. Download the EMFtoPNG.exe file and save it to the same location
13. Drag the mapname.emf file on top of the EMFtoPNG.exe file and release it. The EMFtoPNG.exe program should start and begin creating the PNG file.
14. When finished, open the PNG in your favorite image editor and trim the excess pixels from the right and bottom. You should end up with an image whose resolution matches the ingame size of the map.
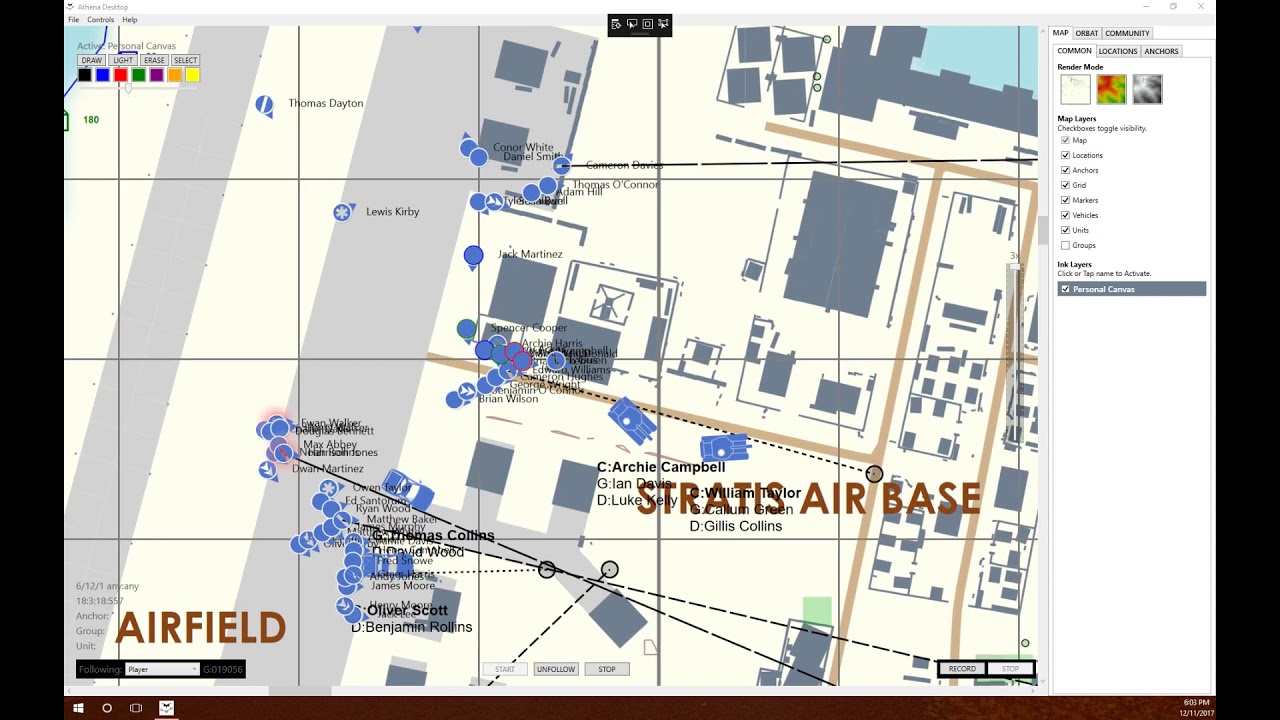
15. Open Athena
16. Go to File, Import Map
17. Type the map name
18. Select the PNG created by the emftopng application
19. Enter the height and width of the game map (should match the height/width of the image)
20. Click "OK"
21. Wait for the import to complete
22. Go to your My Documents\Athena\Data folder and copy the locations.json file to your My Documents\Athena\Maps\MapName folder
And that should be it!
Повторяем попытку...

Доступные форматы для скачивания:
Скачать видео
-
Информация по загрузке: