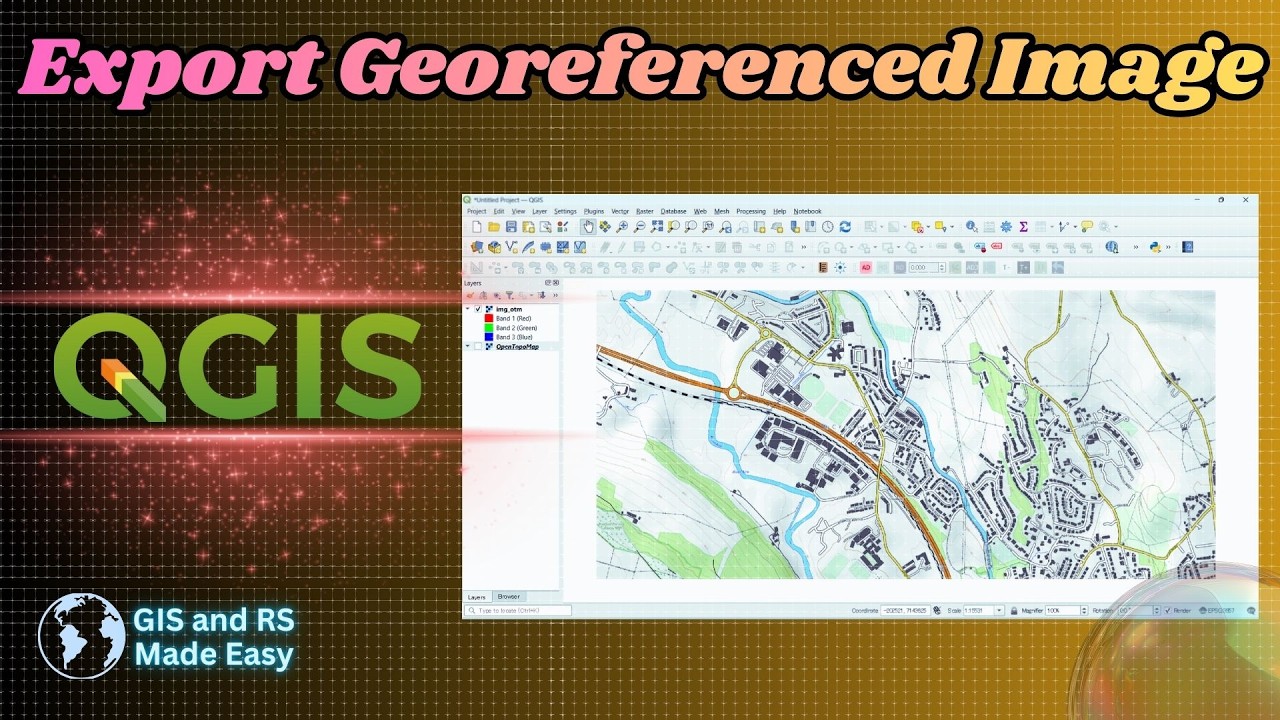
How to save QGIS layers to a GeoTiff image | Export Map to Image in QGIS (Quick Tutorial)
Автор: GIS & RS Made Easy
Загружено: 2026-02-24
Просмотров: 8
Описание:
In this quick and easy tutorial, I show you how to save QGIS layers as a GeoTIFF image step by step. If you're working in QGIS and want to export your selected map area as a GeoTIFF (.tif) file, this video will guide you through the complete process.
In this tutorial, you will learn:
✔ How to add a basemap layer in QGIS
✔ How to select a specific area of interest
✔ How to use Export Map to Image
✔ How to save the output as a GeoTIFF file
✔ Important export settings to maintain resolution and projection
GeoTIFF is widely used in GIS and remote sensing because it preserves spatial reference information. Whether you are a beginner or already working with spatial data, this quick tutorial will help you export high-quality raster outputs correctly.
This method is useful for:
GIS analysis
Map sharing
Remote sensing projects
ArcGIS or other GIS software workflows
If you're learning GIS or working on mapping projects, this tutorial will save you time and help you avoid common export mistakes.
👍 Don’t forget to like, comment, and subscribe for more GIS tutorials!
🔎 Search Tags:
qgis tutorial, save geotiff in qgis, export geotiff qgis, qgis export map to image, how to save qgis layer as tif, qgis raster export, qgis basemap tutorial, export selected area qgis, qgis quick tutorial, geotiff export qgis, gis tutorial for beginners, qgis mapping tutorial, qgis tif export, export map qgis 3, qgis beginner guide
#qgis #gis #export_image #qgistutorial
Повторяем попытку...
Доступные форматы для скачивания:
Скачать видео
-
Информация по загрузке: