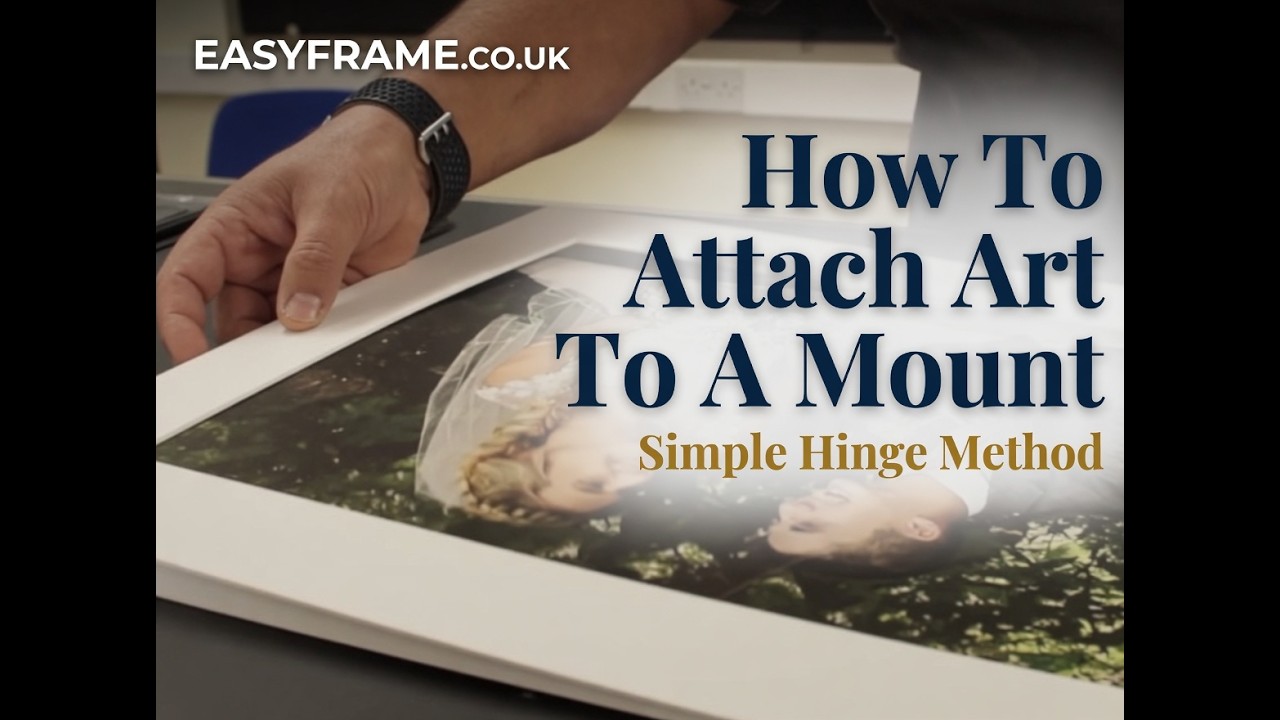
How To Attach Artwork To A Mount
Автор: Easyframe
Загружено: 2020-03-06
Просмотров: 26373
Описание:
This post will detail how to attach your artwork to a picture mount. It should be noted that the method detailed below is the easiest and quickest way to fulfil this basic picture framing task. This method will work with any paper based artwork including watercolours, art reproductions or photographic prints, however you should consider whether the artwork being framed is valuable or irreplaceable as this method shouldn't be considered as conservation level. Framing artwork to conservation levels generally means the item will be protected from harmful acids that may have an adverse effect, and any process is fully reversible so the artwork can be removed without any damage being caused. For a huge percentage of the framing work we carry out in house, such high levels of conservation and preservation are not necessary. If your artwork needs to be framed to conservation standards or higher, I would strongly recommend visiting a local reputable picture framer(like us) to have the item framed, thus ensuring the correct methods and materials are used. If you are local to Bedford, you are welcome to bring us your artwork to have it professionally framed to either standard or conservation levels.
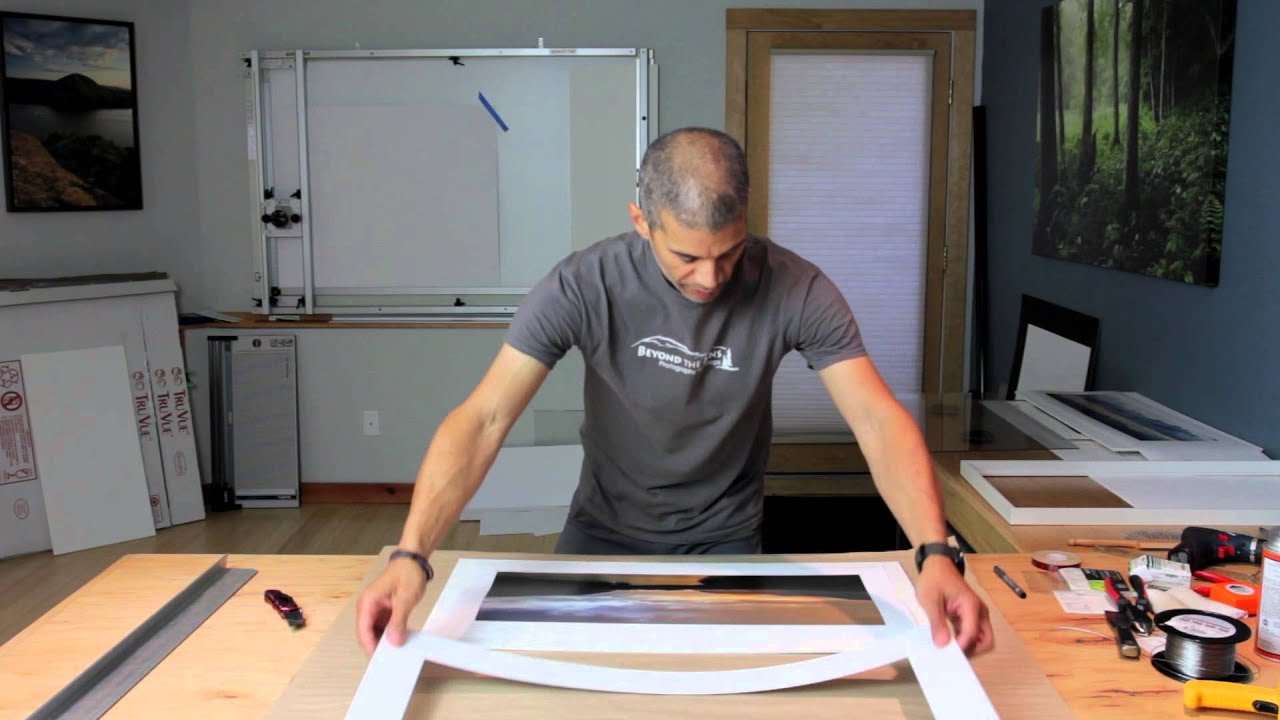
The first step is to turn the artwork over so you are looking at the back and run a line of tape along most of the top edge so that 50% of the tape width is attached to the artwork. When you turn the artwork over you should see the other 50% of exposed adhesive tape(see image 1). For low value prints and photographic prints that can easily be reprinted, we would recommend using a 25mm Brown Kraft Tape for all every day artwork. Alternatively, we also have PH7-70 tape available which shouldn't leave any marks on the artwork if you ever need to remove it, and would be recommended for anything better than low value artwork.
With the artwork face up, and 50% of the adhesive tape exposed along the top edge(see image 2), you can now place the mount over the artwork and position in correctly ensuring all edges are covered by the mount. Once you are happy with the positioning, you can press down on the mount where you know the adhesive tape is exposed(see image 3). Once the mount has grabbed the exposed tape you can flip the mount over and apply a bit more pressure to the tape to ensure it has grabbed tight along the full length.
Conservation barrier board is recommended for all framing work as it prevents the artwork from coming into contact with the MDF backing board supplied with our frames. If you have purchased barrier board as part of your framing package you can adhere it to the mount by using fingerlift double sided tape along two or more edges(see image 3). Once attached, your artwork would be sealed between the mount and barrier board, and will be ready for framing.
One regular 'school boy' error is to tape the artwork to the mount all the way round. This will cause the artwork to buckle as it cannot breathe. By only taping along the top edge, your artwork can breathe and adapt to changing humidity and temperatures, and hopefully stay smooth and flat.
There are plenty of other ways to attach artwork to a picture mount, and lots of picture framers will not entertain using this method because the artwork will come into direct contact with adhesive tape. The basic hinge is the easiest and quickest method, but we would only recommend using it when framing low value artwork or images that can easily be reproduced.
Shop here: https://www.easyframe.co.uk/
Follow us on
Instagram: / easyframe_uk
Twitter: / easyframeuk
Facebook: / easyframeuk
Повторяем попытку...
Доступные форматы для скачивания:
Скачать видео
-
Информация по загрузке: