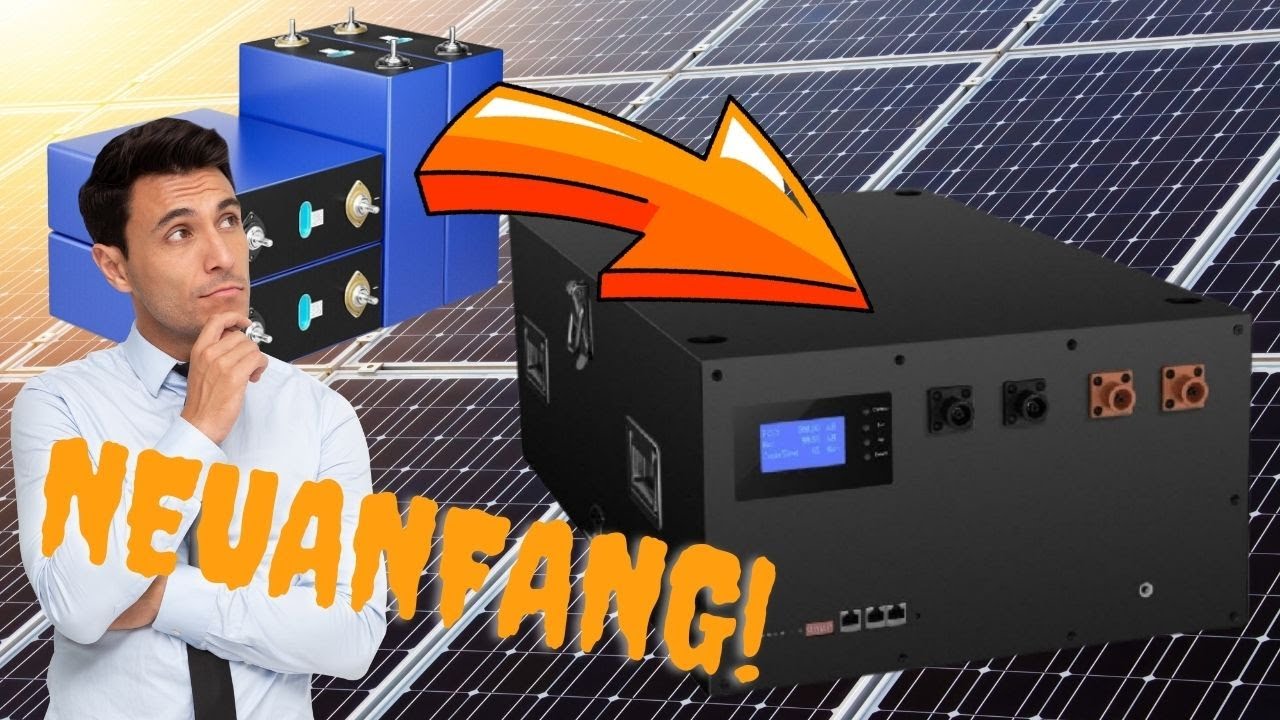
Seplos V3.0 Stacked DIY Kits with Active Balancer – Assembling Instruction
Автор: Teddy Ye
Загружено: 2025-08-06
Просмотров: 325
Описание:
Building your own home battery system has never been easier! In this video, we’ll walk you through the entire assembly process for the Seplos V3.0 Stacked DIY Kit — now with an integrated Active Balancer for superior cell management and long-term performance.
Whether you’re a first-time builder or a seasoned battery enthusiast, this guide will help you safely and confidently assemble your kit from start to finish.
🔧 Step-by-Step Assembly Covered in This Video:
1️⃣ Unboxing & Components Overview
What’s included in the V3.0 kit: prismatic cell enclosure, stacking frame, aluminum or copper busbars, active balancer, Seplos BMS bracket.
Recommended battery cells: EVE LF280K, LF304, LF314, or similar 280–320Ah LiFePO4 cells. CATL CALB HITHIUM, CORNEX
2️⃣ Tools You’ll Need:
Insulated screwdriver set
Multimeter for voltage verification
Torque wrench (suggested 6–8 Nm for terminal bolts)
Cable ties, gloves, and safety glasses
Thermal paste or foam pads for balancer/BMS
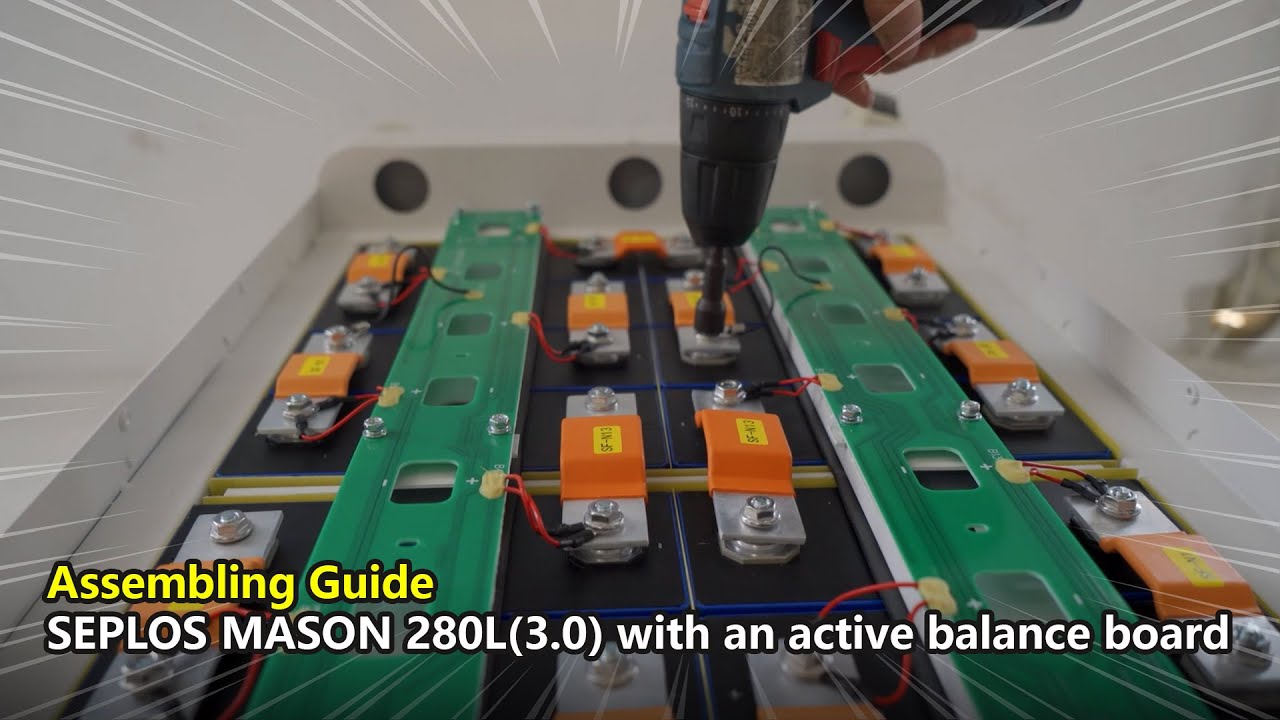
3️⃣ Stacking & Securing the Cells
Vertical cell arrangement inside the stackable enclosure
EVA foam or epoxy panels for vibration damping and insulation
Aligning terminals for optimal connection and reduced resistance
4️⃣ Busbar & Terminal Installation
Clean connection with copper/aluminum busbars
Terminal bolt torqueing tips
Applying insulating pads between layers
5️⃣ Balance Wire & BMS Setup
How to correctly attach balance wires from each cell
Connecting wires to Seplos plug in the correct sequence
Testing each cell’s voltage before final BMS connection
6️⃣ Installing the Active Balancer
Mounting location inside the enclosure
Connection between balancer and BMS via dry contact cable
Powering on and confirming LED activity on balancer board
How active balancing works (real-time transfer of charge between cells)
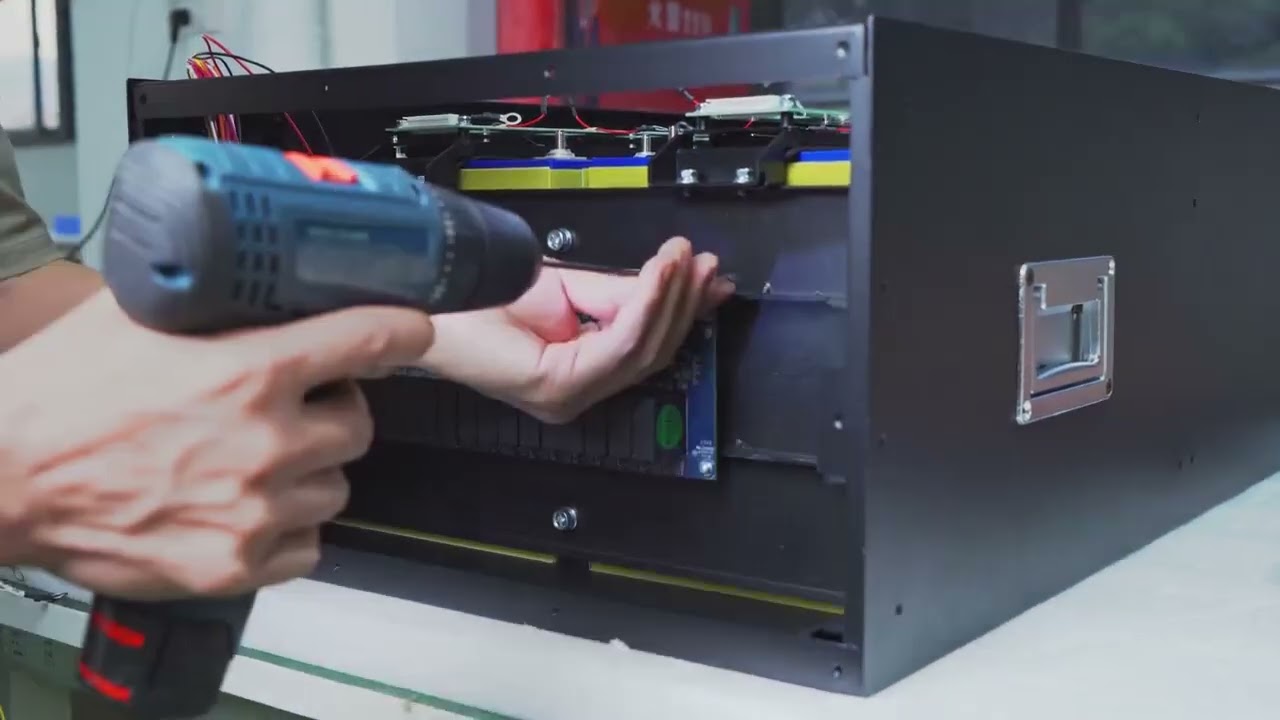
7️⃣ Display, Switches & Enclosure Sealing
Installing the LCD screen and power button on the front panel
Routing the display cable and securing it safely
Final cover installation and enclosure sealing
8️⃣ First Power-On & Test
Step-by-step checklist before powering on
Verifying voltages, checking display readings
Observing balancing behavior on the active balancer
Confirming CAN/RS485 communication with inverter if needed
🧠 Why Choose the Seplos V3.0 Kit with Active Balancer?
Safer build: Pre-designed structure minimizes wiring risk and ensures consistent stacking pressure
Improved lifespan: Active balancing keeps cell voltages equal and reduces degradation
Modular & scalable: Connect multiple units in parallel or series for larger systems
Inverter-friendly: Compatible with most hybrid inverters (Deye, Growatt, Solis, Victron) via CAN or RS485
⚠️ Pro Tips Before You Start:
Never mix old and new cells in a pack
Label each balance wire and check polarity before plugging
Always test each cell’s voltage before connecting BMS
Ensure all bolts are properly torqued — loose connections cause heat
If your BMS doesn’t control the balancer automatically, consider manual switching
🛠️ Common Use Cases:
Home solar battery bank
Off-grid cabin or RV storage
Workshop UPS
Smart grid battery buffer
❤️ Like What You See?
If you found this tutorial helpful, please support us by:
👍 Giving the video a Like
💬 Dropping a Comment with your questions or feedback
📌 Subscribing for more hands-on battery kit tutorials
🔁 Sharing with other solar or battery DIY enthusiasts
🔗 Helpful Links:
Our Store (EU/US Warehouses): https://deligreencharger.com/products/pola...
Повторяем попытку...
Доступные форматы для скачивания:
Скачать видео
-
Информация по загрузке: