Laser Engraving Photos on Metal – Step-by-Step Guide with LaserPecker LP3
Автор: LaserPecker
Загружено: 2023-01-30
Просмотров: 11898
Описание:
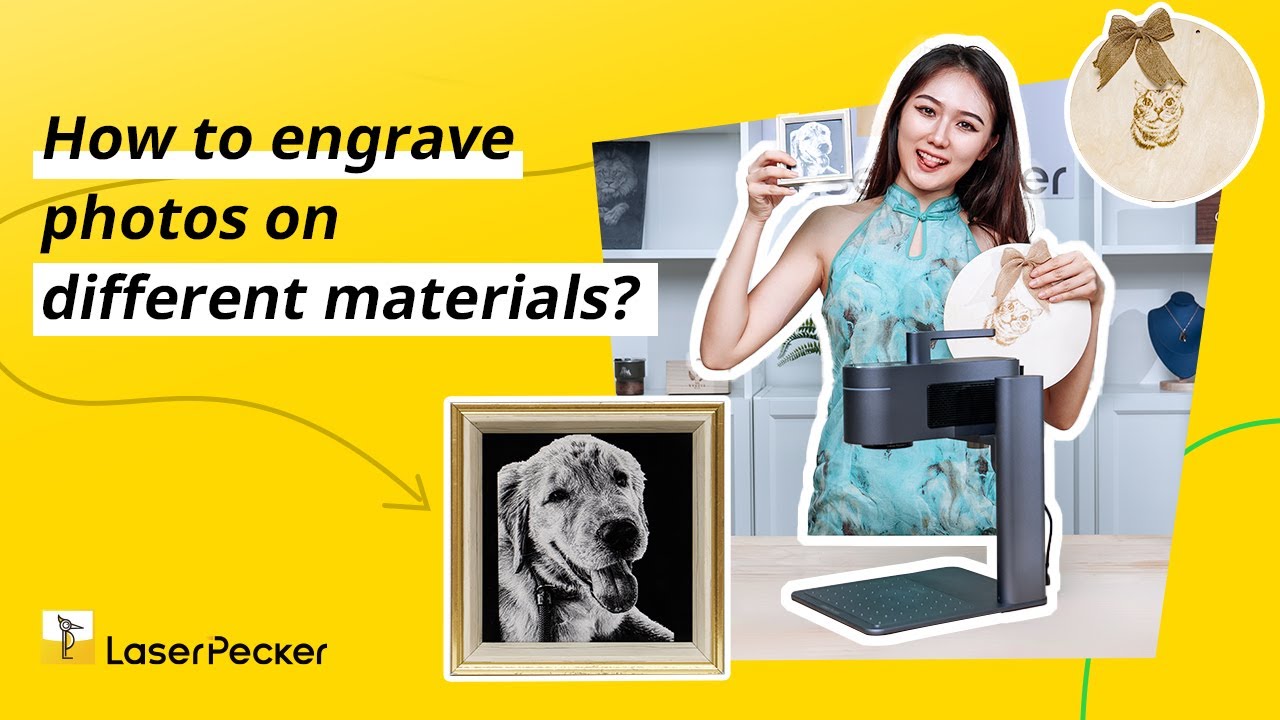
Hello, guys. Today we will share with you the photo-engraving for LaserPecker LP3. You need to convert images to greyscale, adjust the brilliance and shadows of your engraved photo, then run the laser. Thanks to Calvin, who provided us with detailed tutorials. And we hope you will have fun when you use LaserPecker LP3 to laser engrave a photo.😋
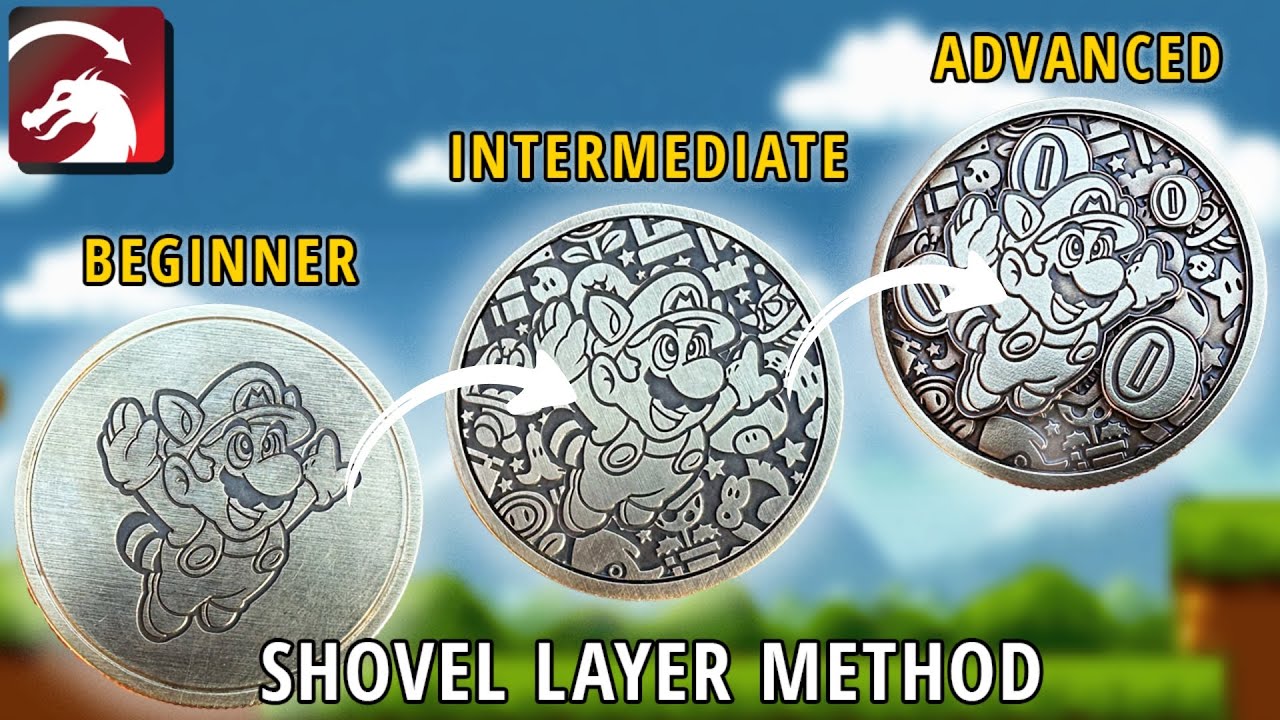
1. Convert images to greyscale.
2. Adjust the brilliance and shadows & increase sharpness until key features are visible and clear.
3. Create your design to fit the shape of the object you will engrave on.
4. Open the LaserPecker APP and connect your LaserPecker 3.
5. Open your photo using the album button.
6. Select grey mode and make sure dithering is selected.
7. Invert the image using the tick box.
8. Select 4K resolution
9. Select the size to match the object you are engraving and preview the location.
10. Select next.
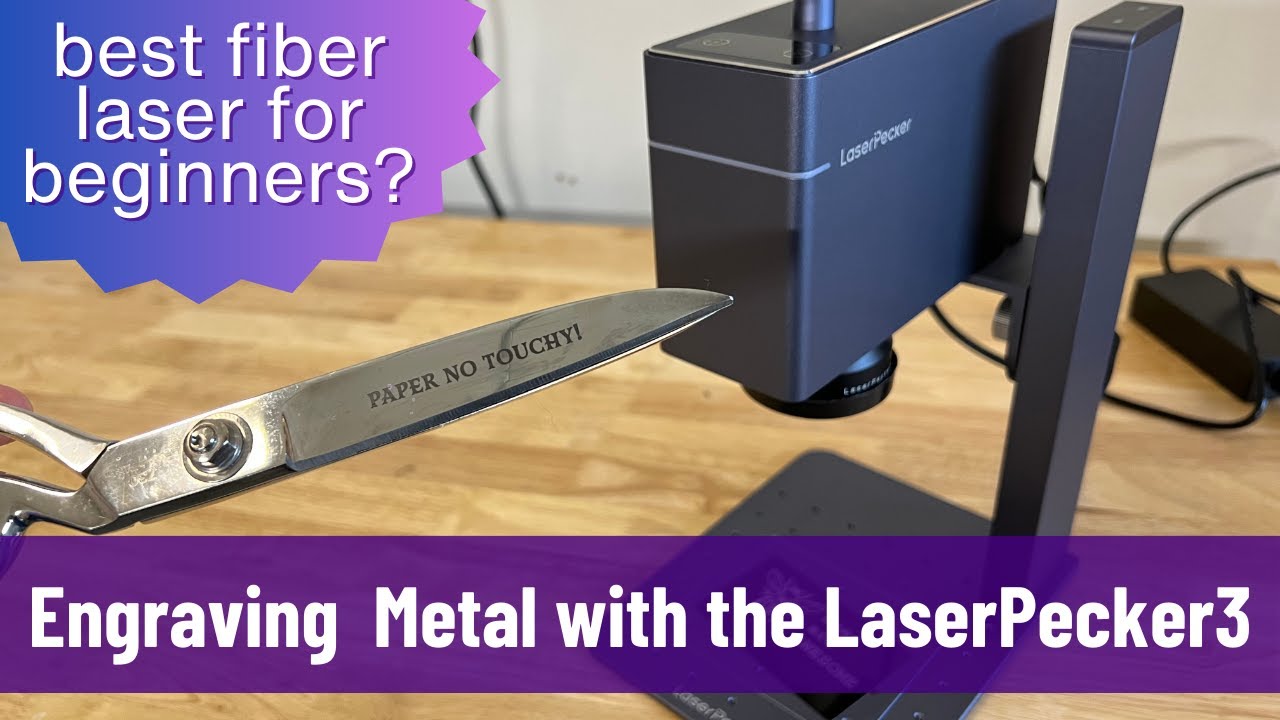
11. Select the engraving settings: power-100%, depth-60%, pass-1.
12. Press start.
If you are interested in the LaserPecker 3, click the below link:
https://www.laserpecker.net/collectio...
Just join our social media to learn more. You can know our product, our activity, and the DIY creation.
Facebook Official Page:
/ laserpecker-2-106452314611308
Facebook Official Group for LaserPekcer LP2 users:
/ laserpecker2
Facebook Official Group for LaserPekcer LP3 users:
/ laserpecker3
Facebook Official Group for LaserPekcer LP4 users:
/ laserpecker4
Instagram: / laserpecker
Twitter: / laserpecker
#diy #laser #laserpecker #laserpeckerLP3 #photoengraving #laserengravephoto #laserengraving
Повторяем попытку...

Доступные форматы для скачивания:
Скачать видео
-
Информация по загрузке: