Draining and Refilling the Hydraulic Fluid in a Gilson Testing Screen
Автор: Gilson Company Inc.
Загружено: 2019-04-12
Просмотров: 6732
Описание:
https://www.globalgilson.com/gilson-t...
Draining and refilling the Hydraulic Fluid in a Gilson Testing Screen
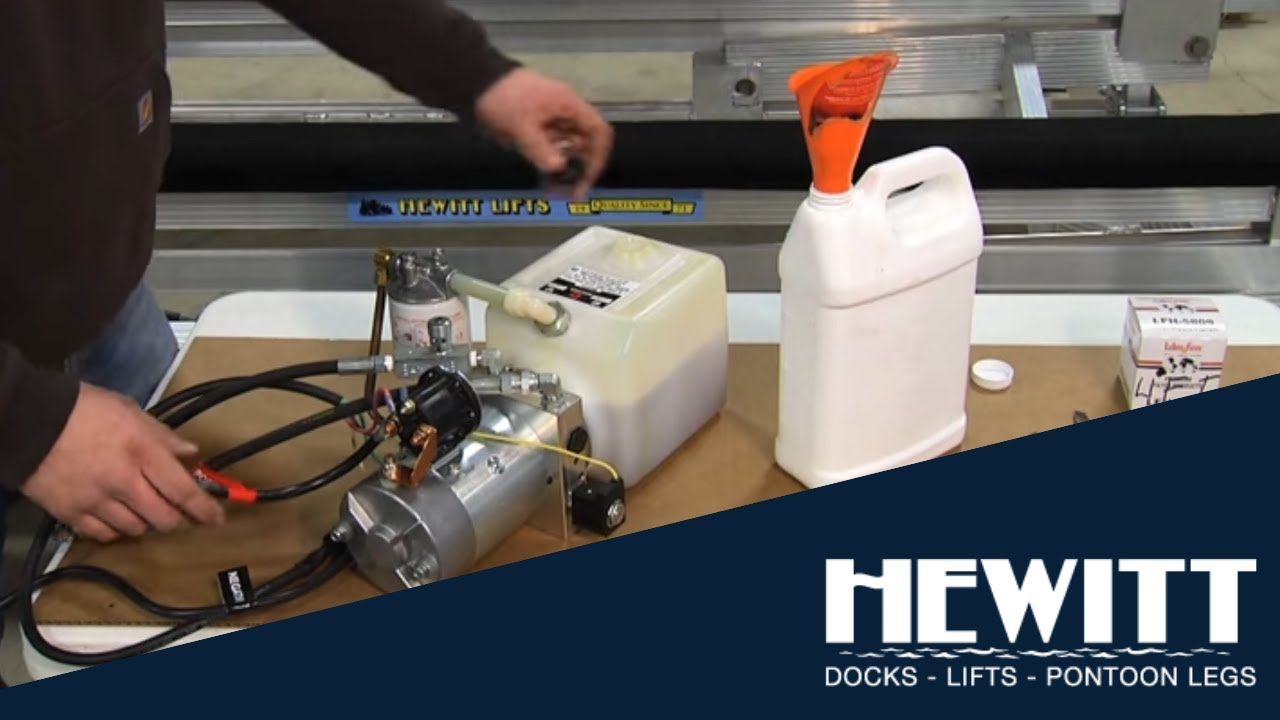
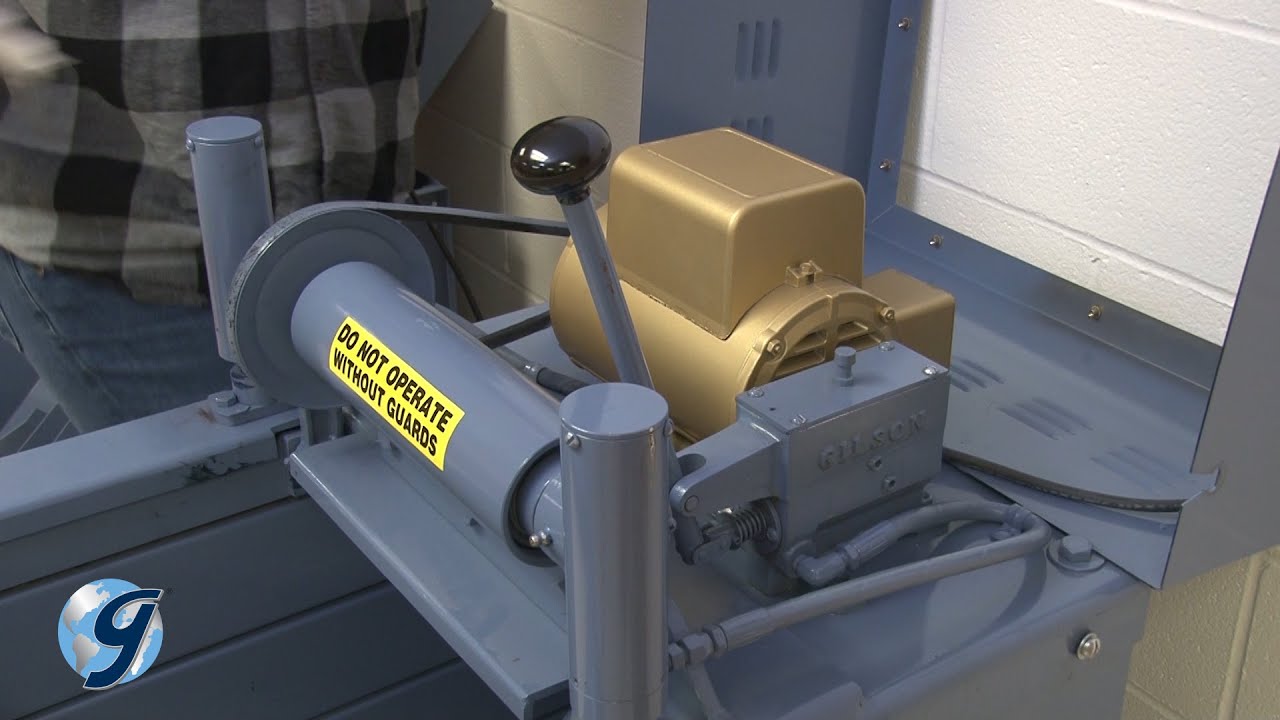
The Gilson Testing Screens are rugged tough machines that will provide years of service if installed and maintained correctly. The Gilson Testing Screens with hydraulic clamping use a quick-acting hydraulic pump system to clamp and release the screen trays within the unit.
It’s important to check and maintain the hydraulic system. Upon checking, if the hydraulic fluid is not clean or if you have sludge in your oil reservoir you will need to drain and refill the hydraulic fluid.
To drain and refill the Hydraulic Oil on your Testing Screen you first disconnect the Testing Screen from its power source.
Now release the hydraulic pump system pressure by pulling the pump handle all the way toward the front of the machine.
Remove the Pump Handle Grip.
Next, remove the top cover and side covers to the machine and safely set them away.
Note the short load line to the electronic controller. Rest the side cover aside to avoid placing stress on the load line.
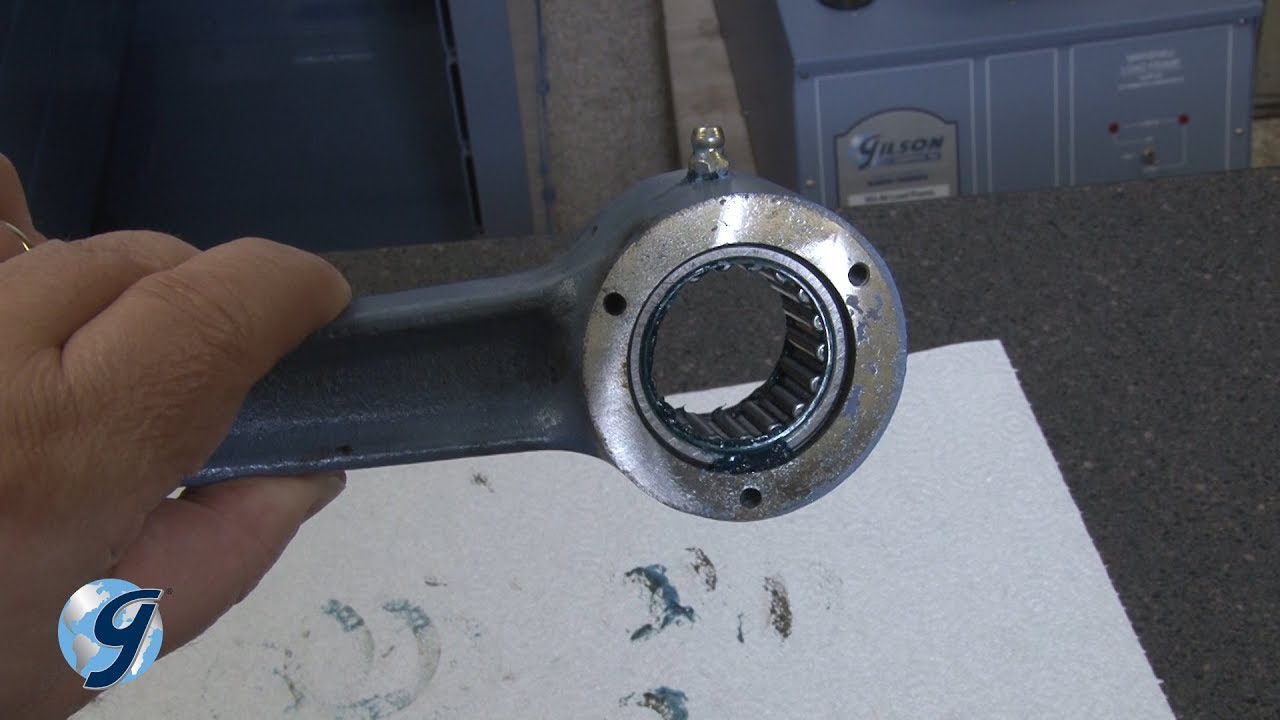
While the cover is open, it is important to Check for leaked hydraulic fluid, excessively worn parts and loose or damaged drive belts.
Next, clean the interior of the unit as to prevent foreign materials from failing into pump and contaminating the oil.
Now disconnect the hose from one of the hydraulic cylinders, leaving the other end of the hose connected to the pump.
Place the free end of the hose into a clean container at a level that will allow gravity to empty the system of hydraulic oil.
Pump the handle slowly to drain the hydraulic oil from the system.
Now, we are going to take the pump cover off the pump to refill the system.
Observe the hydraulic pump and the position of the pump cover. The bottom of the vent in the pump cover has a bevel that must face the front of the machine.
Use a marker or other means to mark the front end of the cover to ensure correct orientation during reassembly later.
Now using a flathead screw driver, remove the Pump Cover Assembly including cover, gasket and screws. Safely set the them aside to a clean area.
If there is sludge in the bottom of the pump reservoir, remove the pump from the machine and clean it out with solvent before refilling with oil.
Or if repairs are to be made to the pump, continue disassembly as described in your Operating Manual’s "Hydraulic Pump" section.
For this demonstration we are only draining and replacing hydraulic oil and not removing the pump nor repairing the pump.
Now reconnect the hose to the cylinder.
Fill the pump reservoir with Hydraulic Fluid to within 1/4in from the top.
Testing Screens with hydraulic clamping use a medium viscosity hydraulic oil such as Shell Tellus 25 or Mobil AW 32.
Once you have confirmed the hydraulic oil is 1/4in from the top of the oil reservoir, reinstall the pump cover assembly in the same orientation as it was before is removal by aligning the two marks.
Pump up pressure on the hydraulic system with short strokes on the pump handle.
Now release the pressure by moving the handle all the way toward the front of the machine.
Next, remove the pump cover and add more hydraulic oil, if necessary, to fill pump reservoir to within 1/4in of the top.
Once you have confirmed the hydraulic oil is 1/4in from the top of the oil reservoir, reinstall the pump cover assembly in the same orientation as it was before is removal by aligning the two marks, and tighten down the mounting screws.
Now we are going to bleed the air out of the hydraulic system.
Loosen the connections between the hoses and the cylinders by unscrewing the swivel connections slightly.
Pump up the hydraulic system just until oil appears at the loosened connections.
Now re-tighten the swivel connections.
Once tighten, pump the hydraulic system to confirm that all the fittings are free of leaks.
If the fittings leak, use hydraulic joint compound to create a seal between each leaky fitting and the pump or cylinder to which it is attached. (Not shown)
Now return the top cover and side covers.
For more information go to https://www.globalgilson.com/gilson-t...
concrete testing equipment / screening testing equipment / used aggregate testing equipment / aggregate testing equipment manufacturers / specific gravity of aggregates / soil laboratory testing / humboldt testing equipment / soil analysis equipment /
sieve shaker / laboratory soil grinder / used materials testing equipment
Повторяем попытку...
Доступные форматы для скачивания:
Скачать видео
-
Информация по загрузке: