How to Install the etrailer Class III Trailer Hitch - 2025 Honda CR-V
Автор: etrailer
Загружено: 2024-12-25
Просмотров: 7609
Описание:
Click for more info and reviews of this etrailer Trailer Hitch:
https://www.etrailer.com/Trailer-Hitc...
Check out some similar Trailer Hitch options:
https://www.etrailer.com/fitguide.htm
Search for other popular Honda CR-V parts and accessories:
https://www.etrailer.com/vehicle/2025...
https://www.etrailer.com
Don’t forget to subscribe!
/ etrailertv
Full transcript: https://www.etrailer.com/tv-install-e...
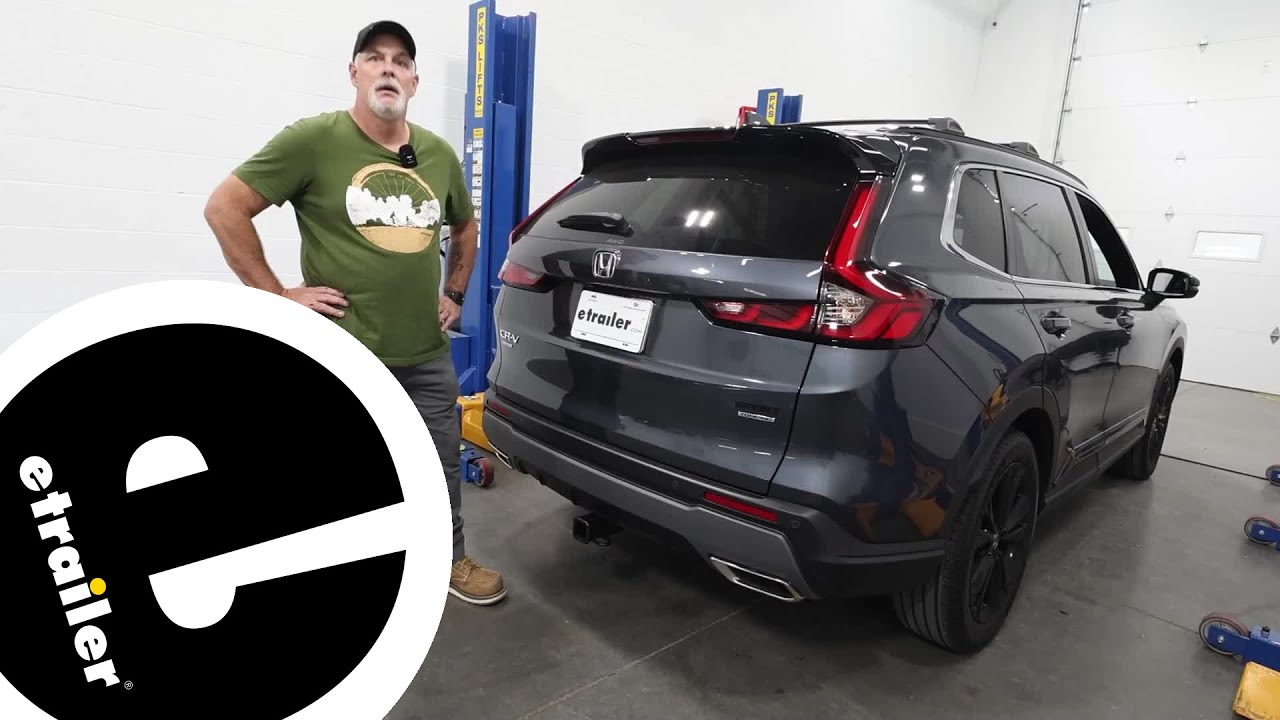
Hi, everyone, Bruce here at etrailer. Today we're gonna take a look at and install our etrailer Class 3 hitch on our 2025 Honda CRV. On this hitch, we do have a 2-inch by 2-inch receiver tube, which will accommodate many accessories. Now, we do have our safety chain. These are a loop style, which are gonna accept the old S style hook and also our bigger clevis hook. Now, this trailer hitch does not come with a pin.
You're gonna need a 5/8-inch pin and clip that go in. And we also do carry lockable style pins. On this particular trailer hitch, we do have a 3,500 pound gross trailer weight with a 525 pound tongue weight, which is the downforce on our receiver tube. Now, on our receiver tube, we're gonna take a measurement from our center of our pinhole to the edge of the bumper, and we're looking at about 2.5 inches. Keep that in mind for any folding accessories you may have so they don't hit your bumper.
Now for our ground clearance, we do have about 11.5 inches to the bottom of the tube. Now, keep that in mind for any weight you put on here, that is gonna push down and you will lose a couple inches. But with this hitch, I don't think you're gonna have a problem. Now if you do have a kick sensor, with this particular hitch, that kick sensor will still work. As far as the installation goes, it's not too bad, but there is some fascia trimming that you gotta trim on the bottom.
And if you've got a kick sensor, there is a little bit of modification there. If you don't want to tackle that, check out our dealer locator on etrailer.com. But if you do want to go ahead and tap, try, and tackle it, stick around. I'll show you how. To begin our installation, we do need to remove this underbody panel.
There is a 10-millimeter nut that we need to remove on the backside. We do have a series of push pins that we do need to remove. You take a screwdriver or a body panel trim tool, pop that down, and remove all of those. Once you do have those push pins removed, we can lower this down and set it aside. Now we do need to go ahead and lower the exhaust. So we've got a strap here. You're just gonna find a place to go ahead and connect that strap. The reason we're using the strap is 'cause we are lowering the exhaust and we can control how far down the exhaust actually comes. Once you do have that scrap connected, we've got to go up here to our isolators, our rubber isolators here, and we are going to go ahead, and you can use soapy water or we've got some silicone here, and you wanna spray that down a little bit 'cause we do need to remove those and let the exhaust drop. I am using the pry bar on this one because it's a little in a tight area, but we just want to slide that isolator off of those two ears on the muffler. We did find the second one here that we do need to go ahead and drop down to give us a little more room. Again, we'll spray it with a little bit of silicone and use the pry bar to pry it off. So we need to go ahead and lower this down so we can see our mounting locations of our hitch. Now we do have to do some trimming of our fascia, and basically from the end point of the fascia here up an inch and 3/8 and then 3 inches across. If we look under this piece of tape, I just use this tab here as my marker to start off with and we'll go ahead and cut that out. Now we do have a kick sensor underneath here, so just be careful of that. You can use a multi tool, but I chose to use the tin snips on this, and we'll go ahead and start cutting it out. Now remember, always cut less than you need to 'cause you can always cut more. For my cross cut, I'm just using a utility knife, and I'm gonna just go along with my tape marker here. And all you gotta really do is scribe this. Don't try and cut it all out at one time. Just run along your tape. Once you do that, you can go ahead and fold this piece up and cut it out the rest of the way. You may have to scribe it a few times to go ahead and get it where that piece will peel up. Here's our kick sensor here. We do need to trim a little bit of that but not much. So our wire is actually right here, so we're gonna go ahead and pull that down and get it out of the way and we're good. Basically, gonna go ahead and trim this little section out right here. Again, just make sure your cable is out of the way and we're just gonna go ahead and trim a little bit. Again,
Повторяем попытку...
Доступные форматы для скачивания:
Скачать видео
-
Информация по загрузке: