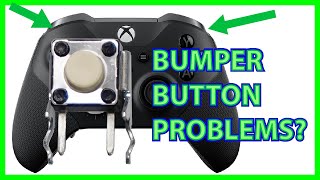
How To Fix A Broken Bumper (LB/RB) | Xbox One Controller | Xbox Repair DIY
Автор: Xbox DIY
Загружено: 2015-08-04
Просмотров: 1315033
Описание:
In this video, I will show you how to repair a broken left or right bumper on your Xbox One controller.
There is always the potential that something can break on an Xbox One Controller. One of these items that can break quite easily is the Left Bumper (LB) or Right Bumper (RB), aptly named the bumpers on the Xbox One Controller. When the bumpers on an Xbox One Controller break, it requires opening of the controller.
First make sure you have opened your Xbox controller. You can watch my set of videos on how to open an Xbox One Controller here: • How to Open and Reassemble an Xbox One Con...
Once you can open the controller and access the buttons it is a lot easier to fix things like broken bumpers, broken rumble motors, stick drift, and other common issues.
There are two potential ways to fix an Xbox One Bumper when it breaks. You can either buy new casing or fix your Xbox One Controller bumper by gluing the pieces back together. Depending on the condition of your button, you can go with either one.
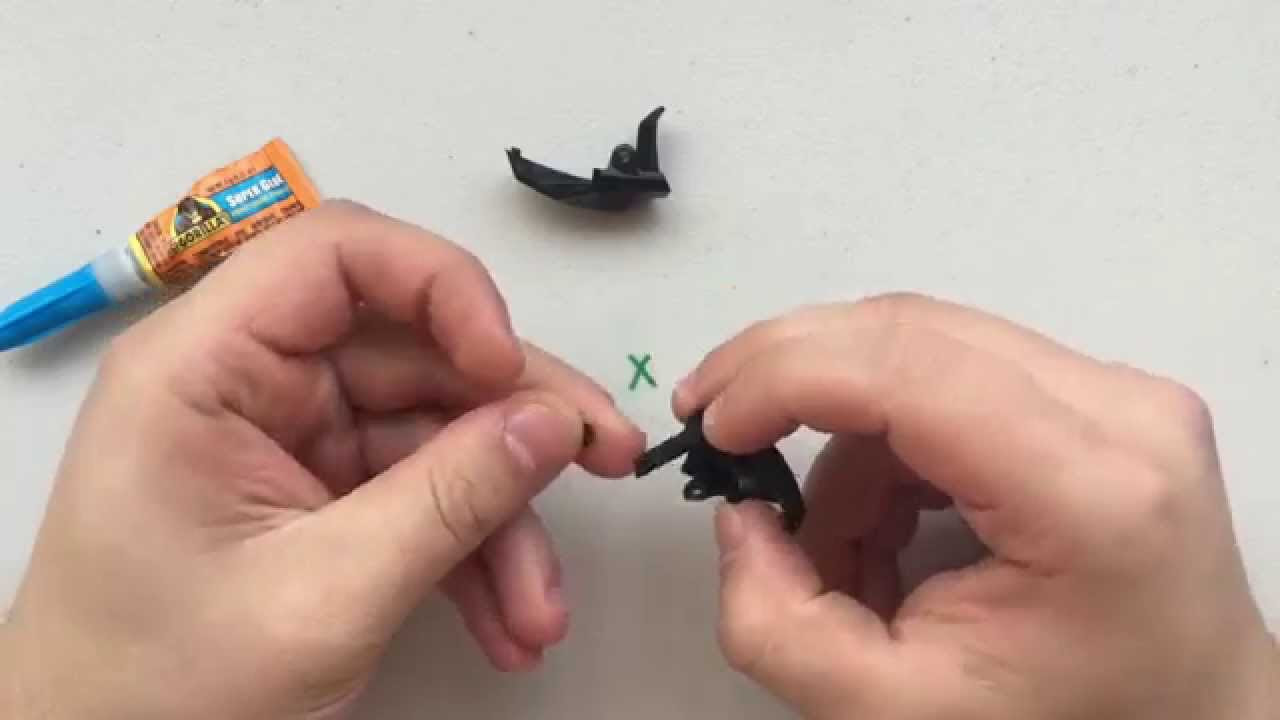
Here is how you can repair a bumper that has broken by using Super Glue or Gorilla Glue.
Replacement Xbox One Controller Buttons: http://amzn.to/2eJOwgB
Xbox One Controller: http://amzn.to/2fb4AfD
Xbox One Controller (Elite): http://amzn.to/2eUtcFP
What You'll Need:
A broken Xbox One Left Bumper (LB) or Right Bumper (RB)
Super Glue
Patience
What You Need to do:
Step 1: Remove the broken bumper from the Xbox One Controller. Don't know how to open a controller? Check this out: • How To Open/Disassemble an Xbox One Contro...
Step 2: Remove the broken bumper piece from the Xbox One Controller
Step 3: Put super glue on top of the area where we will connect the bumper and the broken piece of the bumper
Step 4: Slowly place the broken piece of bumper on the glue
Step 5: Hold the glued piece in place for 60-90 seconds
Step 6: Place a very thin layer of glue around the outside of the cracks to secure the piece in place (see tip below - don't put on too much!)
Step 7: Allow to try
Step 8 (optional): Test before putting things back together!
Tips and Tricks:
Don't put too much glue on the broken bumper piece as this may prevent the piece from fitting back into the controller
Make sure the super glue has plenty of time to dry (10-15 minutes after you hold the piece together)
If you're looking to get a new color controller, this is a great time to do it. You can buy tons of cool controller cases here: https://amzn.to/41BUFn9
Be careful with super glue. There is a reason it is called Super Glue!
You can test to see if your bumper is working by putting on the circuit board with the LB and RB bumpers and the front of the shell. Clip on the bumper and you should be good to go!
You can read a more detailed, written guide on this video at XboxDIY.com:
https://xboxdiy.com/xbox-repair-guide...
Have a question about one of our videos, articles, or another Xbox-related repair or issue? Send us a message by visiting https://xboxdiy.com/contact
Xbox Repair Videos:
• Xbox Repair Guides
Xbox One Controller Repair Videos:
• Xbox One Controller Repair
You can find more Xbox-related repair guides, troubleshooting, tutorials, news, reviews, and other content on our website:
Xbox Repair Guides: https://xboxdiy.com/xbox-repair-guides/
Xbox How-Tos and Tutorials: https://xboxdiy.com/xbox-tutorials-ho...
Xbox Troubleshooting: https://xboxdiy.com/xbox-troubleshoot...
**XboxDIY.com and the XboxDIY YouTube channel use affiliate links and referral programs as a way to support the ongoing costs associated with running even a small media outlet. Please consider purchasing something from a link in one of my videos or from our Buy Me a Coffee page as a way to show your support. More support means more content. Thanks for being a watcher and subscriber!
Повторяем попытку...
Доступные форматы для скачивания:
Скачать видео
-
Информация по загрузке: