How to Prepare Copper Blanks for Jewelry Making
Автор: Jewelry Classes with Jen
Загружено: 2021-07-03
Просмотров: 2461
Описание:
Sign up for our e-mails and get our free guide: How to Create Consistent Components with Ease Using Measuring Charts. Go to https://jewelryclasseswithjen.com/fre... to sign up.
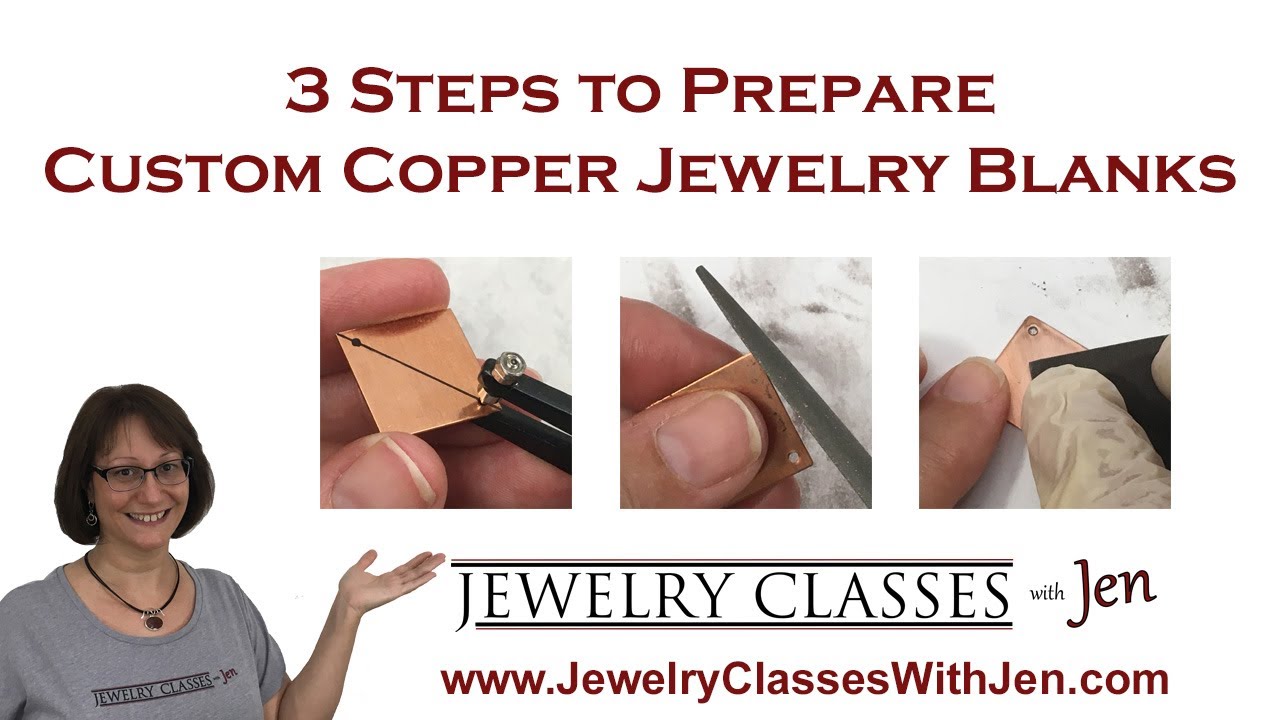
In this video I show you 3 simple steps to prepare a copper jewelry blank.
You will learn how to punch holes, file, and sand a basic piece of copper sheet refining it into what we think of as a custom copper blank ready to be adorned with your personal touch and assembled into a piece of hand-made jewelry. Plus I have included some really great bonus tips for you to get the best results possible!
Please note… Filing and sanding is dirty work. You can wear gloves to protect your hands and you can put a drop cloth down to help protect your floor. But choose a location to work on this where you can easily clean up the metal dust. And be sure to use a surface you are okay with inadvertently scratching. (Dining table your only option? Use a protective matt or cover it with plastic sheeting to provide a surface you can work on without concern.)
First of all… what is a copper blank? (view at 02:55)
A copper (or silver) blank is like a canvas for you to make a custom jewelry component. In this segment, I explain what’s available commercially as well as what I offer at https://jewelryclasseswithjen.com/kit.... My goal is to provide stylish options for the standard jewelry blank shapes and keep the process simple so you can create some great jewelry right away.
Step 1: Punching a hole (view at 05:46)
When using 24 gauge blanks, you can punch holes using hole punch pliers. I show you how to use a graph ruler and sharpie marker to help line up your holes and discuss good practices for punching holes accurately. There are a few great tips included…
Tip #1 - How to align holes on multiple pieces like for a pair of earrings (view at 09:52)
Tip #2 - How to make your own “hand-tool” to clean the flared edge of the holes (view at 11:00)
Tip #3 - How to center a hole without using a ruler to measure (view at 12:37)
View more detailed instructions about how to use your hole punch pliers here: https://jewelryclasseswithjen.com/too...
Step 2: How to file the edges and smooth the corners (view at 15:10)
It’s important to work with a quality file! I recommend a #4 Swiss cut half-round file. If you want to spend less $$, you can use a needle file of this same quality. Learn more about jewelry grade files by visiting https://jewelryclasseswithjen.com/too....
Again, there’s not just great introductory information perfect for beginner jewelry makers, there’s more great tips for you including 2 solutions for holding your pieces to help save your hands (view at 22:03)
Step 3: Sanding the surface and edges (view at 25:32)
In this segment, I talk about what grit emery paper and sanding sponges you need to use and all the basics about preparing the surface and edges of your blanks to get them ready to be adorned.
Once you have prepared blanks you can…
Patina the surface – Add your own personal touch with multiple hues. Check out our lessons on painting with liver of sulfur.
Add a hammered texture
Stamp a design
Emboss a design
Tools, Supplies, and Materials used in this video…
Cut Copper Shapes – https://jewelryclasseswithjen.com/kit....
Graph Ruler - https://jewelryclasseswithjen.com/too...
Retractable Ultra-fine Tip Sharpie Marker - https://jewelryclasseswithjen.com/too...
Rubbing Alcohol – https://jewelryclasseswithjen.com/too...
1.5mm Hole Punch Pliers – These pliers create a hole large enough for attaching 18 or 16ga jump rings and can be used to pierce holes in soft metals like copper and silver in gauges up to 22 ga thick. Once you want to upgrade to thicker materials, you will need to use a drill of some sort. Learn more at https://jewelryclasseswithjen.com/too.... (Alternate tool – 1.5mm/2mm double metal hole punch -https://jewelryclasseswithjen.com/too... )
Pin Vise - https://jewelryclasseswithjen.com/too...
3mm Round Bur - https://jewelryclasseswithjen.com/too...
Lubricant - https://jewelryclasseswithjen.com/too...
Card stock or old file folder - to protect your surface
Jewelry grade file – https://jewelryclasseswithjen.com/too...
Emery Paper – https://jewelryclasseswithjen.com/too...
3M Sanding Sponges – These are fabulous for final sanding. https://jewelryclasseswithjen.com/too...
Повторяем попытку...
Доступные форматы для скачивания:
Скачать видео
-
Информация по загрузке: